Introduction
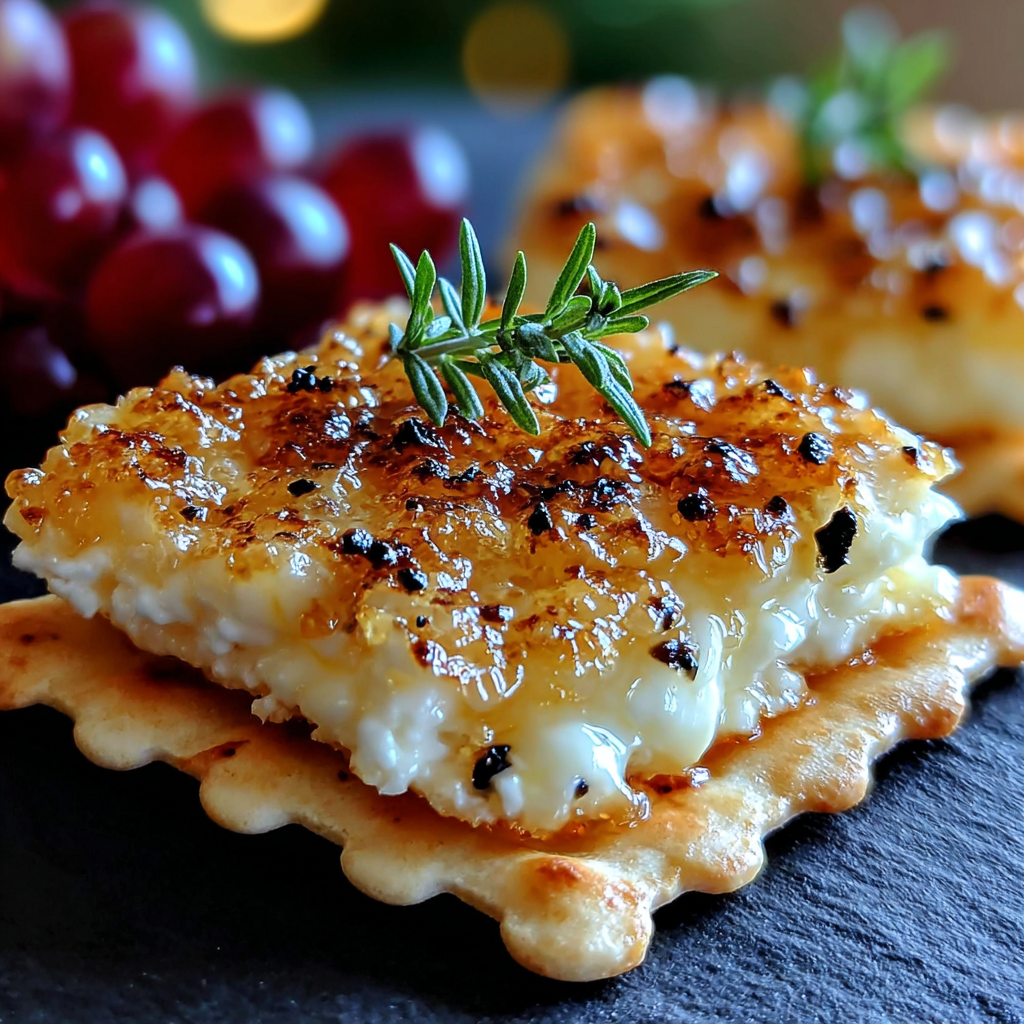
Looking for a quick snack that balances buttery richness with a zesty kick? This irresistible snack is just what you need. It's simple to make, using minimal ingredients, yet delivers a ton of flavor that will keep you coming back for more.
Whether you're entertaining guests or indulging in a personal treat, this buttery zesty delight fits the bill perfectly. It can be ready in just a few minutes, making it an ideal choice for those spontaneous cravings or last-minute gatherings.
Ingredients
- 1 cup unsalted butter
Butter serves as the foundation of this snack, lending it a rich, creamy flavor and satisfying texture. Using unsalted butter allows you to control the saltiness of the dish more effectively. - 2 tablespoons lemon juice
Fresh lemon juice adds a vibrant zest that cuts through the richness of the butter, creating a well-balanced flavor profile. The acidity also brightens the overall taste and enhances the other ingredients. - 1 tablespoon lemon zest
Lemon zest packs a punch of citrus flavor without additional liquid, amplifying the snack's zesty notes. It also adds a lovely fragrance that elevates the overall sensory experience of this dish. - 1 teaspoon garlic powder
Garlic powder introduces depth and a slight umami flavor, enhancing the buttery base. It provides a subtle background note that complements the zesty elements without overpowering them. - 1 teaspoon salt
Salt acts not only to season but also to enhance the flavors of all the other ingredients in this snack. It balances the richness of the butter and the brightness of the lemon beautifully. - 1/2 teaspoon black pepper
Black pepper adds a warm, mild heat that elevates the overall taste, rounding off the zesty profile. It brings an interesting contrast to the buttery, sweet elements, making the snack more complex. - 1 cup tortilla chips or crackers
These are the base for your snack, providing a crunchy texture that contrasts with the creamy, zesty topping. Choose your favorite chips or crackers for a personalized touch.
Directions & Preparation
Step 1: Melt the butter.
Begin by melting the unsalted butter in a medium saucepan over low heat. This gentle method prevents the butter from burning while ensuring it turns into a smooth, liquid state. Melted butter is crucial for blending with the other ingredients seamlessly, creating that irresistible texture.
Step 2: Combine lemon juice and zest.
Once the butter has melted, remove it from heat and whisk in the fresh lemon juice and lemon zest until well combined. The acidity from the lemon juice brings a fresh burst of flavor while the zest intensifies the citrus aroma. This step is essential for achieving the zesty profile that makes this snack so appealing.
Step 3: Add garlic powder, salt, and pepper.
Next, stir in the garlic powder, salt, and black pepper, ensuring everything is fully integrated. These ingredients enhance the flavor complexity of the snack. Make sure to taste this mixture at this stage, as balancing the seasoning is key to a satisfying outcome.
Step 4: Pour over tortilla chips or crackers.
Now, take your tortilla chips or crackers and place them on a baking sheet. Evenly pour the buttery mixture over the top, ensuring every piece gets a generous coating. This step not only flavorizes your base but also enhances the crunchiness, transforming your chips into a gourmet snack.
Step 5: Bake until golden.
Preheat your oven to 350°F (175°C) and bake the snack for about 10-12 minutes, or until the chips are lightly golden and crispy. This toasting process helps intensify the flavors while adding a delightful crunch. Keep a close eye to avoid burning, as every oven varies slightly in temperature.
Step 6: Cool and serve.
Once out of the oven, allow the snack to cool for a few minutes before serving. This resting time lets the flavors meld beautifully. Serve warm and enjoy the contrast of rich, buttery goodness and zesty brightness in every bite.

Why Fresh Ingredients Matter
Using fresh ingredients, such as real lemon juice and zest, significantly elevates the flavor of your snack. Fresh lemons offer a bright, vibrant taste that's polarizing to the pre-bottled alternatives, which can often be overly processed or diluted. This recipe thrives on the balance of fresh zest and creamy butter, showcasing how quality ingredients directly impact your dish’s success.
Customizing Your Snack Experience
Feel free to experiment with additional seasonings or toppings based on your personal taste or dietary preferences. For a spicy kick, consider adding a sprinkle of cayenne pepper or a dash of hot sauce to the buttery mixture. You can also include grated cheese for a richer flavor. The versatility of this recipe encourages creativity and makes it easy to customize each batch.
The Perfect Pairing for Gatherings
This buttery zesty snack is perfect for gatherings as it combines simplicity with impressive flavors. Pair it with a selection of dips or beverages to elevate the snack experience. Consider serving it alongside guacamole, salsa, or even a refreshing cocktail, encouraging a laid-back vibe at your next get-together, while the delightful aromas fill the room.
FAQs
What can I do if my mixture turns too thick?
If your buttery mixture becomes too thick, simply return it to low heat and stir in a splash of lemon juice or additional melted butter to loosen it up.
How can I elevate the crunchiness of my snack?
To add an extra crunch, consider toasting your tortilla chips or crackers lightly in the oven before pouring the buttery mixture over them. This only takes a few minutes and enhances their texture.
Can I substitute chips with other types of bases?
Absolutely! Feel free to use pita chips, breadsticks, or even fresh vegetable crudités for a lighter alternative to tortilla chips. Each option will impart its own unique texture and flavor.
What happens if I overbake the snack?
If you overbake the snack, it may become overly crunchy or even burnt. Keep an eye on it towards the end of the baking time, and remove it from the oven when it reaches a golden brown.
Is it okay to use margarine instead of butter?
While margarine can be used, it may alter the flavor and richness of the snack. For the best results, unsalted butter is recommended to maintain that indulgently buttery taste.
Can I add more garlic for a stronger flavor?
Definitely! If you enjoy a more pronounced garlic taste, increase the garlic powder slightly according to your preference, but make sure to balance it with the other seasonings.
Conclusion
In just a few simple steps, you've created a delightful buttery zesty snack that's sure to please any palate. The burst of rich flavors, combined with the crunch of your chosen base, makes this a versatile option for any occasion.
Whether it's a cozy night in or a festive gathering, this snack will stand out. Embrace your creativity by tailoring the recipe to suit your preferences, and enjoy the delightful flavors that make this treat truly irresistible.
Recipe Card
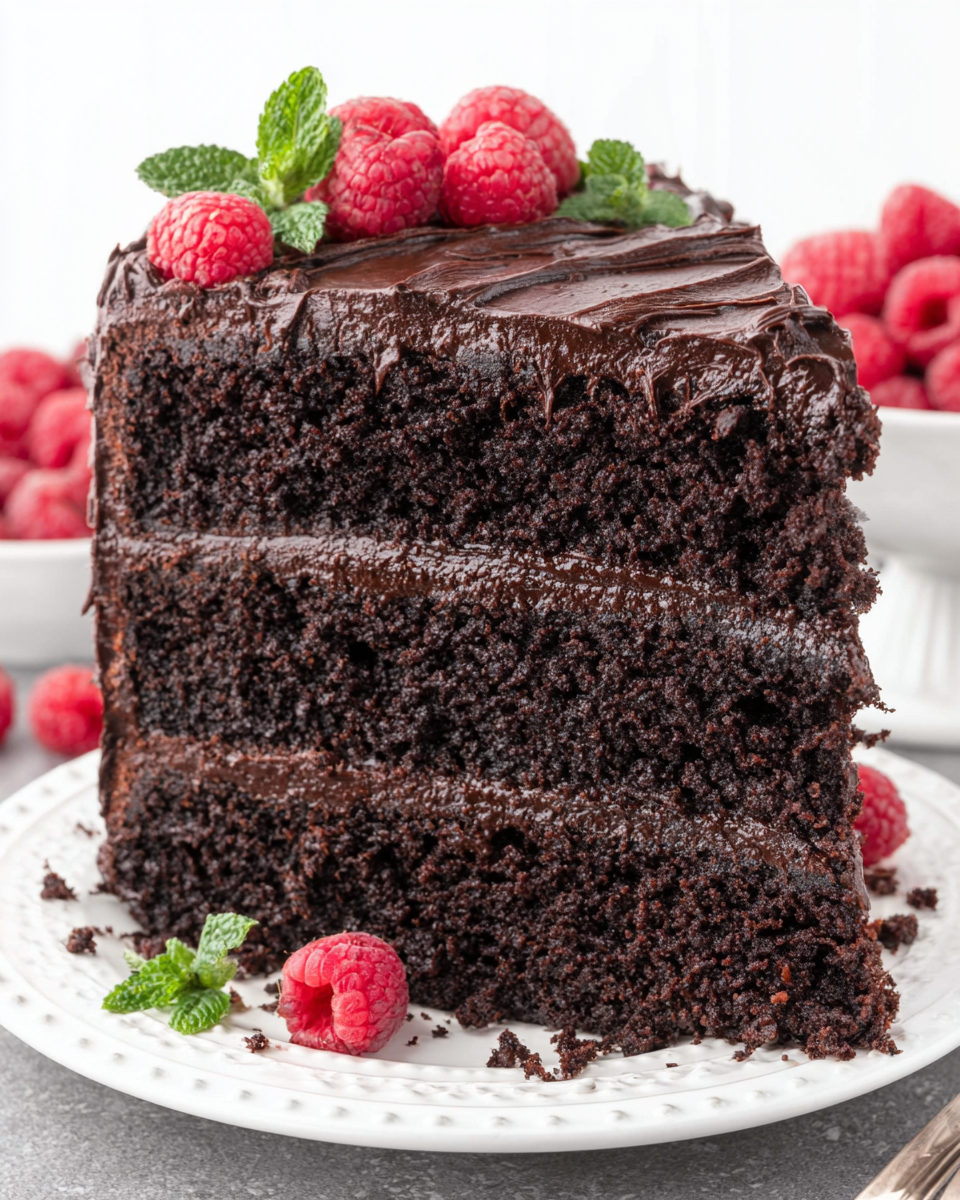
Indulgent High Protein Low Carb Chocolate Cake
Ingredients
Method
- Preheat your oven to 350°F (175°C).
- Grease a 9-inch round cake pan and line the bottom with parchment paper.
- In a large mixing bowl, whisk together almond flour, cocoa powder, protein powder, erythritol, baking soda, and salt.
- In another bowl, beat the eggs, then add applesauce and vanilla extract until well combined.
- Combine the wet and dry ingredients, mixing just until no dry streaks remain.
- Pour the batter into the prepared cake pan, smoothing the top with a spatula.
- Bake for 25-30 minutes or until a toothpick inserted into the center comes out clean.
- Allow the cake to cool in the pan for 10 minutes before transferring it to a wire rack.
- Once cooled, frost as desired or enjoy plain.
Notes
Additional serving suggestions: pair with a crisp salad, garlic bread, or roasted seasonal vegetables for balance.
For make-ahead, prep components separately and assemble just before heating to preserve texture.
Taste and adjust with acid (lemon/vinegar) and salt right at the end to wake up flavors.


