Introduction
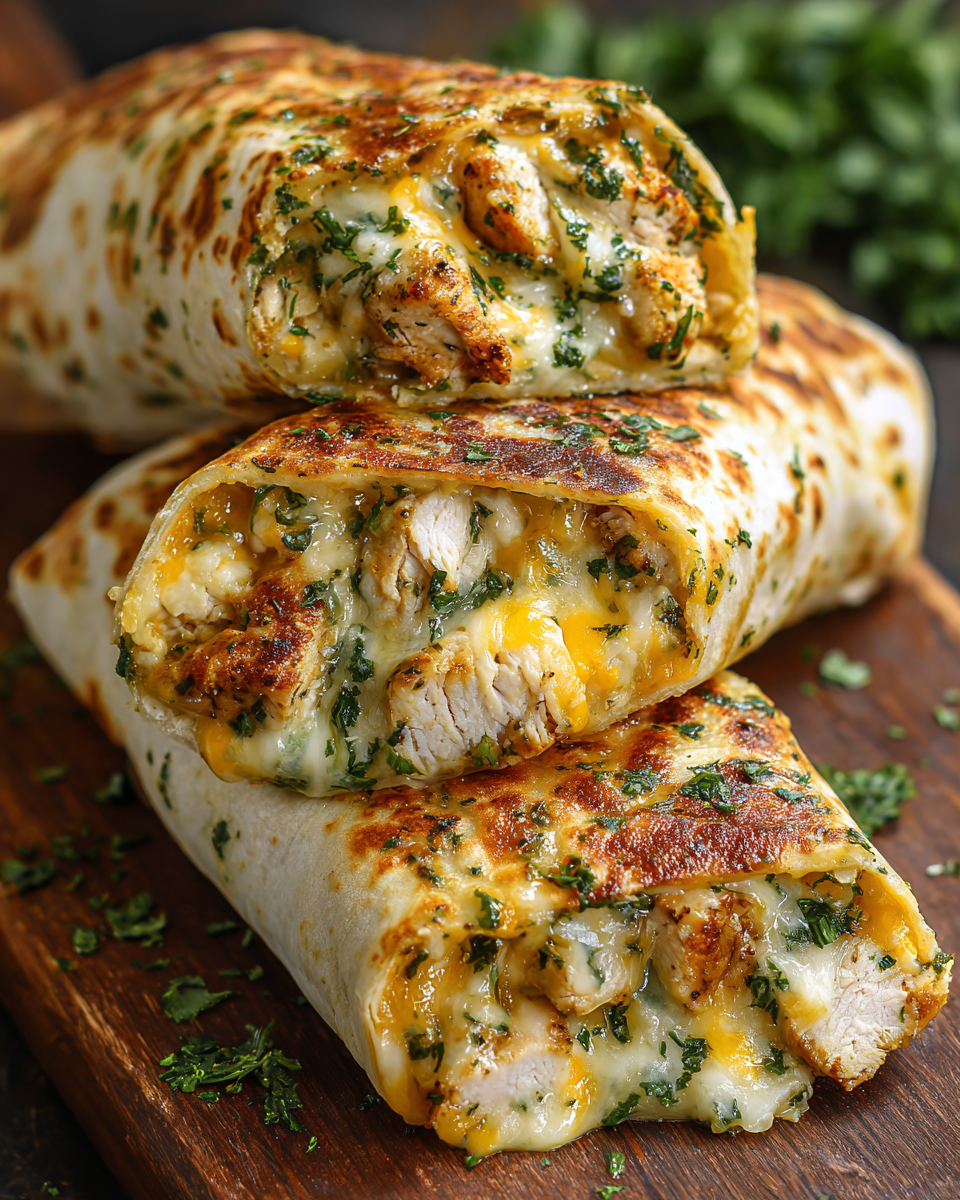
If you're searching for a dish that hits the spot every time, Cheesy Garlic Chicken Wraps are the answer. This comforting meal combines succulent chicken with the irresistible flavors of garlic and melted cheese, all wrapped up in a warm tortilla. It's perfect for busy weeknights or cozy weekends.
Not only are these wraps comforting and ooey-gooey, but they also allow for customization to suit your palate. Whether you prefer a spicy kick or a twist of fresh herbs, these wraps can be easily tailored to your taste. So, grab your apron and let’s dive into making the ultimate cheesy indulgence!
Ingredients
- 2 cups cooked chicken, shredded
Shredded chicken provides a hearty and protein-packed base for the wraps. Using rotisserie chicken can save you time while still ensuring that the meat remains juicy. - 1 cup shredded cheese (cheddar, mozzarella, or a blend)
The choice of cheese adds a rich, gooey texture when melted. A blend of cheeses can offer a variety of flavors that complement the chicken and garlic. - 3 cloves garlic, minced
Garlic infuses the dish with robust flavor, enhancing the savory profile of the wraps. Fresh garlic yields a stronger aroma and taste compared to pre-minced varieties. - 4 large flour tortillas
Flour tortillas provide a soft, pliable wrap that holds the filling together. Their mild flavor allows the cheesy filling to shine. - 1 tablespoon olive oil
Olive oil is used for sautéing the garlic and can help prevent sticking. It also adds a slight richness that enhances the overall flavor. - Salt and pepper to taste
Seasoning is crucial for balancing flavors; salt enhances perceived flavors while pepper adds a welcome hint of spice. - Optional: chopped fresh parsley or cilantro for garnish
Fresh herbs not only brighten the dish visually but also add a cooling element to balance the savory components.
Directions & Preparation
Step 1: Sauté the garlic in olive oil.
Start by heating olive oil in a skillet over medium heat. Once the oil is shimmering, add the minced garlic and sauté it until fragrant and just golden. This step is crucial, as it builds an aromatic foundation for the wraps and prevents the garlic from burning, which can impart a bitter taste.
Step 2: Mix in the shredded chicken.
Once the garlic is ready, stir in your shredded chicken, ensuring it's evenly coated with the oil and garlic. Allow the chicken to heat through. This step not only warms the chicken but allows it to absorb the flavorful garlic oil, enhancing each bite of your wraps with delicious flavor.
Step 3: Add cheese and season the mixture.
Sprinkle the shredded cheese over the chicken- garlic mixture and stir until the cheese melts and everything is well combined. This crucial step creates a gooey texture that binds the ingredients together, making your wraps creamy and comforting.
Step 4: Warm the tortillas.
In a separate skillet or on a griddle, warm the tortillas for about 30 seconds on each side until they’re pliable. This helps prevent tearing when you wrap them and adds a little toasty flavor, enhancing the overall eating experience.
Step 5: Assemble the wraps with the filling.
Spoon the cheesy garlic chicken mixture onto the center of each warmed tortilla, then fold and wrap tightly. The assembly process is key; how tightly you wrap them will affect their structural integrity. Make sure to leave enough space on the sides to prevent spillage.
Step 6: Cook the wraps until golden.
Return the wraps to the skillet, seam-side down, and cook until the tortillas are golden and crispy, about 2-3 minutes per side. This not only crisps up the exterior, providing delightful texture, but also continues to melt the cheese inside for that perfect ooey-gooey experience.
Step 7: Serve garnished with fresh herbs.
After cooking, remove the wraps from the skillet and let them cool slightly before slicing them in half. Garnish with fresh parsley or cilantro for a pop of color and flavor contrast. This last step elevates your dish visually and adds a refreshing touch.

The Perfect Cheese Blend for Maximum Gooeyness
Choosing the right blend of cheeses can elevate your Cheesy Garlic Chicken Wraps to the next level. Combining a sharp cheddar with a creamy mozzarella creates a perfect balance of flavor and meltiness. Monterey Jack or Pepper Jack can also add a unique twist, providing a luscious texture and a hint of spice.
Customize Your Chicken Flavor Profile
While this recipe calls for shredded chicken, don't hesitate to get creative! You could use grilled chicken for a smoky edge, or even seasoned ground turkey for a different taste. The choice of chicken affects not just flavor, but also how the wraps come together, making it a versatile meal to suit your dietary needs.
Pairing Suggestions to Enhance the Experience
These Cheesy Garlic Chicken Wraps are perfect on their own, but they can be beautifully complemented with sides. Consider a light green salad, refreshing vegetable sticks, or a zesty salsa for dipping. Each of these options adds a delightful contrast to the richness of the wraps, creating a well-rounded meal.
FAQs
What can I do if my chicken mixture seems too dry?
If your chicken filling appears dry, consider adding a dash of chicken broth or cream to the mixture while it's heating. This will add moisture and enhance the overall flavor.
How can I adjust the heat level in my cheesy garlic wraps?
To amp up the spice, add diced jalapeños or a dash of hot sauce into the chicken mixture. Alternatively, using a spicier cheese, like Pepper Jack, can also add a flavorful kick.
What if my wraps are falling apart when I eat them?
If your wraps are crumbling, try wrapping them a bit tighter and ensuring they have enough filling to hold shape. Additionally, a slightly thicker tortilla can provide better structural integrity.
Can I scale this recipe for a larger gathering?
Absolutely! Simply multiply the ingredient amounts by the number of wraps you wish to make. Keep in mind to use a larger skillet or two skillets to avoid crowding and ensure each wrap gets a nice golden crust.
How can I incorporate vegetables into the wraps?
Adding sautéed vegetables like bell peppers, mushrooms, or spinach can enhance the flavor profile and nutrition. Stir them in with the chicken mixture to cook them slightly before filling the wraps.
What should I do if the cheese isn't melting well?
If your cheese isn’t melting effectively, it could be due to the heat being too low or using lower-quality cheese. Try raising the heat slightly and cover the skillet briefly to trap steam, helping the cheese melt faster.
Conclusion
Cheesy Garlic Chicken Wraps are a simple yet delightful dish that brings comfort to any meal. With their savory filling and crispy exterior, they can easily become a family favorite. Feel free to experiment with different ingredients to make them your own.
Don’t forget, the joy of cooking lies in personalization, and these wraps are a canvas for your culinary creativity. Enjoy making and sharing this comforting dish with your loved ones, and savor every gooey, cheesy bite!
Recipe Card
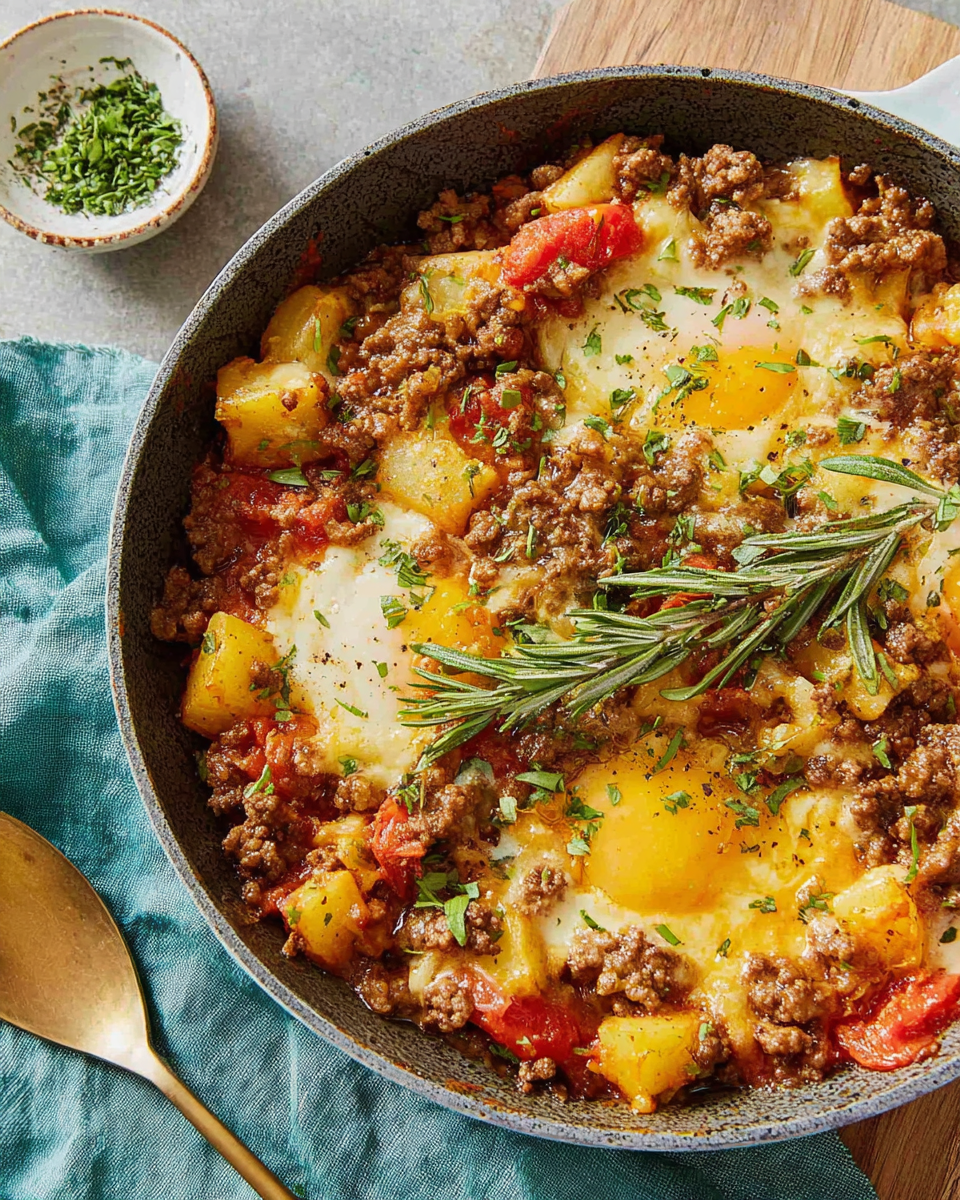
Savor the Day with Tasty Ground Beef Dishes
Ingredients
Method
- Heat the olive oil in a large skillet over medium heat.
- Add the diced onion and sauté until translucent.
- Stir in the minced garlic and sauté for another minute.
- Increase the heat to medium-high and add the ground beef.
- Season with salt, pepper, chili powder, and cumin.
- Cook until the beef is browned and fully cooked through.
- Stir in the diced tomatoes and let simmer for 10 minutes.
- Taste and adjust seasoning if necessary before serving.
Notes
Additional serving suggestions: pair with a crisp salad, garlic bread, or roasted seasonal vegetables for balance.
For make-ahead, prep components separately and assemble just before heating to preserve texture.
Taste and adjust with acid (lemon/vinegar) and salt right at the end to wake up flavors.


