Introduction
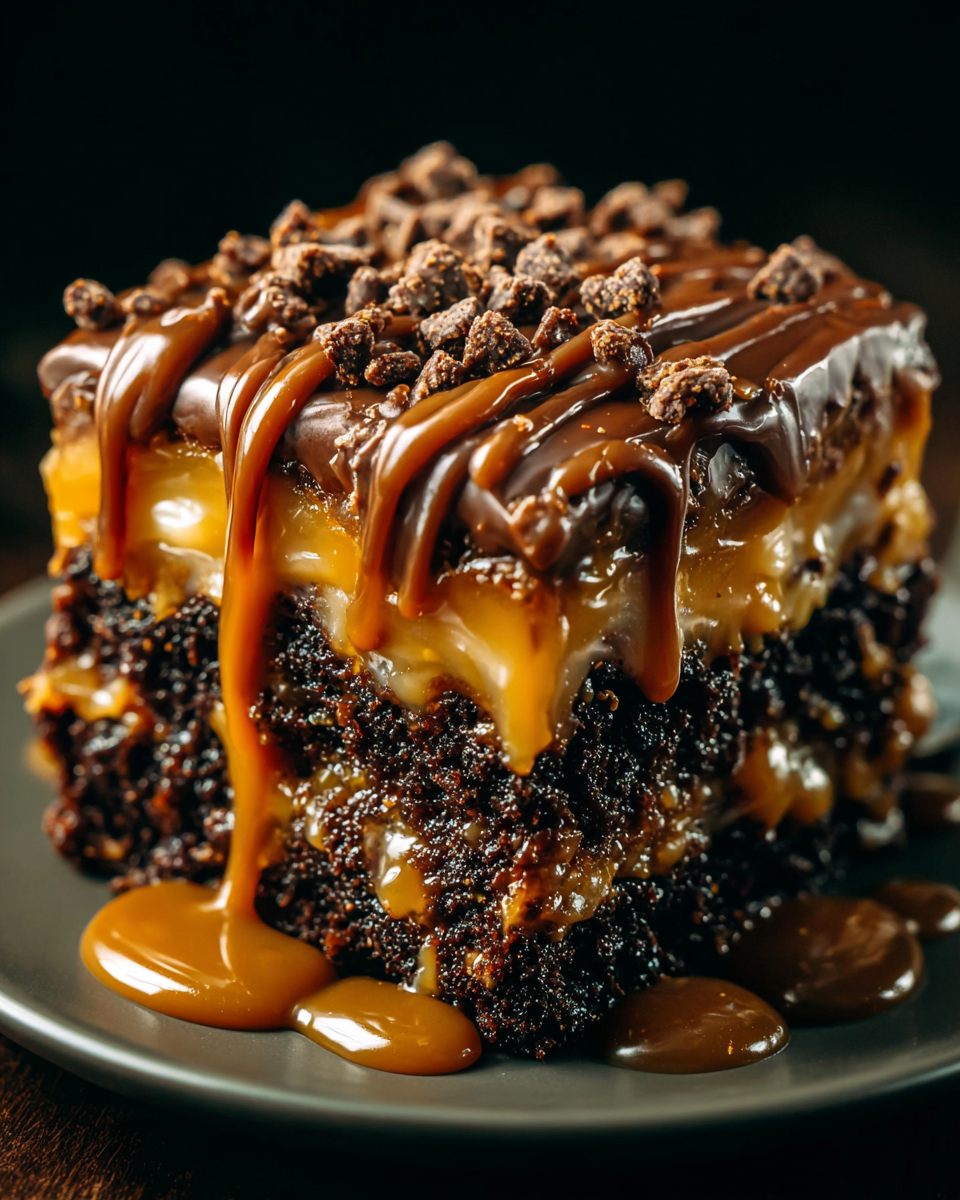
When it comes to desserts that impress with minimal effort, few can rival a chocolate caramel dump cake. This indulgent treat combines rich chocolate with luscious caramel in a way that leaves everyone wanting more, all while requiring little time and effort from the home cook. It's a perfect go-to dessert for gatherings, potlucks, or simply to satisfy a sweet tooth.
One of the joy factors of a dump cake is its delightful simplicity. Just layer a few key ingredients into a baking dish, pop it in the oven, and let the magic happen. The gooey, molten center and the slightly crisp top make it a delightful experience, especially when served warm with a scoop of vanilla ice cream. Dive into the world of chocolate and caramel bliss with this easy recipe!
Ingredients
- 1 box chocolate cake mix
This serves as the foundation of the dump cake, providing structure and chocolate flavor. The cake mix simplifies the process, allowing you to focus on the delightful topping without complicated measures. - 1 cup caramel sauce
The caramel sauce adds a rich, sweet element, creating that signature gooeyness. It melts beautifully as the cake bakes, becoming inextricably linked with the cake's chocolatey matrix. - 1 cup chocolate chips
Chocolate chips contribute bursts of chocolate flavor as they melt during baking. They enhance the overall richness and texture, creating delightful pockets of chocolate throughout the cake. - 3 large eggs
Eggs bind the ingredients together, ensuring the cake has the right structure and moisture. They also contribute to the cake’s lift and tenderness as it bakes. - 1/2 cup milk
Milk adds moisture to the batter, allowing for a rich texture. It is crucial for achieving the right consistency, enhancing the overall mouthfeel of the finished cake. - 1/2 cup unsalted butter, melted
Melted butter enriches the cake mix, infusing the dessert with a buttery flavor. It helps to create a moist, tender crumb while adding to the overall gooeyness of the finished dish. - 1/2 cup chopped nuts (optional)
Nuts, such as walnuts or pecans, can introduce a delightful crunch and additional flavor contrast. They also enhance the aesthetic appeal if sprinkled on top before baking.
Directions & Preparation
Step 1: Preheat the oven to 350°F (175°C).
Preheating the oven is crucial for ensuring that the cake cooks evenly throughout. An adequately heated oven promotes proper rising and helps in achieving that coveted texture: a slightly crispy top with a gooey center.
Step 2: Grease a 9×13-inch baking dish.
Greasing the baking dish prevents the cake from sticking, making it easier to serve once baked. Use a spray or butter, ensuring every corner is coated. This simple step avoids frustration when it’s time to cut and serve your dessert.
Step 3: In a large bowl, combine cake mix, eggs, milk, and melted butter.
Mixing the cake ingredients together now ensures a uniformly blended batter. Stir until just combined, as overmixing can lead to a denser cake. This step sets the foundation for your cake’s texture and flavor.
Step 4: Pour the batter into the prepared baking dish.
Spreading the batter evenly allows for consistent baking throughout. Use a spatula to smoothen the top, ensuring no lumps are trapped below that could affect the rise and texture as it bakes.
Step 5: Drizzle the caramel sauce over the batter.
Drizzling the caramel sauce over the top infuses the cake with gooey goodness as it bakes. The sauce will seep during cooking, creating that signature oozing effect, so take care to cover the batter generously for optimal flavor.
Step 6: Sprinkle chocolate chips (and nuts, if using) on top.
This step enhances the flavor profile by creating pockets of melted chocolate embedded throughout. Nuts add a crunchy texture contrast to the cake’s soft interior, giving each bite a delightful variety.
Step 7: Bake for 30–35 minutes, or until set.
Baking the dump cake allows all the flavors to meld beautifully, transforming the components into a cohesive dessert. Check for doneness by inserting a toothpick into the center; it should come out mostly clean but with some gooey cake attached for that ideal texture.
Step 8: Let cool for a few minutes before serving.
Allowing the dump cake to rest helps the layers set slightly, making it easier to scoop out when serving. This cooling period enhances the flavors as they meld together even more, allowing everyone to enjoy the rich chocolate and caramel in every bite.

Elevate with Homemade Caramel
While store-bought caramel sauce is convenient, crafting your own can elevate the flavor profile to new heights. By using simple ingredients like sugar and cream, you can create a rich, buttery caramel that complements the chocolate cake perfectly. The deep, intricate flavors of homemade caramel can add an extra dimension to the dessert, making every bite even more irresistible.
Serving Suggestions for the Perfect Indulgence
Enhance your chocolate caramel dump cake experience with a scoop of vanilla ice cream or a dollop of whipped cream atop each slice. For a festive touch, sprinkle some sea salt over the caramel before serving to contrast the sweetness. Fresh berries can also lend a refreshing note, balancing the richness while adding vibrant color, making this dessert a feast for the eyes as well as the palate.
Storing and Reheating Your Dessert
If you happen to have leftovers, storing them properly will help maintain the delicious gooeyness. Cover the cake tightly with plastic wrap or transfer it to an airtight container. To reheat, pop individual portions in the microwave for a few seconds until warm, allowing the caramel to melt just right, transforming your leftover treats into a delightful experience once again.
FAQs
What if my cake comes out too dry?
If your dump cake turns out dry, it may have been baked for too long or the ingredients were overmixed. Always check for doneness around the 30-minute mark and avoid mixing too vigorously to retain moisture.
Can I use a different type of cake mix?
Yes, you can experiment with different cake mixes such as vanilla or spice. Just keep in mind that the flavors will change, so adapt the caramel and chocolate elements accordingly for the best results.
What can I do if the caramel sauce doesn't melt properly?
If the caramel sauce isn’t melting well, it could be due to even temperature distribution. Make sure the cake mix is evenly spread, and try gently shaking the dish to allow the sauce to seep through. A longer baking time may also help.
How can I make the chocolate flavor more pronounced?
To enhance the chocolate flavor, consider adding an extra 1/2 cup of chocolate chips or using dark chocolate chips instead of semi-sweet. This will deepen the overall chocolate experience without altering the cake's structure.
Is it possible to make this dump cake gluten-free?
Certainly, by substituting the regular cake mix for a gluten-free cake mix, you can make this dessert suitable for those with gluten sensitivities. Just ensure all other ingredients, including the caramel, adhere to gluten-free standards.
What if my cake doesn’t set properly?
If your dump cake appears undercooked, it likely needs a bit more time in the oven. Test it again every few minutes by inserting a toothpick; it should come out with a bit of gooeyness but not wet batter.
Conclusion
Making a chocolate caramel dump cake is a delightful venture that combines convenience and flavor effortlessly. Its indulgent layers of chocolate and caramel make it a show-stopping dessert for various occasions. Just a few steps lead to a decadent treat that can satisfy cravings and impress your guests.
Whether served warm, cold, or with ice cream over the top, this dessert is bound to become a family favorite. Embrace the simplicity of this dump cake and enjoy the sheer joy of digging into a delicious layer of chocolatey goodness topped with sweet caramel.
Recipe Card
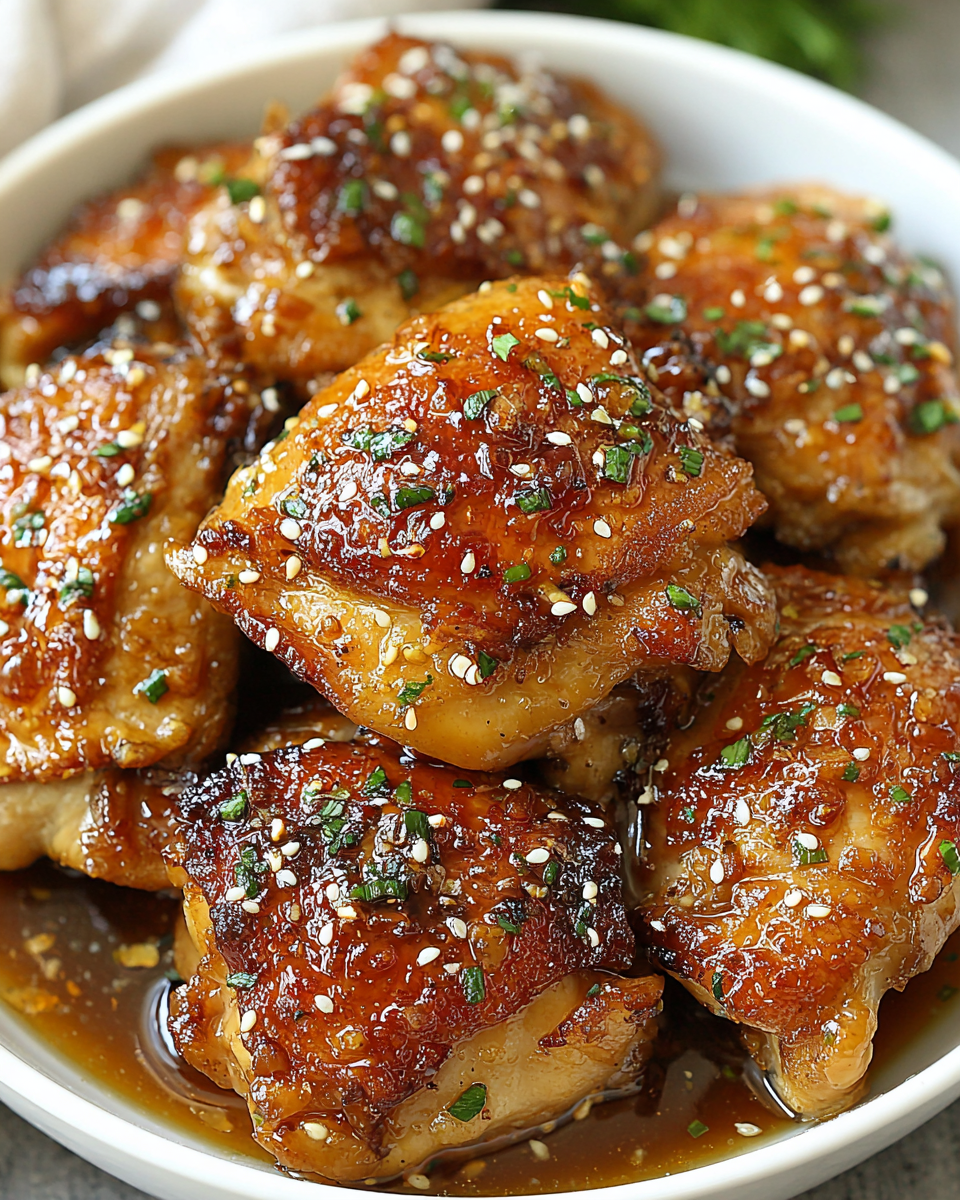
Sweet and Savory Honey Garlic Chicken Thighs Recipe
Ingredients
Method
- Prepare the chicken thighs by patting them dry and seasoning with salt and pepper.
- In a mixing bowl, whisk together honey, soy sauce, minced garlic, apple cider vinegar, black pepper, and sesame oil.
- Place chicken thighs in the slow cooker and pour the sauce over them.
- Set the slow cooker to low and cook for 4-5 hours, or until chicken is tender and fully cooked.
- Once cooked, remove chicken from the slow cooker and let it rest briefly before serving.
- Serve the chicken thighs garnished with sliced green onions and drizzled with additional sauce from the slow cooker.
Notes
Additional serving suggestions: pair with a crisp salad, garlic bread, or roasted seasonal vegetables for balance.
For make-ahead, prep components separately and assemble just before heating to preserve texture.
Taste and adjust with acid (lemon/vinegar) and salt right at the end to wake up flavors.


