
Introduction
Chocolate thumbprint cookies are a delightful treat that combines the rich flavors of chocolate with the sweetness of jam. This beloved recipe from In Bloom Bakery evokes the taste of homemade goodness, perfect for any occasion.
The unique thumbprint design not only creates a charming visual but also provides a well for your favorite jam. These cookies are sure to impress friends and family with their taste and presentation.
Ingredients
- 1 cup unsalted butter, softened
Unsalted butter serves as the primary fat in this recipe, providing moisture and richness to the cookies. The softened state makes it easier to cream with sugar, which is crucial for the cookie's texture. - 3/4 cup granulated sugar
Granulated sugar sweetens the cookies and helps create a light, tender texture. Its ability to dissolve during the creaming process is vital for optimal cookie structure. - 1/2 cup brown sugar, packed
Brown sugar adds moisture and a slight chewiness to the cookies, along with a hint of caramel flavor that complements the chocolate. - 2 large eggs
Eggs act as a binder, helping to hold the cookies together. They also contribute to the cookie's structure and richness. - 2 teaspoons vanilla extract
Vanilla extract enhances the overall flavor profile of the cookies, adding warmth and complexity that pairs beautifully with chocolate. - 2 cups all-purpose flour
Flour provides the necessary structure for cookies. The type and amount of flour used can significantly impact the cookie's final texture. - 1/2 cup unsweetened cocoa powder
Cocoa powder gives these cookies their rich chocolate flavor, providing depth without adding extra fat, which allows for a balanced taste. - 1 teaspoon baking powder
Baking powder is crucial for creating a light and fluffy texture. It produces carbon dioxide gas when activated, helping the cookies rise. - 1/4 teaspoon salt
Salt enhances the flavors in the cookies, balancing sweetness and making all the other ingredients more pronounced. It’s an essential component for achieving depth of flavor. - 1/2 cup fruit jam or preserves
The fruit jam is not just for sweetness; it adds a burst of flavor and moisture to the center of the thumbprint, contrasting with the rich chocolate.
Directions & Preparation
Step 1: Preheat your oven to 350°F (175°C).
Preheating the oven ensures that the cookies bake evenly. When cookies enter an adequately heated oven, they can rise correctly and achieve the right texture.
Step 2: In a mixing bowl, cream together the softened butter, granulated sugar, and brown sugar until light and fluffy.
Creaming the butter and sugars is a crucial step to incorporate air, which helps create a light texture. The mixture should turn pale in color and have a fluffy consistency.
Step 3: Add the eggs one at a time, mixing well after each addition, then stir in the vanilla extract.
Adding the eggs gradually ensures they are well incorporated, which helps create an even batter. This step adds moisture and richness, which are key to the cookie’s flavor.
Step 4: In a separate bowl, whisk together the flour, cocoa powder, baking powder, and salt.
Whisking the dry ingredients together before combining them with the wet ensures even distribution of the leavening agents and prevents clumps, resulting in a uniform dough.
Step 5: Gradually add the dry ingredients to the wet mixture, mixing until just combined.
Mixing the dough just until combined prevents overworking it, which can lead to tough cookies. Maintain the cookies' tenderness and perfect texture.
Step 6: Scoop tablespoon-sized amounts of dough and roll them into balls.
Rolling the dough into balls ensures uniform size and baking times. This promotes even cooking and helps maintain the desired shape.
Step 7: Place the dough balls on a parchment-lined baking sheet, spacing them about 2 inches apart.
Spacing is essential as cookies will spread while baking. Keeping them apart prevents merging and ensures each cookie maintains its unique shape.
Step 8: Using your thumb or the back of a spoon, create an indentation in the center of each dough ball.
The indentation is crucial for holding the jam. Making a deep enough thumbprint allows ample room for the jam to sit once baked, creating a lovely contrast.
Step 9: Fill each indentation with your choice of fruit jam or preserves.
Selecting your favorite jam not only personalizes each cookie but also adds a delightful burst of flavor that complements the chocolate.
Step 10: Bake in the preheated oven for 12-15 minutes, or until set.
Baking until set ensures that the cookies remain soft but aren’t overly chewy. Watch closely towards the end, as timing can vary based on oven type.
Step 11: Let the cookies cool on the baking sheet for a few minutes before transferring them to a wire rack to cool completely.
Cooling on the sheet allows the cookies to firm up slightly, making them easier to move without losing shape. Transferring them to a wire rack enables even cooling.

The Importance of Quality Ingredients
Using high-quality ingredients, particularly in a simple recipe like chocolate thumbprint cookies, can elevate the flavor significantly. Look for premium cocoa powder, good butter, and fresh eggs. Each element contributes to the overall taste and texture, resulting in a more satisfying and memorable cookie.
Choosing the Right Jam for Flavor Balance
The choice of jam adds a unique touch to your cookies. A tart raspberry or cranberry jam contrasts beautifully with the sweetness of the chocolate, while apricot or peach preserves offer a milder, sweeter flavor. Consider your personal taste preferences and aim for a jam that brings out the best in the chocolate.
Customizing Your Thumbprint Cookies
While the classic chocolate thumbprint is delightful, consider experimenting with mix-ins, like chopped nuts or chocolate chips. You can also swap half of the flour for almond flour for a nutty aroma or vary the cocoa content for a bolder chocolate flavor. Personalizing your cookies can make them uniquely yours.
FAQs
What should I do if my dough feels too dry?
If your dough is too dry, try adding a tablespoon of milk or water gradually until it reaches a workable consistency. This will ensure the cookies hold together.
Why are my cookies spreading too much while baking?
Excessive spreading can be a result of overly warm dough or insufficient flour. Make sure to chill the dough for 30 minutes if it feels soft and sticky.
Can I use different types of chocolate in the dough?
Absolutely! You can substitute some of the cocoa powder with melted chocolate for a richer, more decadent flavor. Just be mindful of the total fat content.
What if my kernel dough is too thick to form into balls?
If your dough is too thick, it could be due to overmeasuring the flour. Add a teaspoon of milk and mix to help loosen it up.
How can I adjust the sweetness of my cookies?
To make the cookies less sweet, you can reduce the sugar by about 1/4 cup, or opt for a tart jam to provide a contrast that balances the sweetness.
Is there a way to make these cookies more appealing visually?
For a more appealing presentation, consider rolling the cookie dough balls in powdered sugar before baking. This gives them a beautiful finish and adds a touch of sweetness.
Conclusion
Chocolate thumbprint cookies are not only a joy to make but also to share with loved ones. Their delightful combination of flavors and textures makes them a standout dessert for any gathering.
Embrace the creativity that comes with these cookies, customizing them to your taste. Enjoy each bite, knowing every detail was made with care.
Recipe Card
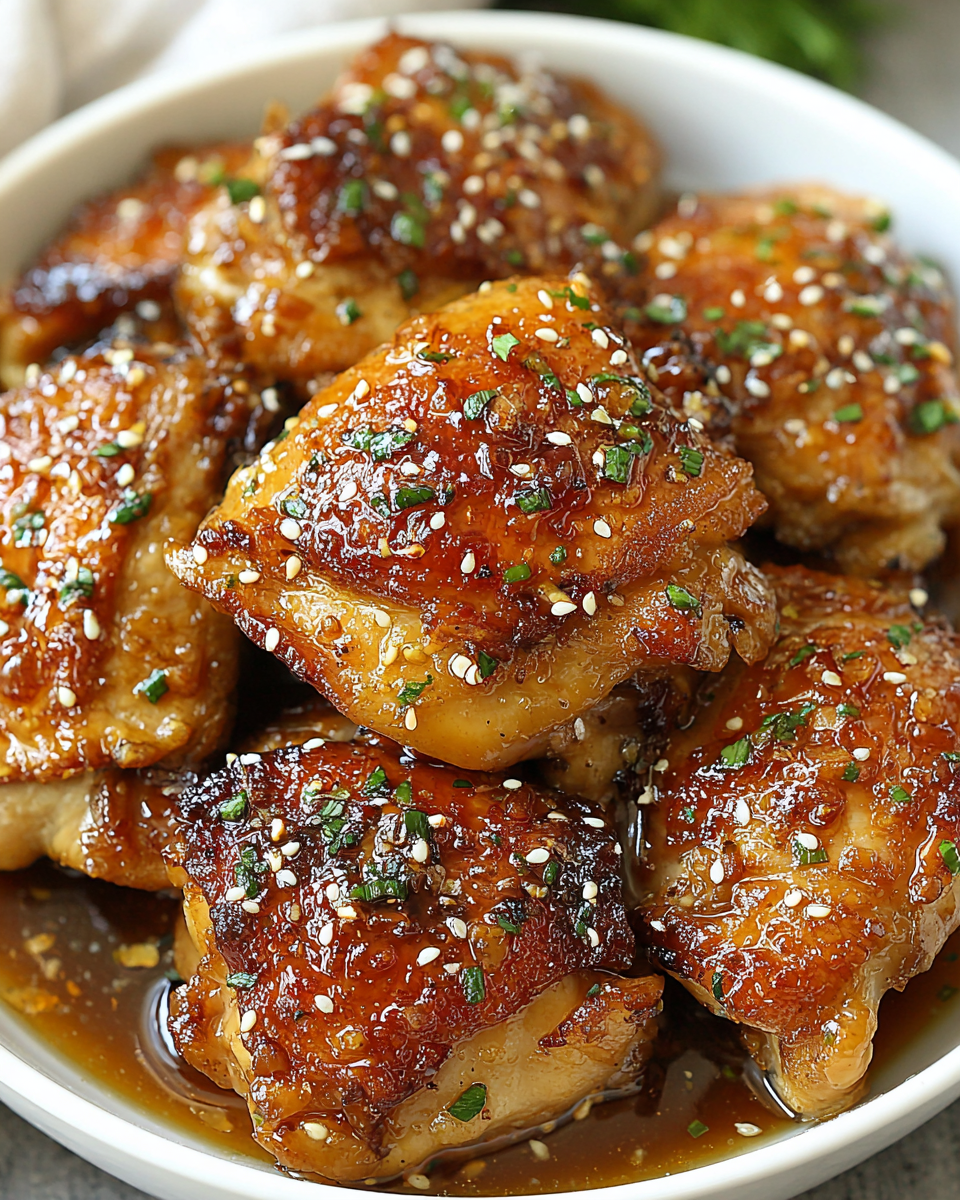
Sweet and Savory Honey Garlic Chicken Thighs Recipe
Ingredients
Method
- Prepare the chicken thighs by patting them dry and seasoning with salt and pepper.
- In a mixing bowl, whisk together honey, soy sauce, minced garlic, apple cider vinegar, black pepper, and sesame oil.
- Place chicken thighs in the slow cooker and pour the sauce over them.
- Set the slow cooker to low and cook for 4-5 hours, or until chicken is tender and fully cooked.
- Once cooked, remove chicken from the slow cooker and let it rest briefly before serving.
- Serve the chicken thighs garnished with sliced green onions and drizzled with additional sauce from the slow cooker.
Notes
Additional serving suggestions: pair with a crisp salad, garlic bread, or roasted seasonal vegetables for balance.
For make-ahead, prep components separately and assemble just before heating to preserve texture.
Taste and adjust with acid (lemon/vinegar) and salt right at the end to wake up flavors.


