Introduction
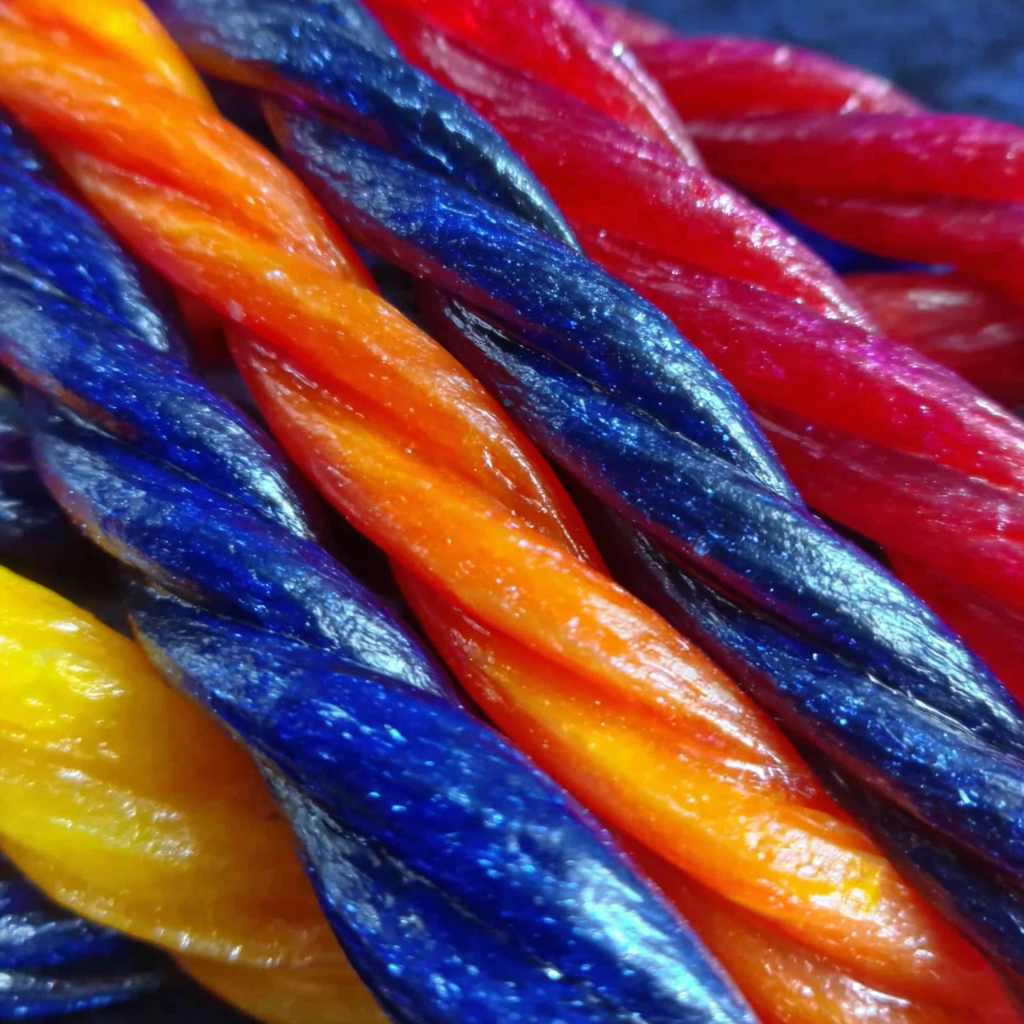
Homemade Kool-Aid licorice ropes are a nostalgic treat that not only satisfies your sweet tooth but also engages your creativity in the kitchen. This unique recipe blends classic flavors with an exciting twist, allowing every kitchen aficionado to craft their sweet masterpiece. With vibrant colors and tantalizing tastes, these licorice ropes are perfect for sharing or indulging yourself.
Whether you're looking to introduce fun activities for your kids, impress friends at a gathering, or simply satisfy a craving for something chewy, this recipe is an excellent choice. Best of all, it uses easily accessible ingredients that transform into an extraordinary homemade candy experience.
Ingredients
- 1 cup water
Water serves as the base for the syrup that binds the ingredients together, ensuring a smoother consistency and enabling other flavors to meld properly. - 2 packets (0.13-ounce each) Kool-Aid drink mix
Kool-Aid adds both vibrant color and intense flavor to the licorice. Different flavors can be used for varied taste experiences. - 1 cup granulated sugar
Sugar is essential for sweetness and contributes to the chewy texture of the licorice. It helps create that candy-like consistency after cooking. - 1 tablespoon corn syrup
Corn syrup prevents the sugar from crystallizing, ensuring a smooth, consistent texture in the final product and contributing to its chewiness. - 1 teaspoon unflavored gelatin
Gelatin acts as a setting agent, giving the licorice its firm yet chewy structure while enhancing the overall mouthfeel. - 1/2 teaspoon vanilla extract
Vanilla extract adds depth to the flavor profile, balancing the tartness of the Kool-Aid with a hint of aromatic sweetness. - 1/4 teaspoon salt
A small amount of salt enhances the overall flavor, countering sweetness and elevating the overall taste experience.
Directions & Preparation
Step 1: Combine water and Kool-Aid mix in a saucepan.
Start by pouring the water into a medium saucepan and adding the Kool-Aid packets. Stir until the mixture is well combined. This is a crucial first step because the Kool-Aid mix needs to dissolve completely to ensure even flavor distribution throughout the licorice. Pay attention to any lumps, and continue stirring until the mix becomes a uniform solution.
Step 2: Add sugar and corn syrup to the saucepan.
Incorporate the granulated sugar and corn syrup into the Kool-Aid mixture. This step is important because it creates the sweetness and stickiness that defines the licorice. As you heat the mixture, the sugar dissolves, combining harmoniously with the Kool-Aid, resulting in a syrupy blend that will form the candy base. Stir over medium heat until the sugar is fully dissolved.
Step 3: Sprinkle in the gelatin and mix until no clumps remain.
Once the mixture is heated and sugar is dissolved, sprinkle in the unflavored gelatin. Stir continuously until the gelatin completely dissolves with no clumps left. This is a key point that will determine your candy's texture, as undissolved gelatin can lead to a gritty licorice. Continuously stirring ensures that the gelatin is evenly incorporated, leading to a smooth finish.
Step 4: Remove from heat and add vanilla extract and salt.
After the gelatin is thoroughly mixed in, take the saucepan off the heat and add the vanilla extract and salt. This step enhances the overall flavor, with the vanilla softening the tanginess of the Kool-Aid. Allowing the mixture to cool slightly also makes it easier to handle in the next steps, improving the final texture of your licorice.
Step 5: Pour the mixture into a mold and let it cool.
Carefully pour the warm mixture into molds or on a parchment-lined surface. Using molds will give your licorice its shape, while pouring on parchment allows you to cut the candy into ropes after it cools. It's vital to let the mixture cool completely at room temperature, as this solidifies the gelatin, setting the candy into a chewy form.
Step 6: Cut the cooled candy into strips.
Once the candy has fully cooled and set, remove it from the molds or peel it off the parchment paper. Now, you can cut the candy into strips or rope-like pieces. Try to keep the sizes consistent for even texture and eating experience. Working swiftly is key at this point, as the licorice may become overly chewy if it sits too long.
Step 7: Store in an airtight container.
To keep your homemade Kool-Aid licorice fresh, place the pieces in an airtight container. Proper storage is essential to maintain the texture and flavor. If exposed to air, the licorice can become hard and lose its delightful chewiness. Keeping it sealed helps preserve the sweet, tangy taste, and you can enjoy these vibrant ropes over several days.

Experimenting with Flavors
The beauty of making Kool-Aid licorice ropes lies in the flexibility of flavors you can use. Kids can pick their favorite flavors to create personalized candy. For a berry medley, combine Blue Raspberry and Cherry, or go tropical with Fruit Punch and Mango. Each flavor combination yields a different taste sensation, making the candy experience truly unique. Don't hesitate to mix Kool-Aid flavors based on seasonal preferences or gatherings.
Using Different Molds
While standard rope shapes are fun, consider using novelty molds to create themed shapes for parties or celebrations. Stretching your creativity with bunny or star-shaped molds can add festive flair, especially for holidays or special events. Those special shapes will impress guests and make your licorice irresistible to kids. Always remember to adjust the cooling time if the mold size differs to ensure proper setting.
Adding a Twist of Spice
For adult palettes or those looking to experiment, consider incorporating a dash of spice into your licorice mixture. A hint of cayenne pepper or cinnamon can introduce an unexpected flavor dimension, making it more sophisticated. This variation might surprise and delight, enhancing the sweetness of the candy while adding warmth. Start with small amounts, as the goal is to complement, not overshadow, the iconic Kool-Aid taste.
FAQs
What if my licorice is too thick after cooling?
If the licorice turns out too thick, you can try reheating it gently with a splash of water to soften the mixture before reshaping it.
Can I substitute the Kool-Aid with another drink mix?
Yes, feel free to use any powdered drink mix of your choice. Just keep in mind that flavors and colors may vary.
What should I do if my licorice doesn't set properly?
If your licorice hasn't set, it may be because the gelatin didn't dissolve fully. Reheat gently and ensure all ingredients are well combined before letting it cool again.
Can I add fruit puree to the mixture?
Yes, incorporating fruit puree can enhance flavor but may require adjustments to sugar levels to maintain the right consistency.
What if I want to make a larger batch?
Simply double or triple the quantities of each ingredient, ensuring you use a larger pot to accommodate the increased volume.
How can I make the licorice less sweet?
Reducing the amount of sugar will help lower the sweetness, but also be cautious about changing the texture. Remember to keep the balance.
Conclusion
The process of making homemade Kool-Aid licorice ropes not only allows you to indulge in a personal candy-making experience but also lets you unleash creativity in flavor and presentation. Whether you're making these for a get-together or simply for fun, the delight of creating something from scratch is truly rewarding.
As you experiment with flavors, shapes, and spice, you'll find endless possibilities with this simple recipe. So, gather your ingredients, invite some friends or family, and enjoy the journey of crafting your delicious licorice ropes!
Recipe Card

Savor the Day with Tasty Ground Beef Dishes
Ingredients
Method
- Heat the olive oil in a large skillet over medium heat.
- Add the diced onion and sauté until translucent.
- Stir in the minced garlic and sauté for another minute.
- Increase the heat to medium-high and add the ground beef.
- Season with salt, pepper, chili powder, and cumin.
- Cook until the beef is browned and fully cooked through.
- Stir in the diced tomatoes and let simmer for 10 minutes.
- Taste and adjust seasoning if necessary before serving.
Notes
Additional serving suggestions: pair with a crisp salad, garlic bread, or roasted seasonal vegetables for balance.
For make-ahead, prep components separately and assemble just before heating to preserve texture.
Taste and adjust with acid (lemon/vinegar) and salt right at the end to wake up flavors.


