Introduction
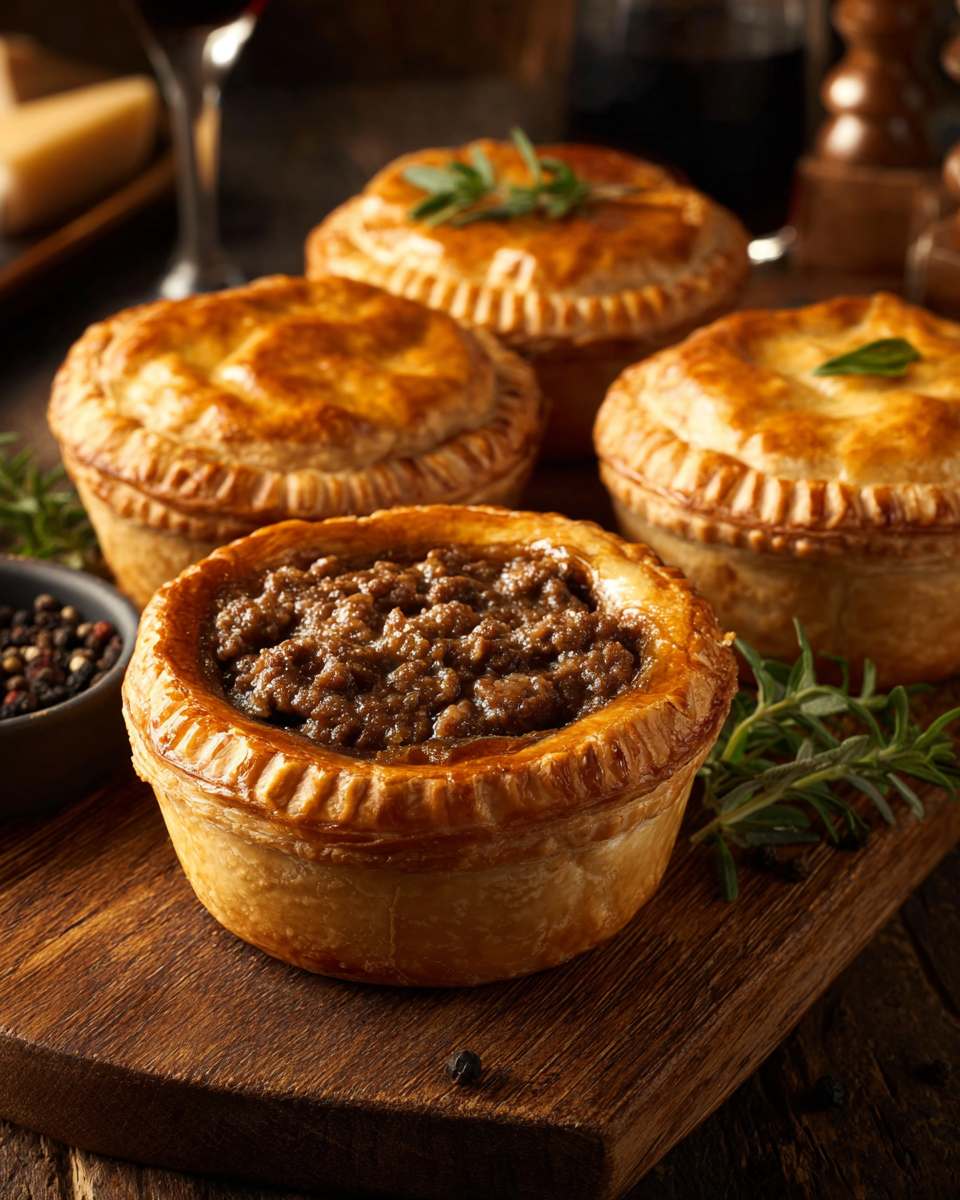
Crispy meat pies are a delightful comfort food loved by many around the globe. Their flaky crusts envelop an array of savory fillings, making each bite a satisfying experience. Whether enjoyed as a snack or a meal, these pies embody warmth and creativity in the kitchen.
The beauty of crispy meat pies lies in their versatility. You can choose from a variety of meats, spices, and vegetables, allowing for customization that meets your palate and dietary needs. This recipe will guide you toward creating golden, crispy wonders that are sure to impress.
Ingredients
- 2 cups all-purpose flour
The foundation of the pie crust, all-purpose flour provides structure and a tender bite. It helps create that desirable flaky texture, essential for a good meat pie. - 1 teaspoon salt
Salt enhances flavor and strengthens the dough by promoting gluten formation. It ensures the crust isn't bland and instead complements the savory filling. - 1 cup unsalted butter (cold, diced)
Butter contributes to the buttery richness and helps achieve a flaky texture as it melts during baking. Using cold butter is crucial for preventing the dough from becoming greasy. - 6-8 tablespoons cold water
Cold water helps bind the dough without activating too much gluten. This keeps the crust tender and flaky. Adjust the amount as needed to bring the dough together. - 1 pound ground beef (or meat of choice)
Ground beef serves as the primary protein in the filling but can be substituted with lamb, chicken, or a vegetarian meat alternative for varied flavors. - 1 onion (finely chopped)
Onion adds sweetness and depth to the filling. Sautéing it enhances its flavors, making the meat filling more aromatic and cohesive. - 2 cloves garlic (minced)
Garlic elevates the overall flavor profile of the filling with its robust and aromatic qualities, complementing the meat beautifully. - 1 teaspoon dried thyme
Thyme introduces an earthy note that pairs well with meat. It adds a subtle complexity to the filling, enhancing its savory characteristics. - 1/2 teaspoon black pepper
Black pepper adds a touch of heat and depth to the meat filling, balancing the richness of the meat and onion. - 1 egg (beaten, for egg wash)
An egg wash gives the crust an attractive golden-brown finish when baked, making the pies visually appealing and adding a slight sheen.
Directions & Preparation
Step 1: Prepare the pie dough.
Begin by combining the all-purpose flour and salt in a mixing bowl. These dry ingredients are essential for creating the structure of the crust. Cut in the cold butter until the mixture resembles coarse crumbs. The goal is to keep the butter from melting; it should remain as small, pea-sized pieces in the dough, helping to create that flaky texture. Gradually add cold water, one tablespoon at a time, until the dough comes together. Be careful not to overwork the dough, as this will result in a tough crust.
Step 2: Chill the dough.
Wrap the dough in plastic wrap and refrigerate for at least 30 minutes. Chilling is crucial as it allows the gluten to relax, leading to a flakier crust when baked. This also solidifies the butter, preventing it from melting too quickly when rolled out. If you skip this step, you may end up with a chewy crust rather than a crispy one.
Step 3: Prepare the filling.
In a skillet, heat a small amount of oil and sauté the chopped onion until it turns translucent. Incorporating garlic at this stage enhances the filling's flavor. Add the ground beef, breaking it up with a spatula, and cook until browned. Season with thyme, salt, and pepper. This sautéing process not only develops flavor but also helps render excess fat from the meat, ensuring a balanced filling consistency.
Step 4: Roll out the dough.
On a lightly floured surface, take out the chilled dough and roll it out to about 1/8-inch thickness. Using a rolling pin can help achieve even thickness. This step is crucial as it impacts the final texture of the pie crust; a thinner crust will give more of a flakier bite while ensuring it's substantial enough to hold the filling without breaking.
Step 5: Cut and shape the crusts.
Using a round cutter, cut out circles from the rolled dough to make the top and bottom crusts of the pies. Make sure they are slightly larger than the muffin tins or pie molds you’re using. This step is where you lay the foundation for your pies: ensure that the bottom crusts are slightly thicker to prevent sagging under the weight of the filling.
Step 6: Assemble the pies.
Place the bottom discs of dough into greased muffin tins or pie molds, filling them with an adequate amount of the meat filling. Top with another disc of dough, pressing around the edges to seal. This step ensures that the filling is secured well within the crust. For added decoration, you can crimp the edges with a fork or fingertips, which helps create a tight seal and beautiful presentation.
Step 7: Bake the pies.
Preheat your oven to 375°F (190°C) and brush the tops of the pies with egg wash for that golden finish. Bake for 25-30 minutes or until they are golden brown. This process allows the crust to crisp up nicely while the heat cooks through the filling. Keep an eye on them towards the end; a perfect pie is golden and emits a savory aroma.
Step 8: Cool and serve.
Once baked, let the meat pies cool in the tins for about 10 minutes. This cooling period allows the filling to set slightly and makes ganache easier to remove from the tins. Serve warm, and enjoy the lovely contrast between the flaky crust and the savory, rich filling.

The Art of Flaky Crusts
Creating a flaky crust is a combination of technique and temperature. Keeping your butter cold and not overworking the dough are key components. When butter hits the heat of the oven, it creates steam that results in those delicate layers we adore. Temperature control and gentle handling transform a simple dough into a culinary work of art.
Savory Filling Possibilities
The filling is where personal expression can shine through. While this recipe calls for ground beef, you can explore countless variations, including chicken, lamb, or even mixed vegetables for a vegetarian option. Play with herbs and spices to create a filling that represents your flavor preferences and culinary style.
Perfect Pairings
Crispy meat pies often shine on their own, but pairing them with the right sides can elevate the meal. Consider serving them alongside a fresh salad or a hearty gravy for dipping. Each bite can be complemented by various sides, adding another level of flavor and texture to this comforting dish.
FAQs
What if the filling tastes bland?
If your filling is bland, consider adjusting the seasoning by adding more salt, pepper, or spices. Taste it after cooking to modify flavors before filling the pies.
How do I know when the pies are done?
Pies are done when they are golden brown on top and emit a fragrant aroma. A toothpick inserted in the filling should come out clean.
Can I use different types of meat in the filling?
Yes, you can substitute any ground meat or even a plant-based alternative. Just ensure the cooking times are adjusted if using larger chunks of meat.
What if my dough is too crumbly?
If your dough is crumbly, it may need more water. Add cold water by the teaspoon until the mixture comes together smoothly.
Can I double this recipe for a larger gathering?
Absolutely! Just double all the ingredients and ensure you have enough space in your oven for baking multiple trays at once.
What if my crust doesn't flake properly?
Improper flakiness may result from overworking the dough or using warm butter. Ensure you handle the dough minimally and keep ingredients chilled.
Conclusion
Creating crispy meat pies at home can be both a fun and rewarding culinary experience. With a little patience and practice, you’ll develop a skill that impresses not only your family but also your friends. Experimenting with fillings and flavors can lead to an endless array of savory delights.
Whether you're hosting a gathering or simply indulging in a cozy night in, these pies will surely be a hit. Enjoy the process, and savor each flaky bite you create!
Recipe Card

Sweet and Savory Honey Garlic Chicken Thighs Recipe
Ingredients
Method
- Prepare the chicken thighs by patting them dry and seasoning with salt and pepper.
- In a mixing bowl, whisk together honey, soy sauce, minced garlic, apple cider vinegar, black pepper, and sesame oil.
- Place chicken thighs in the slow cooker and pour the sauce over them.
- Set the slow cooker to low and cook for 4-5 hours, or until chicken is tender and fully cooked.
- Once cooked, remove chicken from the slow cooker and let it rest briefly before serving.
- Serve the chicken thighs garnished with sliced green onions and drizzled with additional sauce from the slow cooker.
Notes
Additional serving suggestions: pair with a crisp salad, garlic bread, or roasted seasonal vegetables for balance.
For make-ahead, prep components separately and assemble just before heating to preserve texture.
Taste and adjust with acid (lemon/vinegar) and salt right at the end to wake up flavors.


