
Introduction
When it comes to comfort food, potato cheese croquettes stand out for their delightful crunch and creamy, cheesy interior. Perfect as an appetizer or snack, these golden bites are a favorite among both kids and adults, making them an excellent choice for family gatherings or casual parties.
This easy recipe requires minimal ingredients and can be whipped up with potatoes and cheese you likely have on hand. The result is a crispy exterior that gives way to a soft, flavorful filling, crafted to impress even the pickiest eaters in your home.
Whether served with a dipping sauce or on their own, potato cheese croquettes provide an irresistible crunch with every bite. Let's dive into this simple yet delicious recipe that guarantees satisfaction!
Ingredients
- 2 large russet potatoes
Russet potatoes are ideal for this recipe due to their starchy nature, which helps create a light and fluffy texture. Their ability to absorb flavors enhances the overall taste of the croquettes. - 1 cup shredded cheddar cheese
Cheddar cheese adds a rich, tangy flavor that complements the potatoes beautifully. Its melting properties contribute to the creamy filling that makes these croquettes so enjoyable. - 1/2 cup all-purpose flour
Flour acts as a binding agent, holding the potato and cheese mixture together. It also assists in forming a golden crust when fried, creating that much-desired crispiness. - 1 egg
An egg serves as a binding element to help hold the croquettes together while enhancing the texture. Plus, it contributes to the golden color and helps achieve the perfect fry. - 1/2 teaspoon onion powder
Onion powder enhances the overall flavor profile by adding a subtle sweetness and depth without the need for fresh onions. It complements the potato and cheese beautifully. - Salt and pepper to taste
Seasoning is essential for elevating the flavors in your croquettes. A well-balanced amount of salt and pepper ensures that each bite is satisfying and delicious. - Oil for frying
Oil is crucial for frying the croquettes to achieve that perfect crispy exterior. Choose an oil with a high smoke point for the best results, such as vegetable or canola oil.
Directions & Preparation
Step 1: Peel and boil the potatoes until fork-tender.
Start by peeling the russet potatoes and cutting them into quarters for even cooking. Boiling them until fork-tender ensures that they mash smoothly without any lumps, forming a better base for the croquettes.
Step 2: Drain and mash the potatoes in a large bowl.
After boiling, drain the potatoes thoroughly to remove excess moisture. Mashing them while still warm helps incorporate air, making for a fluffier croquette. A smooth, consistent texture allows for easy mixing with the other ingredients.
Step 3: Add cheddar cheese, egg, onion powder, salt, and pepper, and mix well.
Incorporate the shredded cheddar cheese, egg, onion powder, salt, and pepper into the mashed potatoes. The cheese will melt during frying, contributing to the creamy filling, while the egg binds the mixture together ensuring the croquettes hold their shape.
Step 4: Shape the mixture into small, uniform patties.
Form the potato and cheese mixture into small, uniform croquettes. A consistent size ensures even cooking, as larger pieces may take longer to cook through. Aim for about 1.5 inches in diameter for ideal frying results.
Step 5: Dredge each croquette in flour.
Coating the croquettes in flour before frying creates a protective barrier that allows for a crunchy exterior. The flour also helps absorb moisture, leading to a golden-brown crust that enhances flavor and texture.
Step 6: Heat oil in a frying pan over medium heat.
Preheat your frying pan with oil over medium heat, ensuring it's hot enough for frying. A properly heated pan prevents the croquettes from soaking up too much oil, which results in a greasier finish. Aim for around 350°F for optimal frying conditions.
Step 7: Fry the croquettes until golden brown, about 3-4 minutes per side.
Carefully place the croquettes in the hot oil, frying them until golden brown on each side. This step is essential for developing a crispy texture. Avoid overcrowding the pan to maintain the oil temperature, allowing the croquettes to fry evenly.
Step 8: Remove from oil and drain on paper towels.
Once nicely golden, remove the croquettes from the oil and allow them to drain on paper towels. This absorbs any excess oil, resulting in a less greasy final product. It's also a good time to sprinkle a little extra salt while they’re hot, enhancing flavor.

Customizing Your Croquettes with Flavor Variations
While this potato cheese croquettes recipe is delicious in its original form, there are numerous ways to customize it. Consider incorporating different cheeses like mozzarella or pepper jack for a twist. Fresh herbs, such as chives or parsley, can elevate the flavors, adding a fresh element to each bite. Experimenting with additional ingredients can lead to your signature croquette creation.
Serving Suggestions: Dips and Pairings
Pair your crispy potato cheese croquettes with a variety of dips that complement their flavors. A tangy sour cream or a smooth ranch dressing enhances the experience, while a spicy aioli can add a fiery kick. They also make an excellent addition to a fondue platter or can be served alongside a fresh salad for a balanced meal.
Storing and Reheating Croquettes: Keeping Them Crispy
To maintain the crispy texture of leftover croquettes, store them in an airtight container in the refrigerator. When ready to serve, reheat them in an oven or air fryer rather than a microwave, which can make them soggy. This will help restore their crunch, ensuring that every bite tastes freshly made.
FAQs
What if my potato cheese mixture is too sticky?
If the mixture is too sticky, adding a little extra flour can help bind it and make shaping easier. Be cautious not to add too much, as it can alter the texture of the croquettes.
Can I use different types of potatoes for this recipe?
Yes, while russet potatoes are ideal, Yukon Gold or even red potatoes can work well, offering different flavors and textures. Just ensure they are starchy enough to achieve the desired mashed consistency.
What can I do if the croquettes don’t hold their shape while frying?
If your croquettes are falling apart, try chilling them in the refrigerator for about 30 minutes before frying. This helps them firm up, making them easier to handle and fry.
Can I make these croquettes in advance?
Yes, croquettes can be formed and refrigerated before frying. Just ensure they are covered to avoid drying out. Fried croquettes can also be reheated effectively without losing their crispy texture.
Is there a way to make the croquettes spicier?
For a spicy kick, you can mix in chopped jalapeños or a pinch of cayenne pepper into your potato and cheese mixture. This will give your croquettes a delicious heat that complements the creamy filling.
How can I create a larger batch of croquettes?
To scale the recipe, simply multiply the ingredient amounts by the number of croquettes you want to make. Just be mindful of frying in batches to avoid overcrowding, ensuring each croquette cooks evenly.
Conclusion
These easy and crispy potato cheese croquettes are sure to become a hit in your home kitchen. With simple ingredients and straightforward preparation, you can whip them up for any occasion or craving.
Feel free to unleash your creativity with flavors and pairings, making each batch uniquely yours. Enjoy the delightful crunch and gooey interior that this recipe brings to your table.
Recipe Card
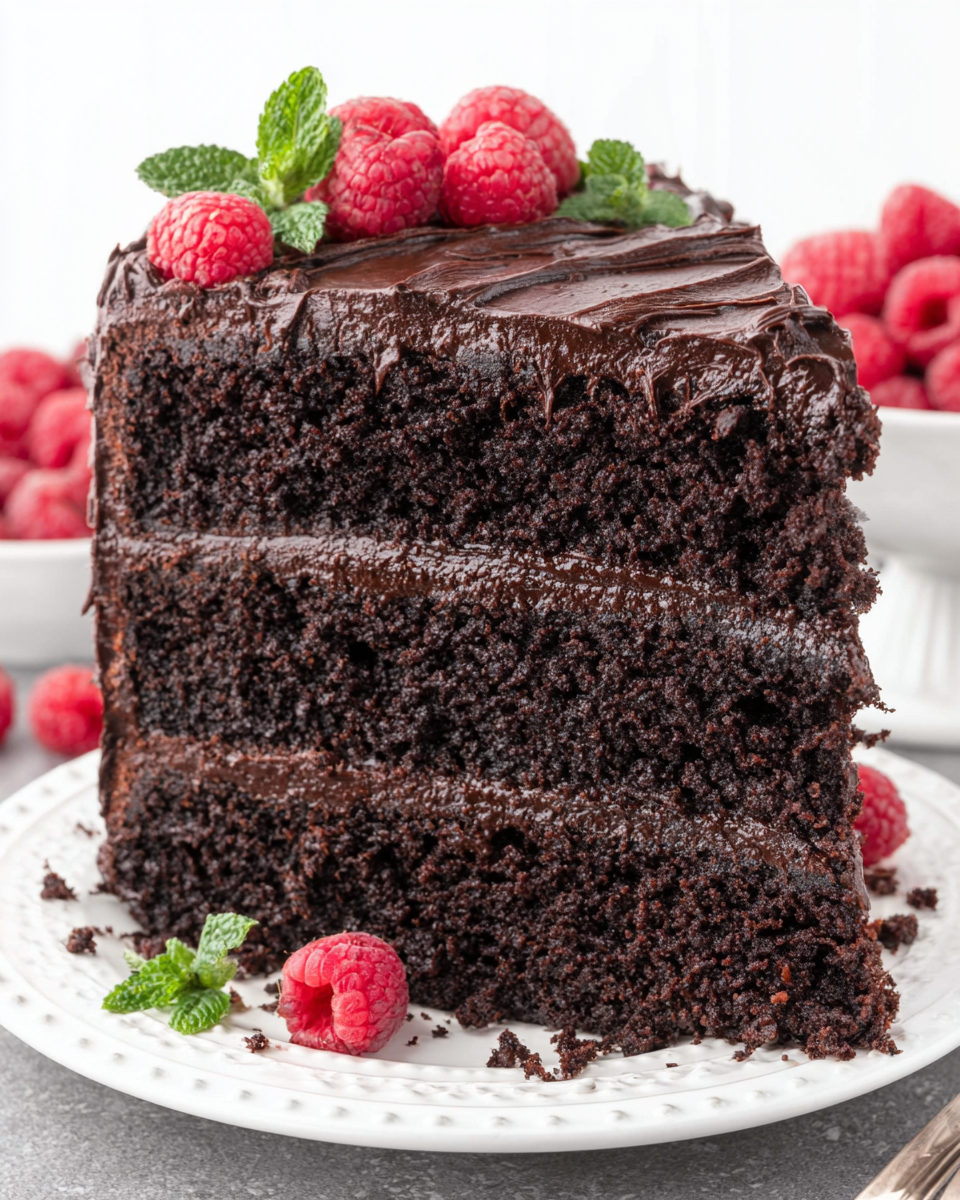
Indulgent High Protein Low Carb Chocolate Cake
Ingredients
Method
- Preheat your oven to 350°F (175°C).
- Grease a 9-inch round cake pan and line the bottom with parchment paper.
- In a large mixing bowl, whisk together almond flour, cocoa powder, protein powder, erythritol, baking soda, and salt.
- In another bowl, beat the eggs, then add applesauce and vanilla extract until well combined.
- Combine the wet and dry ingredients, mixing just until no dry streaks remain.
- Pour the batter into the prepared cake pan, smoothing the top with a spatula.
- Bake for 25-30 minutes or until a toothpick inserted into the center comes out clean.
- Allow the cake to cool in the pan for 10 minutes before transferring it to a wire rack.
- Once cooled, frost as desired or enjoy plain.
Notes
Additional serving suggestions: pair with a crisp salad, garlic bread, or roasted seasonal vegetables for balance.
For make-ahead, prep components separately and assemble just before heating to preserve texture.
Taste and adjust with acid (lemon/vinegar) and salt right at the end to wake up flavors.


