Introduction
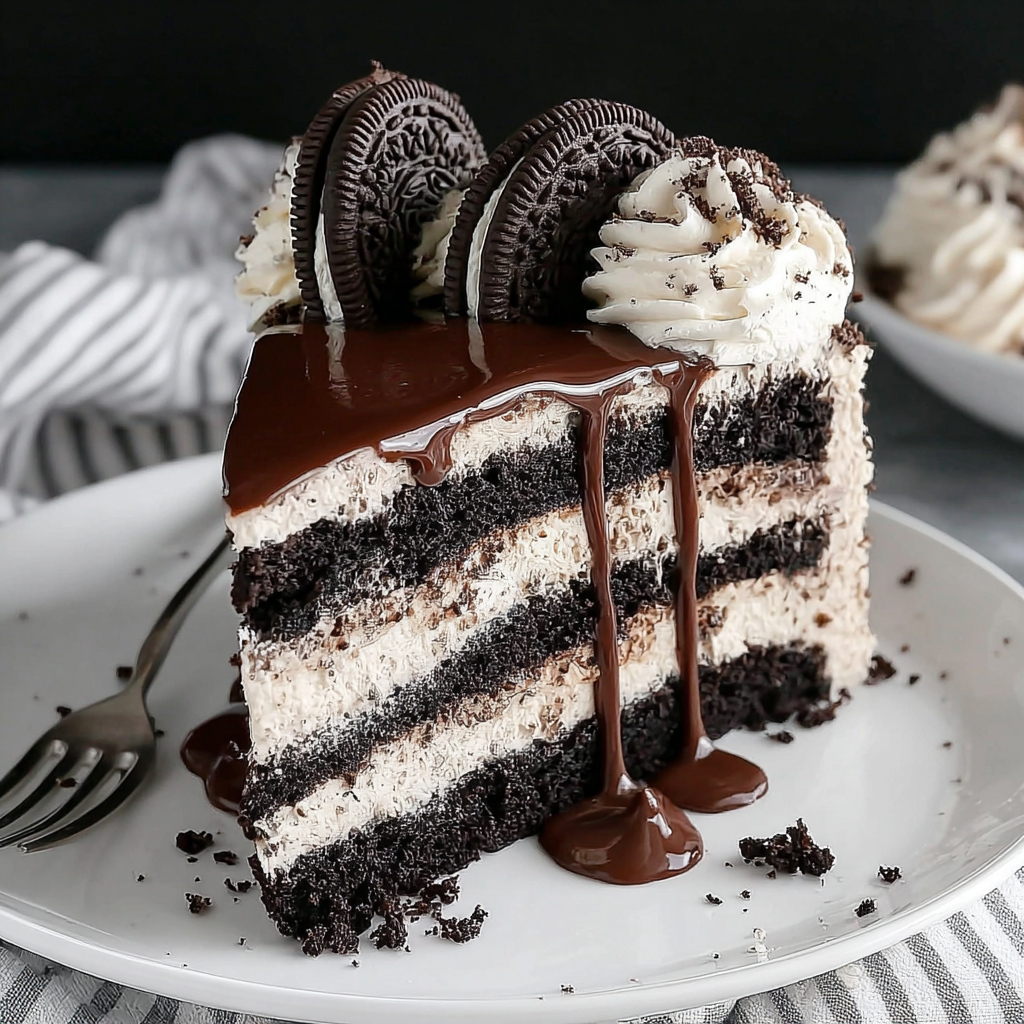
If you're looking for a show-stopping dessert that combines nostalgia and indulgence, look no further than an Oreo cake. This delightful creation layers rich chocolate cake with a creamy Oreo frosting, perfect for celebrations or as a treat to uplift your spirits. Its visual appeal is matched only by its wonderful flavor, making it an ideal centerpiece for any gathering.
Oreo cookies bring a unique crunch and sweet chocolatey flavor that pairs beautifully with velvety frosting. Imagine cutting into a cake adorned with crushed Oreos and feeling that satisfying snap beneath the knife. It’s a cake that invites everyone to come and take a slice, while also prompting memories of childhood snack time.
With its layered design and rich textures, this Oreo cake is a blend of simple ingredients that come together to create a complex flavor experience. Whether you're a seasoned baker or a home cook trying your hand at something new, this cake promises to impress. So roll up your sleeves and prepare for a baking adventure that will leave your friends and family in awe!
Ingredients
- 2 cups all-purpose flour
Flour provides the structure for the cake, forming a sturdy base that holds the layers together. Using all-purpose flour gives the cake a good balance of tenderness and strength. - 2 cups granulated sugar
Sugar not only sweetens the cake but also helps create a moist texture. When creamed with butter, it incorporates air into the batter, leading to a light and fluffy cake. - 3/4 cup unsweetened cocoa powder
Cocoa powder gives the cake its rich chocolate flavor. It's essential for achieving that deep color and robust taste that chocolate lovers crave. - 1 1/2 teaspoons baking powder
Baking powder is a leavening agent that helps the cake rise. It creates air bubbles during baking, resulting in a light and airy texture. - 1 1/2 teaspoons baking soda
Like baking powder, baking soda also acts as a leavening agent. It activates when combined with acid, contributing to the cake's rise and texture. - 1 teaspoon salt
Salt enhances the flavors in the cake, balancing the sweetness from the sugar. It also strengthens gluten in the flour, providing better structure. - 2 large eggs
Eggs provide moisture and richness to the cake, as well as serve as a binding agent. They help to hold the ingredients together while adding flavor. - 1 cup whole milk
Milk adds moisture to the cake, ensuring it remains tender. It also helps to dissolve the dry ingredients, resulting in a smoother batter. - 1/2 cup vegetable oil
Oil adds moisture to the cake while keeping it dense yet soft. Unlike butter, it doesn't solidify when cooled, helping the cake stay moist. - 1 teaspoon vanilla extract
Vanilla extract enhances the overall flavor of the cake, adding a subtle aromatic note that complements the chocolate. - 1 cup crushed Oreo cookies
Crushed Oreos add texture and flavor throughout the cake, creating a delightful crunch in each bite. They also tie in the theme of the cake. - 1 cup unsalted butter (softened)
Butter provides richness and flavor while contributing to a smooth, creamy frosting. It also helps the frosting hold its shape. - 4 cups powdered sugar
Powdered sugar creates the right consistency for the frosting, allowing it to be sweet and spreadable. It dissolves easily, making the frosting smooth. - 1/4 cup heavy cream
Heavy cream creates a luscious texture for the frosting, ensuring it’s both creamy and stable. It enhances the overall mouthfeel. - 1 cup mini Oreo cookies (for decoration)
Mini Oreos serve as an eye-catching decoration on top of the cake. They add visual appeal and an extra crunch when served.
Directions & Preparation
Step 1: Preheat the oven to 350°F (175°C).
Preheating the oven is crucial as it ensures that the cake bakes evenly. An oven that isn’t hot enough can lead to dense, improperly cooked cake since the leavening agents won’t activate properly. Aim to have your oven ready before preparing the batter.
Step 2: Grease and flour two 9-inch round cake pans.
Properly greasing and flouring the pans prevents the cake from sticking, allowing for a flawless release. Use a cooking spray or butter first to coat the pans, and then dust them with flour, tapping out any excess.
Step 3: In a large mixing bowl, combine flour, cocoa powder, baking powder, baking soda, sugar, and salt.
Mixing the dry ingredients together helps ensure even distribution of the leavening agents and flavorings. This step sets the foundation for a uniform cake texture without pockets of dry ingredients.
Step 4: Add eggs, milk, vegetable oil, and vanilla extract to the dry ingredients.
Incorporating wet ingredients into dry ingredients is essential for proper mixing. Be sure to mix until just combined; overmixing can lead to a tough cake as the gluten develops too much.
Step 5: Fold in the crushed Oreo cookies gently.
Gently folding the crushed Oreos into the batter ensures their flavor and texture are evenly distributed without breaking them down further. This step adds delightful bits of Oreo in every bite of cake.
Step 6: Divide the batter evenly between the prepared pans.
Using a kitchen scale can help ensure that each pan has an equal amount of batter, allowing them to bake evenly. If the layers are uneven, one may cook faster than the other, resulting in uneven textures.
Step 7: Bake for 30–35 minutes or until a toothpick inserted comes out clean.
Baking times can vary based on your oven, so start checking for doneness at the lower end of the time range. The toothpick test ensures the center is fully cooked without being overbaked.
Step 8: Remove cakes from the oven and let them cool in the pans for 10 minutes.
Cooling in the pans briefly allows the cakes to set and makes removing them easier. If left too long, they may stick, and if removed too early, they could break.
Step 9: Transfer to a wire rack to cool completely.
Cooling the cakes completely is essential before frosting. If they are warm, the frosting could melt and slide off rather than staying in place, resulting in a messy cake.
Step 10: Prepare the frosting by creaming softened butter until light and fluffy.
Beating the butter until fluffy incorporates air, creating a light texture in the frosting. This step is crucial for achieving a smooth and spreadable consistency that enhances the overall cake experience.
Step 11: Gradually add powdered sugar and beat until smooth.
Adding the sugar gradually allows it to combine properly without creating a cloud of powdered sugar. Mixing it until smooth ensures there are no gritty textures, resulting in a luxurious frosting.
Step 12: Add heavy cream to the frosting and mix until combined.
Heavy cream adds moisture and richness to the frosting. The addition of cream at this stage makes the frosting easier to spread and gives it that luscious quality people love.
Step 13: Once the cakes are cool, spread frosting between the layers and on top and sides of the cake.
Layering frosting between the cake layers not only adds flavor but also helps hold the cakes together. Be generous with the frosting to ensure every part of the cake is deliciously decorated.
Step 14: Decorate the top with mini Oreos and crushed Oreos.
The decoration is the final touch that makes the cake visually appealing. Using mini Oreos and crushed Oreos not only adds texture but also reinforces the cake's theme and flavor.

Choosing the Right Cocoa Powder
The choice of cocoa powder can greatly influence your Oreo cake's flavor profile. Dutch-processed cocoa is richer and offers a darker color, while natural cocoa gives a more pronounced chocolate flavor. Depending on your preference, either type can work, but remember to adjust the recipe slightly if you're using Dutch cocoa due to its lack of acidity.
Layering for Maximum Effect
When it comes to assembling your Oreo cake, consider how you layer your frosting and cake. Start with a base layer of frosting on top of the first cake layer before adding more frosting and the second layer. This not only adds flavor but also ensures stability, preventing the layers from sliding apart when you're cutting the cake.
Variations to Try
Feel free to experiment with the Oreo cake by adding different flavors or textures. Consider folding in chopped nuts, using flavored extracts, or varying the type of cream in the frosting (like cream cheese) for a tangy twist. These variations can introduce new taste dimensions that keep your cake exciting and fresh.
FAQs
What if my cake is too dry?
If your cake turns out dry, check your baking time and oven temperature. Using an oven thermometer can help ensure accuracy, and next time, you might want to slightly reduce the baking time or add an extra egg for moisture.
Can I make this cake into cupcakes?
Absolutely! You can use the same batter to make cupcakes. Fill each cupcake liner about two-thirds full and bake for 18-20 minutes, checking for doneness with a toothpick.
Why is my frosting too thin?
If your frosting is too thin, you may need to add more powdered sugar to thicken it. Start with a couple of tablespoons at a time until you reach the desired consistency.
What can I do if my frosting is too sweet?
If the frosting is overly sweet, consider adding a small pinch of salt or a little extra heavy cream. Both can balance out the sweetness, making it more enjoyable.
Can I use different types of cookies for a different flavor?
Certainly! Using different flavored cookies like chocolate mint or peanut butter can offer an exciting twist to the classic Oreo flavor, simply adjust the frosting flavors accordingly.
How can I adjust the cake's chocolate flavor?
To enhance the chocolate flavor of the cake, consider adding a bit of espresso powder to the batter. It intensifies the chocolate taste without making the cake taste like coffee.
Conclusion
Creating a delicious Oreo cake is not just about the final presentation but also about enjoying the baking process. Each step infuses care and creativity, making it a rewarding experience that sparks joy in both making and tasting.
As you share this cake with family and friends, you'll create lasting memories around the table, reminiscing about the nostalgia of Oreo cookies brought to life in dessert form. Happy baking!
Recipe Card

Decadent Oreo Cake That Will Impress Everyone
Ingredients
Method
- Preheat the oven to 350°F (175°C).
- Grease and flour two 9-inch round cake pans.
- In a large mixing bowl, combine flour, cocoa powder, baking powder, baking soda, sugar, and salt.
- Add eggs, milk, vegetable oil, and vanilla extract to the dry ingredients.
- Fold in the crushed Oreo cookies gently.
- Divide the batter evenly between the prepared pans.
- Bake for 30–35 minutes or until a toothpick inserted comes out clean.
- Remove cakes from the oven and let them cool in the pans for 10 minutes.
- Transfer to a wire rack to cool completely.
- Prepare the frosting by creaming softened butter until light and fluffy.
- Gradually add powdered sugar and beat until smooth.
- Add heavy cream to the frosting and mix until combined.
- Once the cakes are cool, spread frosting between the layers and on top and sides of the cake.
- Decorate the top with mini Oreos and crushed Oreos.
Notes
Additional serving suggestions: pair with a crisp salad, garlic bread, or roasted seasonal vegetables for balance.
For make-ahead, prep components separately and assemble just before heating to preserve texture.
Taste and adjust with acid (lemon/vinegar) and salt right at the end to wake up flavors.


