Introduction
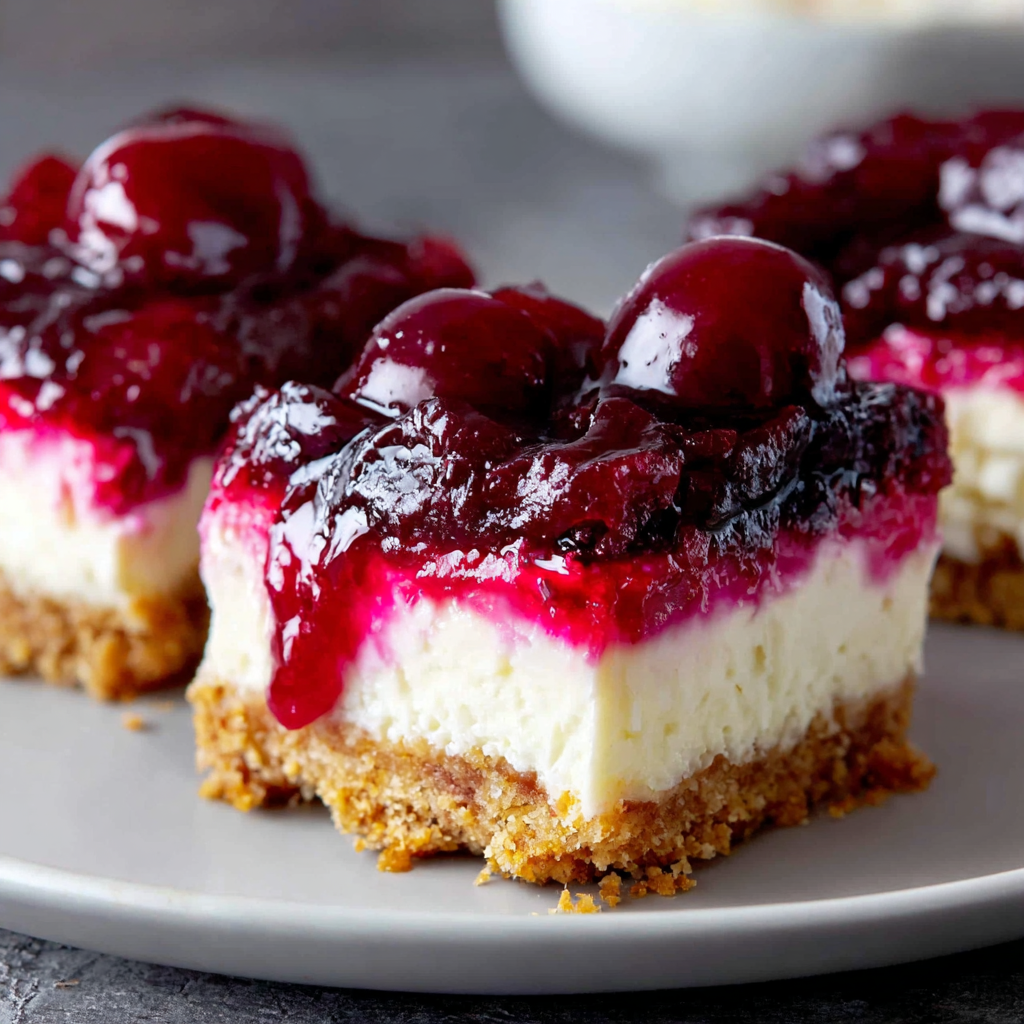
Cherry cheesecake bites bring the comforting flavors of a traditional dessert into a delightful, portable size. They're perfect for parties, picnics, or simply indulging at home. These mini treats pack a flavorful punch, fusing creamy cheesecake with the tart sweetness of cherries, all nestled in a graham cracker crust.
Making these mouthwatering bites is easier than you might think. With no baking required, you can whip up a batch in no time. As you savor each bite, the combination of textures and flavors will leave you and your guests craving more.
Ingredients
- 1 cup graham cracker crumbs
These crumbs create the foundation for the cheesecake bites, providing a sweet and slightly crunchy crust. Their subtle flavor perfectly balances the rich filling. - 1/4 cup granulated sugar
Sugar adds the necessary sweetness to the crust and filling, enhancing the overall flavor profile of the cheesecake bites. It also contributes to achieving a nice texture. - 1/3 cup unsalted butter, melted
Melted butter helps bind the graham cracker crumbs together, ensuring they adhere well to form a sturdy crust. It also adds richness to the flavor. - 8 ounces cream cheese, softened
Cream cheese is the star ingredient in cheesecake, providing a smooth and creamy texture. Its tangy flavor complements the sweetness of the other ingredients and the cherries. - 1/4 cup powdered sugar
Powdered sugar creates a smooth sweetness in the cheese mixture, allowing it to blend seamlessly with the cream cheese while preventing any grittiness. - 1 teaspoon vanilla extract
Vanilla extract adds depth to the flavor, enhancing the sweetness and balancing the tartness of the cherries. It’s an essential ingredient for a well-rounded cheesecake flavor. - 1 cup cherry pie filling
Cherry pie filling contributes vibrant color and fruity flavor, making these cheesecake bites irresistible. It adds moisture and a delightful sweetness that pairs beautifully with the cream cheese. - Whipped cream (optional, for topping)
Whipped cream adds a light and airy element, making each bite feel indulgent. It beautifully complements the rich cheesecake and fresh cherry toppings.
Directions & Preparation
Step 1: Prepare the crust.
Start by combining graham cracker crumbs, granulated sugar, and melted butter in a medium bowl. Stir until well combined and the mixture resembles wet sand. This step is crucial as it forms the base of your cheesecake bites. Make sure the crumbs are evenly coated in butter for a cohesive texture, which will help the crust hold together once set.
Step 2: Press the crust into a pan.
Transfer the crumb mixture into a mini muffin pan, pressing firmly into the bottom of each cup to create an even layer. Using the back of a spoon or your fingertips can help achieve a compact crust. The pressure will ensure that the crust holds its shape when you remove the bites later on. Chill the crust in the refrigerator while you prepare the filling.
Step 3: Make the cheesecake filling.
In a mixing bowl, blend softened cream cheese, powdered sugar, and vanilla extract together until smooth and creamy. This step is essential for ensuring that your filling has a velvety consistency. Take your time to avoid lumps, which can detract from the creamy texture that makes cheesecake so delightful.
Step 4: Fill the crusts with cheesecake mixture.
Spoon the cheesecake filling into each crust, distributing it evenly. You can use a piping bag for precision or simply a spoon. Make sure to fill them to the top without overflowing, as they will settle a bit as they chill. This step creates the luscious bites and is where you can get creative with presentation.
Step 5: Add cherry filling on top.
Once the cheesecake filling is in place, dollop a spoonful of cherry pie filling on top of each cheesecake bite. This is where the vibrant, fruity flavor comes to play, making each bite look invitingly colorful. Ensure each cheesecake bite gets an ample cherry portion for both visual appeal and flavor.
Step 6: Chill to set.
Place the muffin pan in the refrigerator and let the cheesecake bites chill for at least two hours or until firm. Chilling allows the flavors to meld and the filling to set properly, giving the bites a structured form when removed from the pan. Patience is key here to achieve the best texture and flavor.
Step 7: Serve and enjoy.
Carefully pop each cheesecake bite out of the muffin pan. If needed, run a small knife around the edges to loosen them. Arrange on a serving platter and top with whipped cream if desired. This moment is all about presentation, so feel free to get creative with how you display your bites. Enjoy or share these delightful treats with friends and family!

Elevating Flavor with Seasonal Cherries
Opting for fresh cherries when in season can elevate your cheesecake bites to a whole new level. Their natural sweetness and slight tartness provide a refreshing contrast to the rich cheesecake. Consider using assorted cherry varieties or pairing them with other fruits for a unique twist, ensuring each bite bursts with vibrant flavor and color.
The Perfect Occasion for Cherry Cheesecake Bites
These cheesecake bites are a stellar choice for any gathering, from casual family get-togethers to extravagant holiday parties. Their bite-sized nature makes them easy to serve and even easier to enjoy. They can also be a great addition to potlucks, allowing everyone to experience a little taste of a classic dessert without overwhelming portions.
Experimenting with Flavors
While cherry is a standout choice, these cheesecake bites are incredibly versatile. You can experiment by swapping in different pie fillings like blueberry or raspberry, or even adding a swirl of chocolate or peanut butter into the cheesecake filling. Each variation maintains the same delightful structure while offering an exciting new flavor experience.
FAQs
What should I do if my cheesecake filling is too thick?
If your filling is too thick, add a teaspoon of milk or heavy cream at a time while mixing until you reach the desired creamy consistency. This will help create a smoother texture without compromising flavor.
Can I use a different type of fruit topping for my bites?
Absolutely! You can substitute cherry pie filling with other fruit toppings such as blueberry, strawberry, or even a mix of your favorites. Just ensure they are sweetened appropriately to match the richness of the cheesecake.
What can I do if the crust is too crumbly?
If the crust is too crumbly and doesn't hold together, you can add a little more melted butter or a bit of sugar to help bind it. Be careful not to overdo it—just enough to achieve a cohesive mixture.
Can I make these cheesecake bites without cream cheese?
Yes, you can use ricotta cheese as an alternative to cream cheese for a different flavor profile. Just ensure it’s blended until smooth for the best texture.
How do I know when my cheesecake bites are perfectly set?
Your cheesecake bites are set when they are firm to the touch and no longer jiggly in the center. They should have a slight bounce when you gently press them, indicating they’re ready to serve.
Can I double this recipe for a larger gathering?
Definitely! Simply double each ingredient and use additional muffin pans for an even batch. Just be mindful to allow enough chilling time.
Conclusion
Cherry cheesecake bites are an irresistible treat that combines the best of both worlds—delicious cheesecake and tart cherry sweetness in a bite-sized form. Perfect for any occasion, they are sure to impress friends and family alike.
With their vibrant colors and rich flavors, these bites not only satisfy your sweet tooth but also bring a sense of joy and indulgence. Whip up a batch, and enjoy the delightful experience of these mini cheesecakes.
Recipe Card
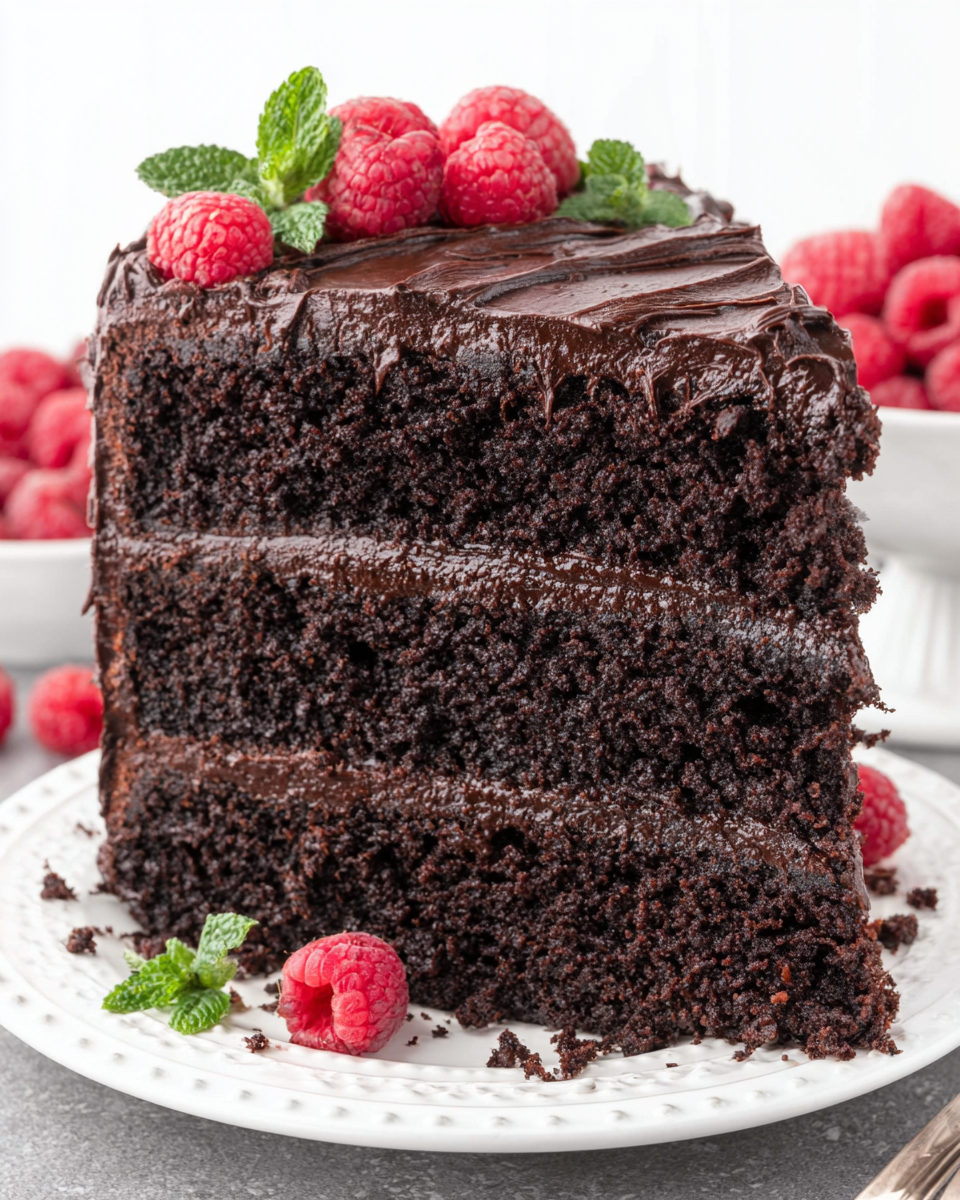
Indulgent High Protein Low Carb Chocolate Cake
Ingredients
Method
- Preheat your oven to 350°F (175°C).
- Grease a 9-inch round cake pan and line the bottom with parchment paper.
- In a large mixing bowl, whisk together almond flour, cocoa powder, protein powder, erythritol, baking soda, and salt.
- In another bowl, beat the eggs, then add applesauce and vanilla extract until well combined.
- Combine the wet and dry ingredients, mixing just until no dry streaks remain.
- Pour the batter into the prepared cake pan, smoothing the top with a spatula.
- Bake for 25-30 minutes or until a toothpick inserted into the center comes out clean.
- Allow the cake to cool in the pan for 10 minutes before transferring it to a wire rack.
- Once cooled, frost as desired or enjoy plain.
Notes
Additional serving suggestions: pair with a crisp salad, garlic bread, or roasted seasonal vegetables for balance.
For make-ahead, prep components separately and assemble just before heating to preserve texture.
Taste and adjust with acid (lemon/vinegar) and salt right at the end to wake up flavors.


