Introduction
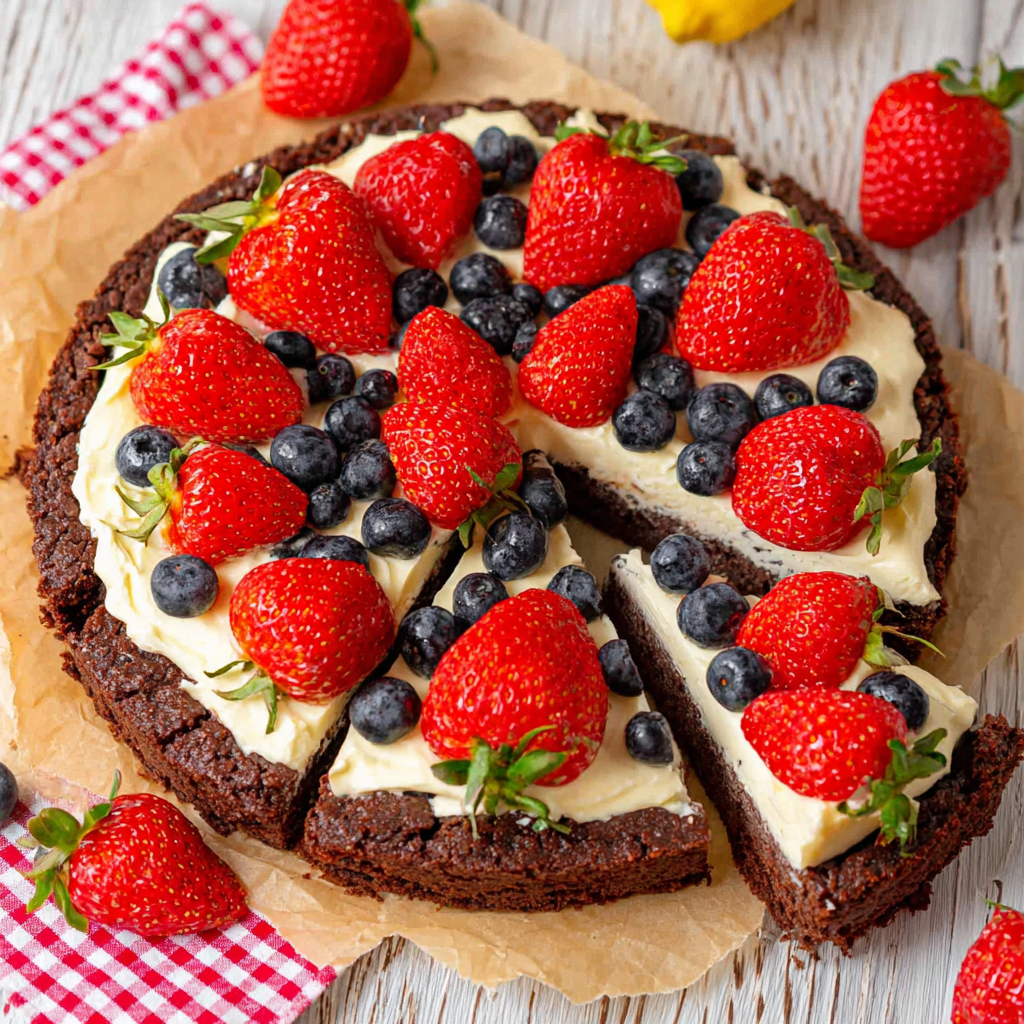
Imagine a dessert that brings together the rich decadence of brownies and the freshness of a colorful fruit topping; that's what Brownie Fruit Pizza offers. This delightful treat combines a chewy brownie base with a creamy layer and vibrant fruit, making it a perfect centerpiece for celebrations or a sweet family treat.
With its pleasing combination of flavors and textures, this dessert is not just a feast for the taste buds but also for the eyes. Whether it’s a birthday party, a casual family gathering, or simply an afternoon snack, this dessert will surely impress. Let’s dive into creating this indulgent masterpiece!
Ingredients
- 1 cup all-purpose flour
Forms the structure of the brownie base, providing stability and chewiness. It's integral for achieving that brownie texture. - 1/2 cup unsweetened cocoa powder
Adds rich chocolate flavor, making the brownies deep and decadent. The cocoa powder also contributes to the overall color. - 1/2 teaspoon baking powder
Helps the brownies rise slightly, ensuring a soft interior. It aids in creating that melt-in-your-mouth texture. - 1/4 teaspoon salt
Balances the sweetness of the brownies and enhances the chocolate flavor. A pinch of salt is essential for depth. - 1/2 cup unsalted butter
Provides moisture and richness, contributing to a fudgy texture. The butter is vital for binding ingredients together. - 1 cup granulated sugar
Sweetens the brownies, creating that signature sugary crust. It also affects the brownie’s texture and density. - 2 large eggs
Helps bind the ingredients and adds moisture. Eggs also contribute to the structure and richness of the brownies. - 1 teaspoon vanilla extract
Enhances the overall flavor profile, giving a warm and inviting aroma to the brownies. - 1 cup cream cheese
Serves as a creamy layer on top of the brownie base, providing a tangy contrast to the sweetness. - 1/2 cup powdered sugar
Sweetens the cream cheese layer while helping to achieve a smooth and spreadable consistency. - 1 cup assorted fresh fruits (e.g., strawberries, kiwis, blueberries)
Adds color, freshness, and natural sweetness to the dish. Fruits provide vibrant flavors and a delightful crunch. - Mint leaves for garnish (optional)
Adds a fresh, herbal note that complements the sweetness while enhancing the presentation.
Directions & Preparation
Step 1: Preheat the oven to 350°F (175°C).
Preheating the oven is essential to ensure that the brownies bake evenly and thoroughly. Starting at the right temperature allows the batter to rise properly, resulting in a perfect texture. Make sure your oven has reached the desired temperature before placing the brownies inside.
Step 2: Grease and line an 8×8 inch baking pan with parchment paper.
Greasing the pan and lining it with parchment paper prevents the brownies from sticking, making it easier to remove them after baking. Parchment paper also helps maintain the shape and integrity of the brownie base, ensuring a clean cut when serving.
Step 3: In a bowl, whisk the flour, cocoa powder, baking powder, and salt together.
This step combines the dry ingredients, ensuring even distribution of baking powder and salt. Incorporating these elements before mixing them into the wet ingredients helps create a consistent texture in the brownies, preventing any pockets of dry or overly chocolatey spots.
Step 4: In a separate bowl, melt the butter and mix it with sugar until well combined.
Melted butter blends easily with the sugar, creating a homogeneous mixture. This step allows the sugar to dissolve better, contributing to a smoother texture in the final brownies. Mixing thoroughly ensures that the sweetness is evenly distributed throughout the batter.
Step 5: Add eggs and vanilla extract to the butter-sugar mixture, mix until smooth.
Incorporating the eggs into the mixture adds moisture and a lightness to the brownies. The eggs also act as a binder, holding all the ingredients together. Mixing until smooth helps create a uniform batter, which is crucial for achieving that desirable brownie texture.
Step 6: Gradually add the dry ingredients to the wet mixture, stirring until just combined.
Adding the flour mixture gradually prevents overmixing, which can lead to a tough texture in brownies. Stirring until just combined ensures a fudgy consistency while allowing for a few lumps; this is completely acceptable for brownies. It’s vital to avoid overworking the batter at this stage.
Step 7: Pour the batter into the prepared pan and spread it evenly.
Pouring the batter into a lined and greased pan ensures that the brownies bake uniformly. Spreading it evenly helps achieve a consistent thickness, which is vital for even baking and a balanced texture. Use a spatula or the back of a spoon for an even spread.
Step 8: Bake in the preheated oven for 25-30 minutes.
Baking time is crucial for achieving the perfect brownie; underbaking may leave them gooey, while overbaking can dry them out. Check for doneness by inserting a toothpick; it should come out with a few moist crumbs attached. If it comes out too wet, return it to the oven in short increments.
Step 9: While the brownies are baking, prepare the cream cheese layer.
Preparing the cream cheese layer while the brownies bake optimizes your time. This way, once the brownies are out of the oven and cooled slightly, the creamy layer can be spread on promptly. The flavors meld beautifully when the cream cheese layer is fresh, making the final product even more delicious.
Step 10: In a mixing bowl, beat the cream cheese and powdered sugar until smooth.
This step ensures the cream cheese is creamy and free of lumps, allowing for easy spreading over the brownies. Beat the mixture until it's fluffy and blends together perfectly, creating a luscious layer that contrasts beautifully with the dense brownie base.
Step 11: Let the brownies cool completely before spreading the cream cheese layer.
Allowing the brownies to cool prevents the cream cheese from melting and becoming runny. A proper cooling period ensures that the creamy layer remains intact when spread, leading to better presentation and texture. It’s essential to wait until they are fully cooled for best results.
Step 12: Spread the cream cheese mixture evenly over the cooled brownies.
Evenly spreading the cream cheese mixture creates a visually appealing layer on top. Make sure the layer is consistent to enhance both texture and taste. Using an offset spatula can help achieve a smooth finish and an attractive presentation.
Step 13: Decorate the top with fresh fruits and mint leaves.
Top the cream cheese layer with an array of fresh fruits for a vibrant, colorful appearance. Choose fruits based on preference and season for the best flavor. Adding mint leaves not only decorates but also provides a refreshing flavor contrast, elevating the overall experience.
Step 14: Slice into squares and serve.
Cutting the brownies into squares allows for easy serving and sharing. Make sure to use a sharp knife to achieve clean cuts, helping to maintain the beautiful layer of cream cheese and fruit on top. Enjoying this treat immediately is recommended, as it is best when fresh.

Choosing the Right Fruits for Your Brownie Pizza
When it comes to topping your Brownie Fruit Pizza, the choice of fruits can make a significant impact on flavor and presentation. Opt for a mix of berries like strawberries and blueberries for a burst of color, or add tropical fruits like kiwi or mango for a refreshing twist. Selecting ripe fruits ensures maximum sweetness and juiciness, harmonizing beautifully with the creamy layer.
Making It a Fun Activity with Kids
Transforming the preparation of Brownie Fruit Pizza into an engaging activity for children can make the dessert even more enjoyable. Kids can help mix the batter, spread the cream cheese layer, and curate their favorite fruit toppings. Not only does this promote kitchen skills, but it also fosters creativity as they design their pizza with colorful fruits.
Serving Suggestions for Special Occasions
Brownie Fruit Pizza is versatile enough to be a showstopper for various occasions. Serve it at birthday parties, family gatherings, or summer barbecues. Pair it with a scoop of vanilla ice cream or whipped cream for an extra indulgent touch. Creating an appealing dessert table with this visually stunning treat will surely impress guests.
FAQs
What if the brownie base is too crumbly?
If your brownie base is too crumbly, it might be due to overbaking or not enough moisture. Try adding a bit more melted butter or an extra egg next time.
Can I make a gluten-free version of this pizza?
Absolutely! Substitute the all-purpose flour with a gluten-free blend, ensuring that all other ingredients are gluten-free as well.
What should I do if the cream cheese layer is too runny?
If the cream cheese layer turns out too runny, consider adding more powdered sugar to thicken it. Be sure to beat it well until smooth.
Can I use canned fruit instead of fresh?
While fresh fruit is recommended, you can use canned fruit if necessary. Just be sure to drain them well to avoid excess moisture.
How can I adjust the sweetness level of this dessert?
If you prefer a less sweet dessert, reduce the amount of granulated sugar in the brownie batter and the powdered sugar in the cream cheese layer.
How do I prevent the brownies from sticking to the pan?
To prevent sticking, make sure to generously grease the pan and use parchment paper. This will help ensure clean removal after baking.
Conclusion
Creating a Brownie Fruit Pizza is not only an enjoyable process but also results in a dessert that is visually stunning and deliciously satisfying. Its layers of flavor and texture make it a memorable treat to share with friends and family.
So, gather your ingredients, invite loved ones to help, and indulge in this delightful dessert. With its blend of rich brownie and fresh fruit, this dessert is bound to become a favorite at gatherings and celebrations.
Recipe Card

Delicious Brownie Fruit Pizza for Sweet Celebrations
Ingredients
Method
- Preheat the oven to 350°F (175°C).
- Grease and line an 8x8 inch baking pan with parchment paper.
- In a bowl, whisk the flour, cocoa powder, baking powder, and salt together.
- In a separate bowl, melt the butter and mix it with sugar until well combined.
- Add eggs and vanilla extract to the butter-sugar mixture, mix until smooth.
- Gradually add the dry ingredients to the wet mixture, stirring until just combined.
- Pour the batter into the prepared pan and spread it evenly.
- Bake in the preheated oven for 25-30 minutes.
- While the brownies are baking, prepare the cream cheese layer.
- In a mixing bowl, beat the cream cheese and powdered sugar until smooth.
- Let the brownies cool completely before spreading the cream cheese layer.
- Spread the cream cheese mixture evenly over the cooled brownies.
- Decorate the top with fresh fruits and mint leaves.
- Slice into squares and serve.
Notes
Additional serving suggestions: pair with a crisp salad, garlic bread, or roasted seasonal vegetables for balance.
For make-ahead, prep components separately and assemble just before heating to preserve texture.
Taste and adjust with acid (lemon/vinegar) and salt right at the end to wake up flavors.


