Introduction
There's something undeniably charming about cookies that not only taste great but look appealing too. Black and white pinwheel cookies bring together the elegance of contrasting colors and flavors in each bite, making them a perfect treat for gatherings or a cozy afternoon snack.
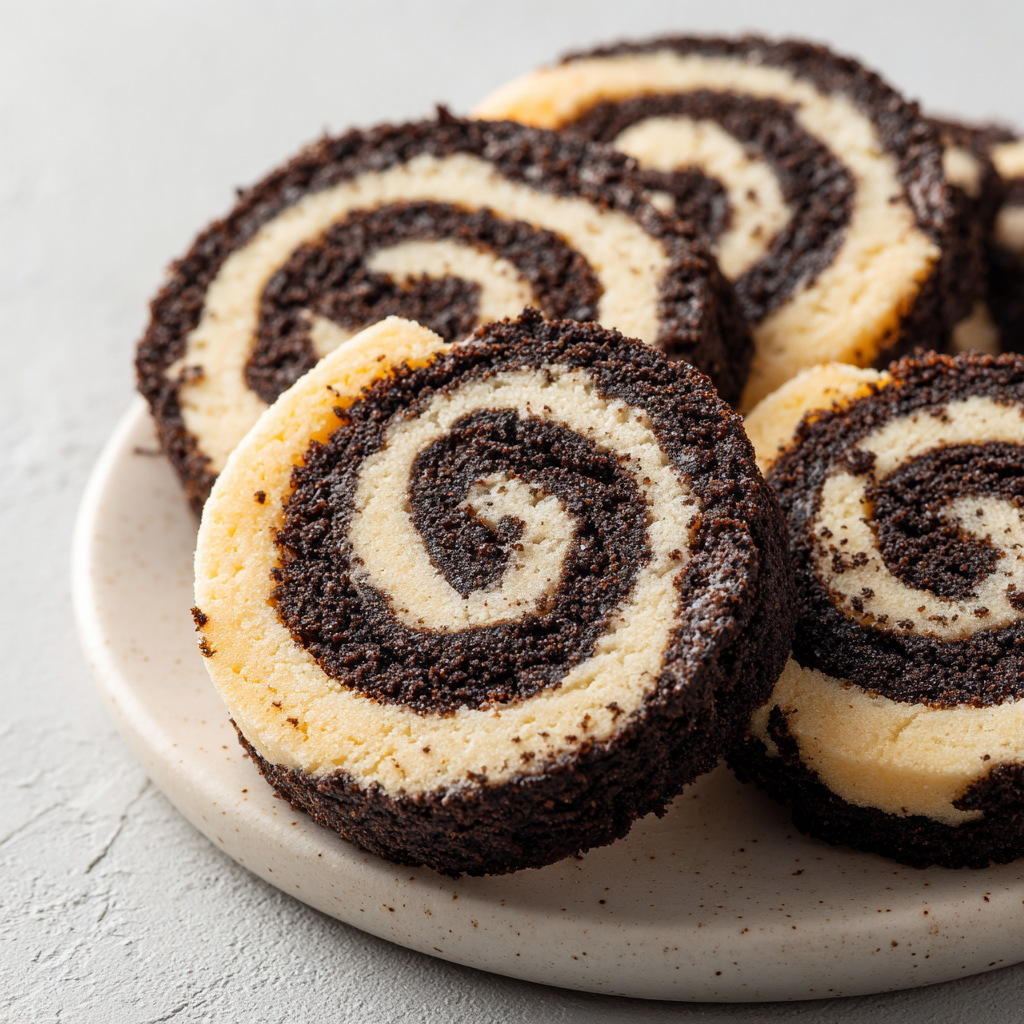
These cookies feature a blend of rich chocolate and buttery vanilla dough, rolled together to create stunning swirls. They offer a delightful contrast in both taste and appearance, enticing the eyes as much as the palate.
Ingredients
- 1 cup unsalted butter, softened
Butter adds richness and flavor to the cookies, ensuring they’re tender and melt-in-your-mouth delicious. The softness is crucial for easy mixing and contributes to the overall texture. - 1 cup granulated sugar
Sugar provides sweetness and helps achieve that classic cookie texture. It also aids in the creaming process with the butter, creating a light and airy dough. - 1 large egg
The egg acts as a binder, giving structure to the cookies. It also helps with moisture, keeping the dough from becoming too dry. - 1 teaspoon vanilla extract
Vanilla enhances the overall flavor profile of the cookies, bringing warmth and a hint of sweetness that complements the chocolate. - 2 cups all-purpose flour
Flour is the backbone of the cookie dough, providing structure. The right amount will ensure the cookies hold their shape while remaining tender. - 1/2 cup unsweetened cocoa powder
Cocoa powder infuses the chocolate flavor into half of the dough, creating a rich profile that contrasts beautifully with the vanilla. It also contributes to the cookie's color. - 1/2 teaspoon baking powder
Baking powder acts as a leavening agent, helping the cookies rise and achieve a nice, soft texture. It also ensures the dough spreads evenly during baking. - 1/2 teaspoon salt
Salt enhances the sweetness and balances the flavors. It also plays a vital role in gluten development, improving the cookie's texture.
Directions & Preparation
Step 1: Cream butter and sugar together until light and fluffy.
This initial step is essential in creating a light texture in your cookies. By whipping the softened butter with sugar, you are incorporating air into the dough, which will help it rise during baking. Aim for a pale color and fluffy consistency, about 3-5 minutes using an electric mixer.
Step 2: Add the egg and vanilla extract, mixing until combined.
Incorporating the egg and vanilla now will add moisture and warmth to the cookie base. Mix just until the ingredients are combined to avoid overworking the dough, which can lead to tougher cookies. Scrape down the sides of the bowl to ensure even blending.
Step 3: In a separate bowl, whisk together flour, baking powder, cocoa powder, and salt.
Mixing the dry ingredients separately ensures that the baking powder and cocoa are evenly distributed throughout the flour. This step prevents clumps and results in a more consistent texture and flavor in your cookies.
Step 4: Gradually add the dry mixture to the wet ingredients, mixing until the dough just comes together.
Incorporate the dry ingredients slowly to avoid a flour explosion and to ensure even mixing. Overmixing at this stage can lead to tough cookies, so stop as soon as no flour is visible to ensure a tender result.
Step 5: Divide the dough into two equal parts; add cocoa powder to one half.
This step allows you to create the iconic pinwheel effect. By adding cocoa powder only to one half of the dough, you'll have one chocolate and one vanilla base. Ensure both portions are properly mixed, as this will determine the distinct color swirls in the finished cookies.
Step 6: Roll each portion of dough between parchment paper to form logs.
Rolling the dough between parchment paper helps to prevent sticking and ensures an even thickness. Aim for about 1 inch in diameter so that the cookies bake uniformly. Chilling the rolled dough will make slicing easier and reduce spreading during baking.
Step 7: Chill the dough logs in the refrigerator for at least 2 hours.
Chilling is crucial as it firms up the butter in the dough, helping the cookies keep their shape as they bake. This step also enhances the flavors, allowing them to meld together. Plan ahead, as this wait contributes significantly to the final texture of your cookies.
Step 8: Preheat the oven and line baking sheets with parchment paper.
Preheating the oven ensures even baking right from the start, while the parchment paper on the baking sheets prevents the cookies from sticking. Aim for a temperature of 350°F (175°C) to achieve a perfect balance of browning and baking through.
Step 9: Slice the chilled dough into even pieces and place on the prepared baking sheets.
Slicing the chilled dough ensures you achieve the classic pinwheel shape. Aim for about 1/4 inch thick slices, as thicker slices may not bake evenly. Arrange them with space in between, allowing room for spreading.
Step 10: Bake until set but still soft in the center, then cool on wire racks.
Baking at the right time is critical; removing the cookies when they're set but soft will ensure they remain chewy rather than crunchy. Letting them cool briefly on the baking sheets allows for easier handling, while transferring to wire racks creates the right texture and prevents sogginess.

The Art of Rolling Dough for Beautiful Pinwheels
Achieving uniform rolls is key in making black and white pinwheel cookies aesthetically pleasing. Use parchment paper to help you roll the dough tightly without sticking. It can also prevent tears and other mishaps during the rolling process. A consistent thickness across the rolled logs ensures even baking and a striking visual appeal when sliced.
Flavor Variations to Explore
While the classic combination of chocolate and vanilla is delightful, consider experimenting with different flavors in the dough. You could replace vanilla extract with almond for a nuttier essence or add citrus zest for a refreshing twist. These variations can enhance the overall flavor profile, offering a new take on your beloved pinwheel cookies.
Presentation Tips for Special Occasions
The stunning contrast of white and dark colors in pinwheel cookies makes them ideal for presentation. Stack them in a tiered dessert stand or arrange them on a colorful platter. For an extra touch, dust with powdered sugar or drizzle with melted chocolate just before serving, elevating their visual appeal and making them look even more enticing.
FAQs
What if my dough is too thick to roll out easily?
If the dough is too thick, gently knead in a small amount of softened butter or a splash of milk until it reaches a workable consistency. Be careful not to overwork the dough, as this can affect the texture of the cookies.
How can I adjust the sweetness if the cookies taste bland?
If your cookies taste bland, consider increasing the sugar slightly or incorporating a pinch of cinnamon or espresso powder to enhance the flavors. A touch of salt can also help balance sweetness, making the flavors pop.
What could cause my cookies to spread too much while baking?
Excessive spreading can occur if the dough becomes too warm before baking. Ensure that your dough is well-chilled before slicing. Additionally, avoid using too much baking powder, as it can cause cookies to puff and spread unexpectedly.
Is there a way to reduce the cocoa powder for a milder chocolate flavor?
Yes, you can adjust the cocoa powder by reducing it by a few tablespoons for a milder chocolate taste. Just make sure to replace the removed cocoa with an equal amount of flour to maintain proper dough consistency.
Can I use whole wheat flour instead of all-purpose flour?
Whole wheat flour can be used, but it will change the texture and flavor of the cookies. If using it, consider reducing the amount slightly to counteract the denser nature of whole wheat flour while retaining the right dough consistency.
Why do my cookies turn out too crumbly?
Crumbly cookies might be the result of too much flour or insufficient fat. Ensure you're measuring flour correctly and not packing it too tightly into the measuring cup. Adding a little more melted butter can help bind the dough.
What can I do if my cookies aren't forming a clear pinwheel pattern?
If the pinwheel pattern isn't clear, the dough might not be rolled tightly enough, or the logs could have warmed too much before slicing. Aim for a tight roll and keep dough chilled to maintain clear layers during baking.
Conclusion
Black and white pinwheel cookies are a beautiful and delightful treat that any home cook can master. With their striking appearance and delicious flavors, they make for an impressive addition to any dessert table.
Through practice and attention to detail, you can perfect your technique, creating cookies that will have your family raving. Enjoy the process and the wonderful results that come with it!
Recipe Card

Delightful Black and White Pinwheel Cookies to Impress
Ingredients
Method
- Cream butter and sugar together until light and fluffy.
- Add the egg and vanilla extract, mixing until combined.
- In a separate bowl, whisk together flour, baking powder, cocoa powder, and salt.
- Gradually add the dry mixture to the wet ingredients, mixing until the dough just comes together.
- Divide the dough into two equal parts; add cocoa powder to one half.
- Roll each portion of dough between parchment paper to form logs.
- Chill the dough logs in the refrigerator for at least 2 hours.
- Preheat the oven and line baking sheets with parchment paper.
- Slice the chilled dough into even pieces and place on the prepared baking sheets.
- Bake until set but still soft in the center, then cool on wire racks.
Notes
Additional serving suggestions: pair with a crisp salad, garlic bread, or roasted seasonal vegetables for balance.
For make-ahead, prep components separately and assemble just before heating to preserve texture.
Taste and adjust with acid (lemon/vinegar) and salt right at the end to wake up flavors.


