Introduction
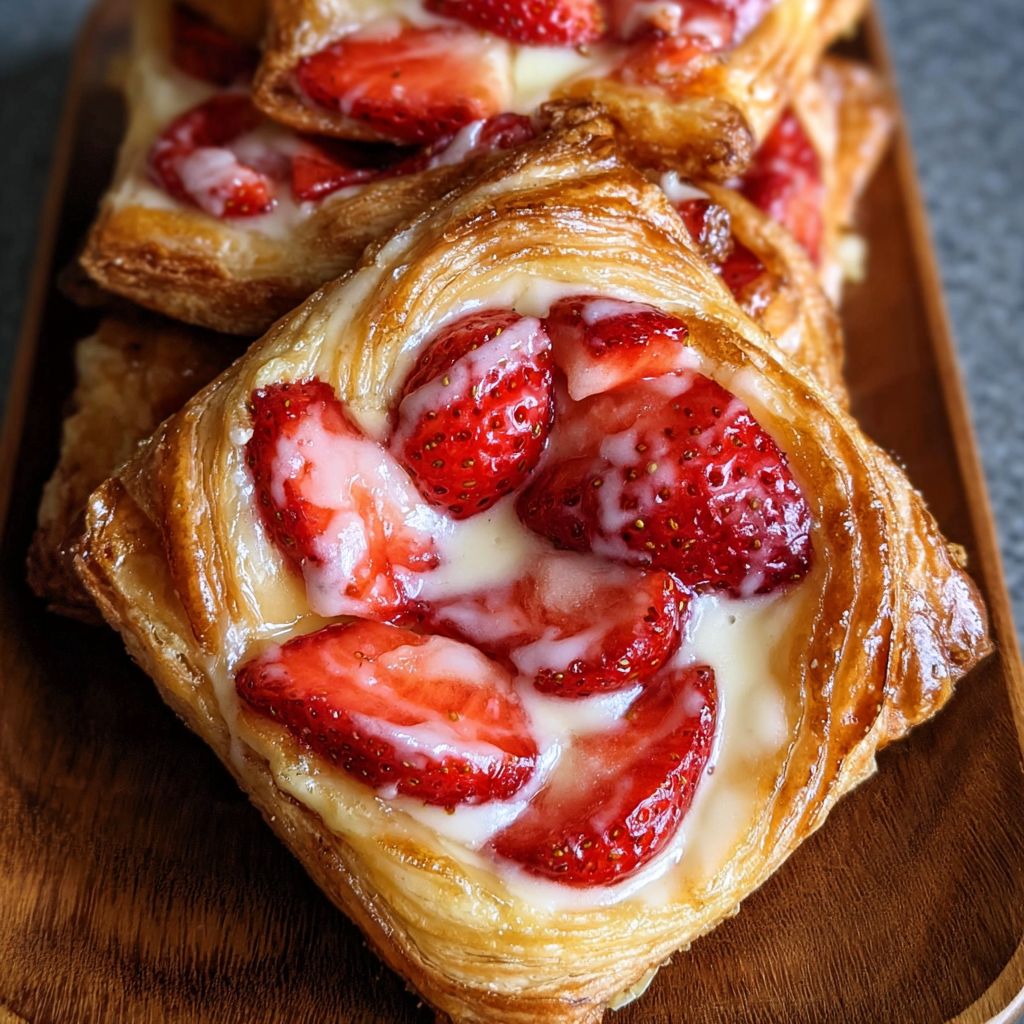
Strawberry Danish pastries are a delightful blend of flaky pastry and sweet fruit filling, perfect for breakfast or as a treat. These pastries embody the essence of comfort food, combining the freshness of strawberries with the rich, buttery layers of dough.
Making your own strawberry Danish may seem challenging, but with the right techniques and ingredients, it's entirely doable at home. This recipe walks you through creating perfect, golden pastries that are bursting with strawberry flavor.
Ingredients
- 2 cups all-purpose flour
All-purpose flour is the foundation of the pastry dough. It provides the necessary structure, allowing the Danish to rise and achieve its flaky texture. Ensure you measure it accurately to avoid tough pastry. - 1 teaspoon salt
Salt is crucial in any dough as it enhances flavor and strengthens the gluten structure. A small amount balances the sweetness of the pastry and filling, ensuring a well-rounded taste. - ½ cup unsalted butter (cold and cubed)
Butter is essential for creating a rich, flaky pastry. Using cold cubed butter helps prevent it from melting into the flour, allowing for distinct layers that create a light, airy texture. - ½ cup cream cheese (softened)
Cream cheese adds a tangy richness to the Danish filling. It contributes creaminess and flavor, complementing the sweetness of the strawberries beautifully. - 1 cup fresh strawberries (diced)
Fresh strawberries are the star of this recipe. Their natural sweetness and juicy texture provide a refreshing contrast to the buttery pastry, making every bite deliciously satisfying. - ¼ cup granulated sugar
Sugar sweetens both the filling and dough, promoting browning during baking. It balances the acidity of the strawberries and enhances their natural flavor. - 1 egg (for egg wash)
The egg wash gives the Danish a beautiful golden-brown finish while adding a subtle richness. It also helps the sugar on top adhere, creating a delightful topping. - 1 teaspoon vanilla extract
Vanilla extract adds depth to the flavor profile of the filling. Its warm notes complement both the strawberries and cream cheese, elevating the overall taste of the Danish. - 1 tablespoon lemon juice
Lemon juice brightens the flavor of the filling, enhancing the strawberries' sweetness without overpowering them. It also acts as a natural acid, helping to balance the dish.
Directions & Preparation
Step 1: Preheat your oven to 375°F (190°C).
Preheating the oven is essential for even baking. It ensures that as soon as the Danish are placed inside, they begin to rise and brown properly, resulting in layers that are flaky and crisp.
Step 2: In a large mixing bowl, combine flour and salt.
Mixing the flour and salt together ensures that the salt is evenly distributed throughout the dough. This step is crucial for flavor, as it prevents pockets of salt from forming in the pastry.
Step 3: Cut in the cold butter until the mixture resembles coarse crumbs.
Cutting in the cold butter creates small pockets within the dough, which will lead to layering during baking. It’s important to handle the butter lightly to retain its cold temperature and achieve flakiness.
Step 4: Gradually add cold water, mixing until the dough comes together.
Adding the water gradually helps to avoid over-hydrating the dough, which can lead to a tough pastry. The right moisture level is key for a tender, flaky outcome.
Step 5: Wrap the dough in plastic and refrigerate for at least 30 minutes.
Chilling the dough allows the gluten to relax and firms up the butter, which is crucial for maintaining structure while rolling out. This resting period also enhances the pastry's flakiness.
Step 6: In another bowl, mix cream cheese, strawberries, sugar, vanilla, and lemon juice.
This mixture forms the filling that will complement the dough. Combining these ingredients allows the flavors to meld together, ensuring a perfectly balanced filling that enhances the overall taste.
Step 7: Roll out the chilled dough on a floured surface into a rectangle.
Rolling out the dough evenly is essential for achieving uniform sizes of pastries. This step also allows you to control the thickness, leading to proper cooking throughout each piece.
Step 8: Cut the dough into squares and place filling in the center.
Cutting squares ensures that the filling is contained while baking. Positioning the filling in the center allows for easy folding and shapes that will bake evenly without spilling.
Step 9: Fold the corners of each square to the center and pinch to seal.
Sealing the corners helps to keep the filling secure inside during baking. This step also creates a traditional Danish shape that enhances visual appeal and holds the juices from the strawberries.
Step 10: Place the pastries on a baking sheet lined with parchment paper.
Using parchment paper prevents the pastries from sticking and allows for easier cleanup. Spacing them apart ensures that they have adequate room to expand during baking without touching.
Step 11: Brush each Danish with egg wash and sprinkle with sugar.
The egg wash promotes browning while baking, giving the pastries a lovely golden color. Sprinkling sugar on top adds an extra touch of sweetness and a delightful crunch to the final product.
Step 12: Bake for 20-25 minutes until golden brown.
Baking the Danish adequately ensures that they cook through while developing the desired flaky texture. Keep an eye on them towards the end of baking to avoid over-browning.
Step 13: Allow to cool slightly before serving.
Letting the pastries cool slightly before serving allows the flavors to settle while preventing you from burning your mouth on hot filling. This waiting period also helps them firm up a bit for easier handling.

Choosing the Right Strawberries
Selecting the right strawberries is crucial for ensuring your Danish is bursting with flavor. Look for berries that are bright red, firm, and fragrant. Fresh, ripe strawberries will offer the best sweetness and juiciness, enhancing the overall taste of your pastries.
Perfecting Flaky Layers
Achieving the ideal flaky texture in your Danish relies heavily on working with cold ingredients, particularly butter. Ensuring your butter remains cold while cutting it into the dough promotes the creation of steam during baking, which is vital for layering and flakiness. Remember, the colder the butter, the better the pastry.
Serving Suggestions for Your Danish
To elevate your strawberry Danish experience, consider pairing it with a dusting of powdered sugar or a light glaze made from powdered sugar and milk. Serve them alongside freshly brewed coffee or tea for a delightful brunch spread. For added decadence, top them with whipped cream or a scoop of vanilla ice cream.
FAQs
What should I do if my Danish filling is too runny?
If your filling is too runny, consider adding a bit more sugar to help thicken it as it bakes or incorporate a tablespoon of cornstarch to absorb excess moisture.
Can I make this recipe vegan?
To make a vegan version, substitute the butter with vegan butter, use plant-based cream cheese, and replace the egg wash with a mixture of almond milk and maple syrup.
What if my dough is too crumbly?
If your dough is too crumbly to hold together, gradually add cold water one tablespoon at a time until the dough reaches a manageable consistency, being careful not to overwork it.
How can I achieve more strawberry flavor in my Danish?
For a stronger strawberry flavor, use ripe, flavorful strawberries and consider pureeing a portion of them to mix into the filling for added depth.
What types of pastries can I make using this dough?
You can adapt this dough to create a variety of pastries, including fruit fillings like blueberries or apples, cream-filled options, or savory variations with cheeses and vegetables.
What do I do if my pastries turn out too dense?
If your pastries are dense, it might be due to overworking the dough or too much moisture. Ensure you incorporate the ingredients gently and consider checking your measurements for accuracy.
Conclusion
Baking a strawberry Danish at home might seem daunting, but the key lies in following the steps closely and using quality ingredients. With practice, you'll gain confidence and develop your unique flair for these delightful pastries.
Once you've mastered this recipe, feel free to explore other fruit fillings or even flavored dough. The possibilities are endless, and your kitchen can become the heart of sweet indulgences.
Recipe Card

Delightful Strawberry Danish for Every Baker
Ingredients
Method
- Preheat your oven to 375°F (190°C).
- In a large mixing bowl, combine flour and salt.
- Cut in the cold butter until the mixture resembles coarse crumbs.
- Gradually add cold water, mixing until the dough comes together.
- Wrap the dough in plastic and refrigerate for at least 30 minutes.
- In another bowl, mix cream cheese, strawberries, sugar, vanilla, and lemon juice.
- Roll out the chilled dough on a floured surface into a rectangle.
- Cut the dough into squares and place filling in the center.
- Fold the corners of each square to the center and pinch to seal.
- Place the pastries on a baking sheet lined with parchment paper.
- Brush each Danish with egg wash and sprinkle with sugar.
- Bake for 20-25 minutes until golden brown.
- Allow to cool slightly before serving.
Notes
Additional serving suggestions: pair with a crisp salad, garlic bread, or roasted seasonal vegetables for balance.
For make-ahead, prep components separately and assemble just before heating to preserve texture.
Taste and adjust with acid (lemon/vinegar) and salt right at the end to wake up flavors.


