Introduction
Baking can be a delightful way to share flavors from nature, and what better way to do so than with homemade strawberry bread? This inviting treat is perfect for brunch, dessert, or even as a snack during the day.
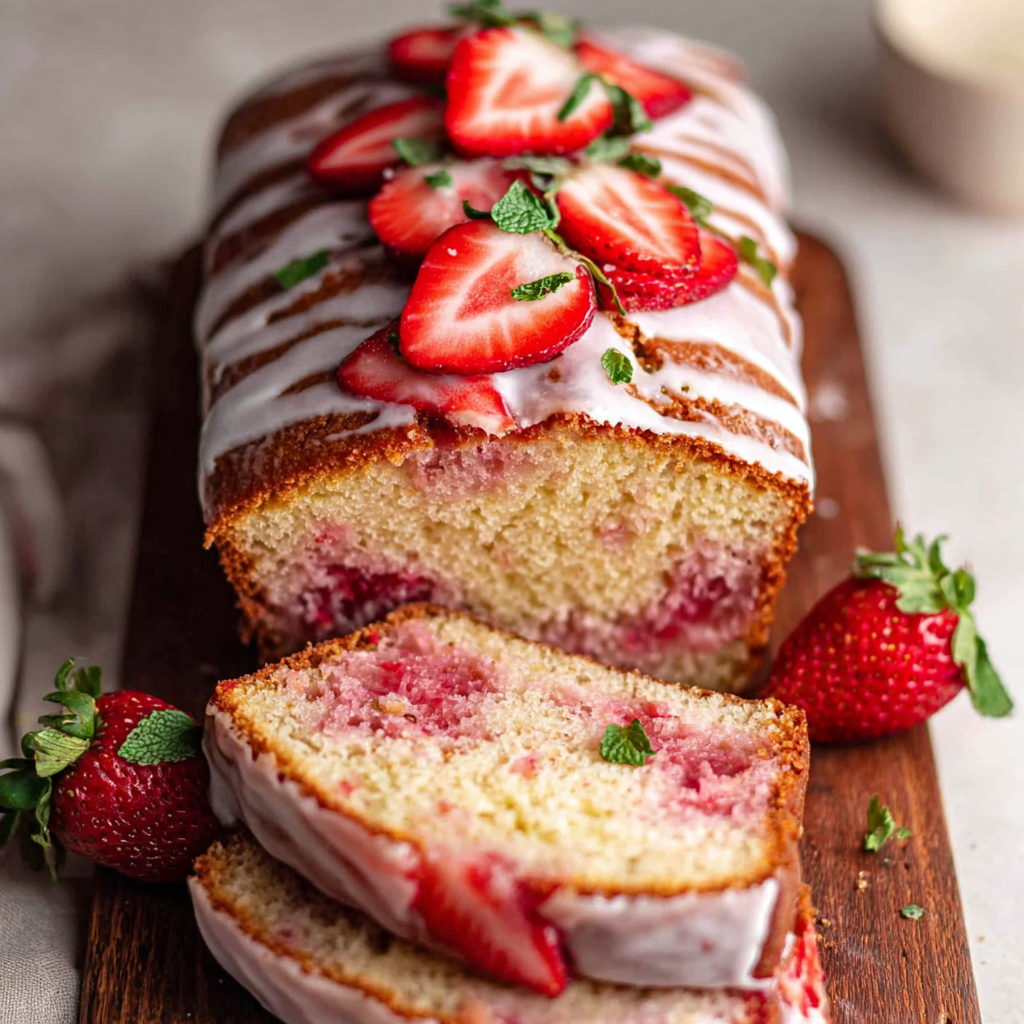
The combination of fresh strawberries and simple ingredients creates a luscious, moist loaf that captures the essence of summer in every bite. Whether you're indulging yourself or sharing with loved ones, this bread is sure to impress.
Ingredients
- 2 cups all-purpose flour
All-purpose flour provides the structural base for the bread, allowing it to rise and hold its shape. It contributes to the bread's texture. - 1 cup granulated sugar
Sugar sweetens the bread and aids in browning as it bakes. It also helps retain moisture, ensuring a tender crumb. - 1 tsp baking soda
Baking soda acts as a leavening agent, helping the bread to rise and become light and fluffy. It's crucial for the texture. - 1/2 tsp salt
Salt enhances the overall flavor of the bread and balances the sweetness from the sugar, making the taste more complex. - 1/2 cup vegetable oil
Vegetable oil adds moisture and richness to the bread, ensuring it stays soft and enjoyable to eat. - 2 large eggs
Eggs provide structure and stability to the bread. They also contribute to its moisture and enrich its flavor. - 1 tsp vanilla extract
Vanilla adds a warm flavor that complements the strawberries, enhancing the overall taste of the bread. - 2 cups fresh strawberries, diced
Fresh strawberries are the star ingredient, adding natural sweetness, moisture, and a burst of fruity flavor to every slice. - 1/2 cup chopped nuts (optional)
Nuts can provide a delightful crunch and additional flavor. Options like walnuts or pecans pair nicely with strawberries.
Directions & Preparation
Step 1: Preheat your oven to 350°F (175°C).
Preheating your oven ensures that the bread bakes evenly and rises properly from the start. It’s an essential first step in any baking recipe.
Step 2: In a large bowl, mix together flour, sugar, baking soda, and salt.
Whisking the dry ingredients thoroughly helps to distribute the baking soda evenly and prevents clumping. This step is crucial for the bread to rise uniformly during baking.
Step 3: In a separate bowl, whisk together the oil, eggs, and vanilla extract.
Mixing the wet ingredients ensures that the eggs break up properly and combine with the oil, leading to a smoother mixture that blends well with the dry ingredients.
Step 4: Gradually add the wet ingredients to the dry ingredients, stirring until just combined.
Overmixing can lead to tough bread, so it's important to mix until no dry flour remains. Lumps are okay as they help maintain the loaf’s tender texture.
Step 5: Fold in the diced strawberries and nuts (if using).
Folding ensures that the strawberries are evenly distributed throughout the batter without breaking them down too much, preserving their shape during baking.
Step 6: Pour the batter into a greased loaf pan.
Greasing the loaf pan helps the bread release easily once baked and prevents sticking. It’s a small but essential detail for beautiful presentation.
Step 7: Bake for 60-70 minutes, or until a toothpick inserted comes out clean.
Baking for the right amount of time allows the flavors to develop and the bread to fully set. Checking with a toothpick helps you determine doneness without piercing the entire loaf.
Step 8: Let the bread cool in the pan for 10 minutes, then transfer to a wire rack to cool completely.
Cooling in the pan allows the bread to finish cooking slightly and makes it easier to remove. Transferring to a wire rack prevents sogginess from steam.

Choosing the Right Strawberries
Selecting fresh, ripe strawberries is key to making a flavorful strawberry bread. Look for berries that are bright red, firm to the touch, and fragrant. Overripe strawberries may lead to a soggy loaf, while underripe ones won't impart enough flavor.
Enhancing Flavor with Spices
To elevate the flavor of your strawberry bread, consider adding a pinch of cinnamon or nutmeg to the dry ingredients. These warm spices complement the strawberries beautifully, creating a more complex and delicious profile that enhances your baking.
Experimenting with Add-Ins
Don't hesitate to personalize your bread further! Try adding ingredients like chocolate chips, lemon zest, or shredded coconut for a unique twist. Each addition can make your strawberry bread feel new and exciting, encouraging your creativity in the kitchen.
FAQs
What if my strawberry bread is too dense?
If your bread turns out dense, it may be due to overmixing or adding too much flour. Ensure that you mix until just combined and measure your flour accurately.
Can I substitute coconut oil for vegetable oil?
Yes, you can use coconut oil as a substitute. Just ensure it is melted and cooled slightly before mixing with the other wet ingredients.
What can I do if the bread is dry?
If the bread is dry, you may have overbaked it. To rescue it, serve slices with butter or a spread, or pair with whipped cream or yogurt for moisture.
How can I tell if my strawberries are perfectly ripe for baking?
Look for strawberries that are bright red, firm, and fragrant. Avoid any that are dull or overly soft.
Can I make this bread without eggs?
Yes, you can substitute eggs with flax eggs or applesauce. Use 1/4 cup of unsweetened applesauce for each egg.
What should I do if my bread rises too high and then collapses?
This typically happens due to too much leavening. Ensure you measure your baking soda accurately and don't mix too vigorously, as overmixing can also incorporate too much air.
Conclusion
Making homemade moist strawberry bread is a wonderful way to celebrate seasonal produce and create delicious memories in your kitchen. Each slice brings the delightful taste of strawberries, reminding us of warmer days.
Enjoy this bread fresh, or consider giving it as a gift to friends or family to spread the joy of baking. With just a few simple ingredients, you'll find yourself baking this delightful treat time and time again.
Recipe Card

Delicious Cheesy Spinach & Artichoke Stuffed Mushrooms
Ingredients
Method
- Preheat your oven to 375°F (190°C).
- Clean the mushrooms and remove stems. Set aside caps, and finely chop stems.
- In a skillet, heat some olive oil over medium heat and sauté the minced garlic until fragrant.
- Add chopped spinach, artichokes, and chopped mushroom stems to the skillet. Cook until spinach wilts.
- In a bowl, combine the sautéed mixture with cream cheese, Parmesan, mozzarella, red pepper flakes, salt, and pepper.
- Fill each mushroom cap generously with the cheese and spinach mixture.
- Place the stuffed mushrooms on a baking sheet and drizzle with olive oil.
- Bake in the preheated oven for 20-25 minutes until the mushrooms are tender and tops are golden.
- Remove from oven and let cool for a few minutes before serving.
Notes
Additional serving suggestions: pair with a crisp salad, garlic bread, or roasted seasonal vegetables for balance.
For make-ahead, prep components separately and assemble just before heating to preserve texture.
Taste and adjust with acid (lemon/vinegar) and salt right at the end to wake up flavors.


