Introduction
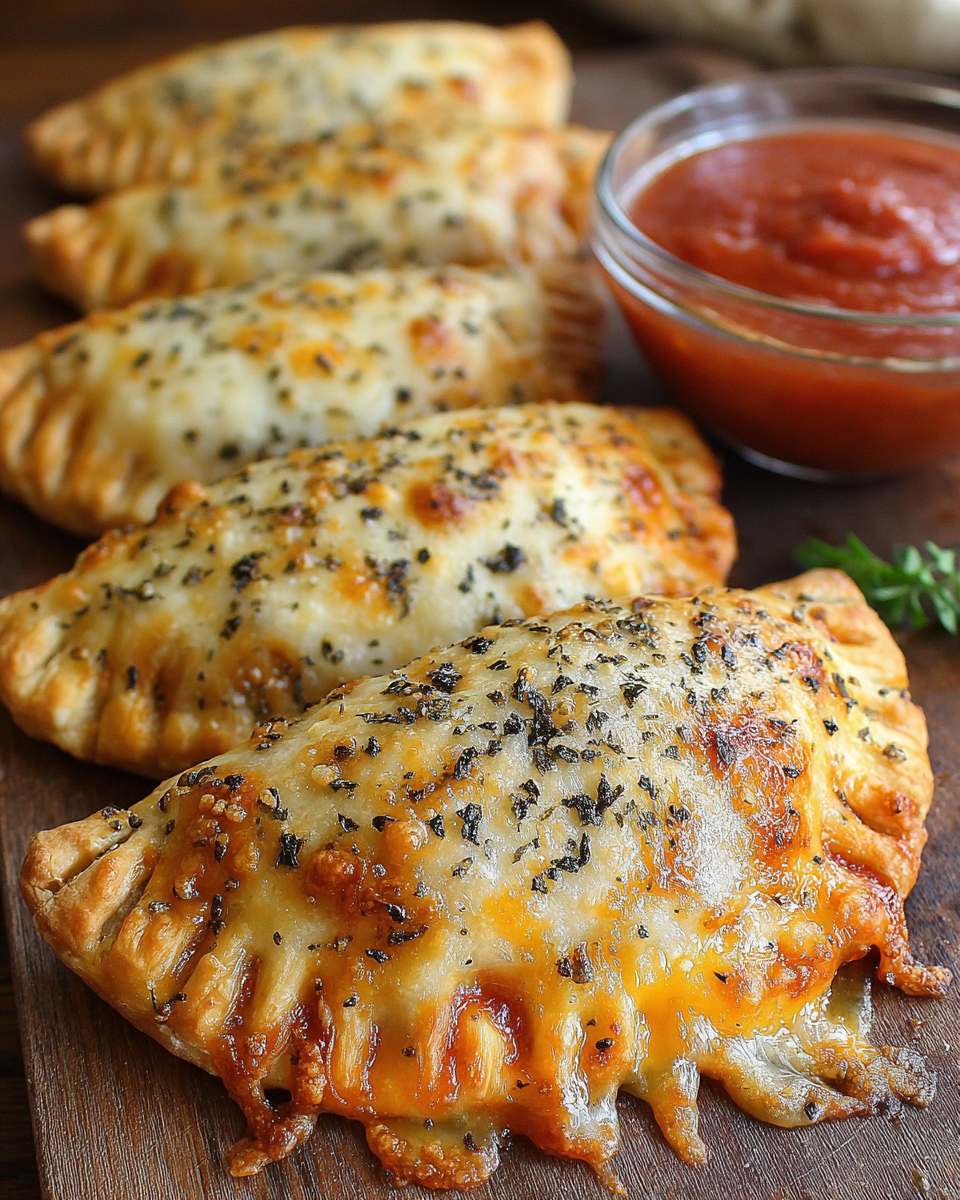
There's something undeniably satisfying about a warm, cheesy pizza pocket fresh out of the oven. They encapsulate all the beloved flavors of pizza in a perfectly hand-held form, making them an ideal choice for a snack or a quick meal. Whether you're preparing for a movie night or just want a quick bite after a busy day, these pockets are versatile and easy.
Unlike store-bought versions, making cheesy pizza pockets at home allows you to control the ingredients, flavors, and even the size. Plus, they're an excellent opportunity to involve kids in the kitchen. With a few easily accessible ingredients and minimal prep time, you'll have a delightful snack that is both fulfilling and fun!
Ingredients
- 1 cup all-purpose flour
This is the primary ingredient for the dough, providing structure and texture. All-purpose flour creates a chewy base that beautifully holds the filling. You can substitute with whole wheat flour for a healthier option. - 1/4 tsp salt
Salt enhances the flavor of the dough and helps to balance the sweetness of other ingredients. It's crucial for a well-rounded taste in your pizza pockets. - 1/4 cup water
Water is essential for hydrating the flour and activating gluten, which gives the dough elasticity. The right amount of water ensures the dough is not too dry or too sticky. - 1 tbsp olive oil
Olive oil adds richness and moisture to the dough, creating a softer texture. It also helps in achieving a nice golden-brown crust during baking. - 1/2 cup mozzarella cheese, shredded
Mozzarella is the star of your filling, providing that gooey, melty texture that makes pizza so irresistible. You can mix in other cheeses for added flavor. - 1/4 cup pizza sauce
Pizza sauce adds juicy flavor and moisture to the filling. It complements the cheese and can be adjusted according to your taste preferences. - 1/4 cup pepperoni slices (optional)
Pepperoni adds a savory, spicy kick to your pockets and is a classic choice for pizza lovers. You can choose other toppings like vegetables or sausage. - Herbs and spices (optional, e.g., oregano, basil)
Adding herbs enhances the overall flavor profile, making the pockets taste even more like your favorite pizza. Customize it according to your favorite pizza ingredients.
Directions & Preparation
Step 1: Preheat your oven to 375°F (190°C).
Preheating the oven is crucial for achieving a perfectly baked crust that is crispy on the outside yet soft on the inside. It helps in cooking the dough evenly, ensuring that your pizza pockets puff up beautifully.
Step 2: In a mixing bowl, combine the flour and salt.
Mixing the dry ingredients first ensures that the salt is evenly distributed throughout the flour. This initial step is key for creating a consistent dough, avoiding any salty bites.
Step 3: Add the olive oil and water to the flour mixture; stir until a dough forms.
Incorporating oil and water gradually blends them smoothly into the flour, creating a cohesive dough. The dough should be soft but not sticky; adjust with a little more water or flour as needed.
Step 4: Knead the dough on a lightly floured surface for about 5 minutes until smooth.
Kneading develops gluten, which contributes to the dough's elasticity and chew. A smooth consistency indicates that the dough is ready to be shaped, which enhances the texture of your final product.
Step 5: Roll the dough out to about 1/8-inch thick and cut out circles.
A uniform thickness ensures even cooking, while cutting the circles allows for a perfect pocket size. Use a round cutter or a glass to make the process easier and more fun.
Step 6: Place a spoonful of pizza sauce, cheese, and desired toppings in the center of each circle.
Layering the filling in the center keeps the edges clear for sealing while allowing cheese to melt tantalizingly within. Be careful not to overfill, as this could cause spills during baking.
Step 7: Fold the dough over to create a half-moon shape and seal the edges with a fork.
Sealing the edges is crucial to prevent any filling from leaking out during baking. Ensure that the pockets are well sealed for a satisfying, gooey inside when you bite into them.
Step 8: Place the pockets on a baking sheet lined with parchment paper and bake for 15-20 minutes, or until golden.
Baking them on parchment paper prevents sticking and aids in cleanup. Watching for a golden color is a good cue that the dough is fully cooked and the filling is heated through.
Step 9: Allow to cool slightly before serving.
Letting the pockets cool for a few minutes helps the filling set slightly, making them easier to eat while still preserving that gooey, melty cheese experience. Enjoy them warm for the best flavor!

Creative Fillings for Your Pizza Pocket
While cheese and sauce are classic, consider mixing in cooked vegetables like peppers and mushrooms for a veggie twist. You can also experiment with different cheeses like provolone or cheddar for unique flavor profiles. Additionally, try swapping traditional toppings with leftovers, such as diced chicken or beef, turning your pizza pocket into a delicious way to repurpose meals.
Dipping Sauces to Elevate Your Snack
A great dipping sauce can elevate your cheesy pizza pockets to a new level. Aside from traditional marinara, consider garlic butter, ranch dressing, or a spicy aioli for a flavor kick. Each sauce adds a different dimension, allowing you to customize your flavor experience and keep things exciting with every bite.
Kid-Friendly Kitchen Fun
These pizza pockets are not only delicious but also an excellent way to get kids involved in cooking. Let them choose their own fillings, roll the dough, and help seal the pockets. This process encourages creativity and makes cooking fun, while teaching valuable culinary skills in a relaxing environment.
FAQs
What if my pizza pockets are leaking during baking?
If the edges of your pockets aren’t sealed tightly enough, they may leak. Ensure that you press the seams firmly with a fork to create a secure seal.
Can I use whole wheat flour instead of all-purpose flour?
Yes, whole wheat flour can be used, but it may produce a denser dough. You might want to add a bit more water to achieve the right consistency.
What if my dough feels too crumbly?
If the dough is too crumbly, it may be due to insufficient moisture. Gradually add a little more water until it comes together into a cohesive mass.
Can I make these pizza pockets larger?
Absolutely! Just adjust the size of your dough circles accordingly, but be mindful that larger pockets may require a longer baking time.
What types of cheese work well in these pockets?
Mozzarella is classic, but you can use cheddar, pepper jack, or even ricotta for a unique twist. Mixing cheeses can also add depth.
What should I do if my cheese doesn’t melt properly?
Ensure your oven is fully preheated and that you bake the pockets long enough for the cheese to melt. You could also try shredding your cheese finely.
Conclusion
Making homemade cheesy pizza pockets is both a fun and fulfilling endeavor. With a few simple ingredients and a bit of creativity, you can craft a snack that's tailored to your taste preferences and dietary needs. Whether enjoyed straight from the oven or as a packed lunch, these pockets are sure to delight.
So gather your loved ones in the kitchen and start creating your own cheesy masterpiece. The best part is that each filling becomes a reflection of your favorite pizza combinations, ensuring that every bite is deliciously satisfying!
Recipe Card
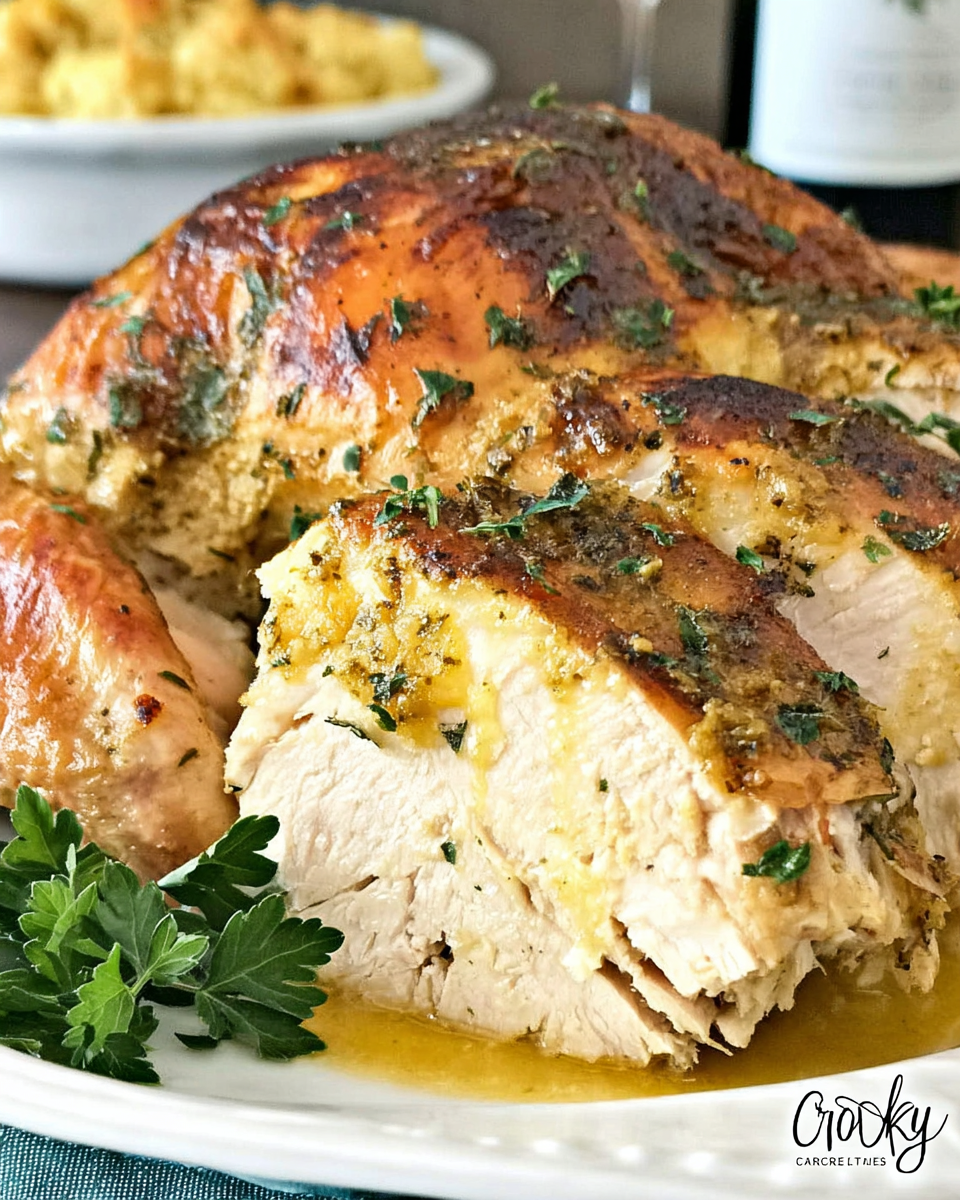
Tender and Flavorful Crockpot Turkey Breast Recipe
Ingredients
Method
- Prepare the crockpot.
- Season the turkey.
- Add the turkey to the crockpot.
- Pour in the chicken broth.
- Cover and cook.
- Check for doneness.
- Rest the turkey.
- Slice and serve.
Notes
Additional serving suggestions: pair with a crisp salad, garlic bread, or roasted seasonal vegetables for balance.
For make-ahead, prep components separately and assemble just before heating to preserve texture.
Taste and adjust with acid (lemon/vinegar) and salt right at the end to wake up flavors.


