Introduction
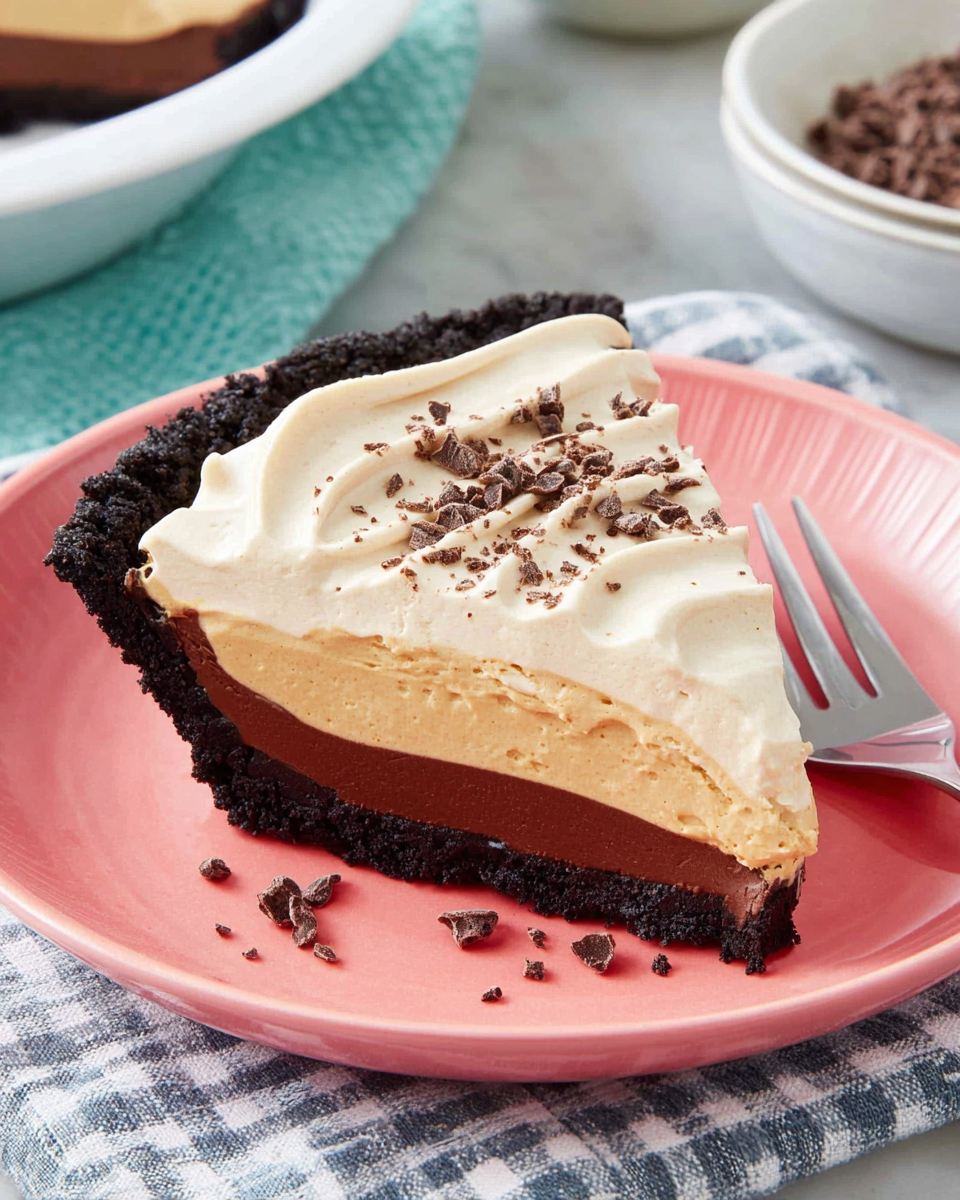
There's something magical about the combination of chocolate and peanut butter that evokes nostalgia and satisfaction. This easy chocolate peanut butter pie recipe encapsulates that feeling, delivering a dessert that's both rich and comforting without requiring advanced skills in the kitchen.
The best part? You don't need an oven for this recipe, making it perfect for warm days or when you want something quick. With a creamy, luscious filling that’s balanced by a crunchy crust, this pie is sure to become a favorite for family gatherings or casual weeknight treats.
Ingredients
- 1 ½ cups chocolate cookie crumbs
Chocolate cookie crumbs form the base of this pie, providing both texture and a rich chocolate flavor. They create a perfect complement to the creamy filling, making each bite a delicious experience. - ½ cup unsalted butter, melted
Melted butter acts as a binding agent for the cookie crumbs, helping them adhere together to form a solid crust. It adds richness and moisture, ensuring the crust is not only tasty but also has the right firmness. - 1 cup creamy peanut butter
Creamy peanut butter is the star ingredient that gives the pie its distinct flavor. It adds a smooth, nutty depth and a delightful creaminess that pairs beautifully with the chocolate. - 1 cup powdered sugar
Powdered sugar sweetens the filling without altering its texture. It dissolves easily, ensuring a smooth mixture that balances the richness of the peanut butter. - 1 cup heavy whipping cream
Heavy whipping cream provides a light, airy texture that lightens the filling. When whipped, it expands and adds a luscious fluffiness, making the pie creamy yet not overly dense. - 1 teaspoon vanilla extract
Vanilla extract enhances the overall flavor of the pie, adding warmth and complexity. It rounds out the sweetness and brings harmony to the chocolate and peanut butter. - Chocolate shavings or chips for garnish
Chocolate shavings or chips not only make for a beautiful presentation but also add another layer of chocolate flavor. This garnish makes the pie look more enticing, encouraging guests to dig in.
Directions & Preparation
Step 1: Prepare the crust by mixing cookie crumbs and melted butter.
Start by combining the chocolate cookie crumbs and melted butter in a mixing bowl. This is a crucial step as it ensures that the crumbs absorb the butter, making the crust sturdy. Mix until all crumbs are evenly coated, forming a mixture that resembles wet sand. Press it firmly into the bottom of a pie dish, creating an even layer. This will be the foundation for your pie.
Step 2: Chill the crust for 15 minutes.
Chilling the crust allows it to set and firm up, making it easier to slice once the pie is complete. This brief rest in the refrigerator helps the butter solidify, locking the pie crust in place for a perfect texture. Don’t skip this step; a well-chilled crust is key to preventing crumbling when serving.
Step 3: In a large bowl, beat together peanut butter and powdered sugar until smooth.
In this step, you want to focus on achieving a silky consistency. Mixing the peanut butter with powdered sugar helps to sweeten it while maintaining a luscious texture. Use an electric mixer on medium speed to blend these until completely smooth. This mixture will be the heart of your pie, so ensure it’s well combined for the best flavor.
Step 4: In a separate bowl, whip the heavy cream and vanilla until stiff peaks form.
Whipping the cream is crucial for providing the lightness in the filling. Use chilled heavy cream for the best results; it whips up faster and achieves a stable structure. As you whip, pay attention to the texture and volume; when you see stiff peaks forming, stop mixing. Over-whipping can lead to butter, so be cautious!
Step 5: Gently fold the whipped cream into the peanut butter mixture.
Folding the whipped cream into the peanut butter mixture helps to incorporate air without deflating the cream. Use a spatula and a gentle hand to combine these two mixtures thoroughly. The result should be a light and airy filling that is still rich in flavor. Achieving the right texture here is key to a successful pie.
Step 6: Pour the filling into the chilled crust and smooth the top.
Once your filling is well mixed, pour it into the prepared crust. Use a spatula to spread the mixture evenly and smooth the top. This presentation matters; a neat top looks more appealing and invites people to dig in. Take a moment to make sure it’s level; this will help with the final look of the pie after chilling.
Step 7: Chill the pie for at least 4 hours, or overnight if possible.
Chilling allows the filling to set properly, firming up the structure of the pie for easier slicing and serving. The flavors will also meld together beautifully during this time, enhancing the overall taste. The longer you let it chill, the better it will be, so consider making it the day before you plan to serve it.
Step 8: Serve with chocolate shavings or chips as garnish.
Garnishing the pie just before serving adds a beautiful finishing touch and an extra layer of chocolate flavor. Whether using handmade shavings or chocolate chips, this step not only enhances the appearance but also entices guests to indulge. Presenting your creation in style makes for a more enjoyable dessert experience.

Choosing the Right Cookie Crust
The choice of cookie for the crust can significantly impact the flavor and texture of your chocolate peanut butter pie. While chocolate sandwich cookies are traditional, feel free to experiment with graham crackers or even Oreo variations to add unique twists. The key is to ensure the cookie of your choice is finely crushed for a solid crust that holds its shape while providing a delightful crunch.
Variations to Explore
This recipe offers ample room for creativity. Consider adding a layer of raspberry or banana slices between the filling and the crust for a fruity surprise. You could also incorporate crushed nuts such as peanuts or almonds mixed into the filling for added crunch. These tweaks can transform your pie and make it even more special, catering to different taste preferences and moods.
Serving Suggestions for Your Pie
The simplicity of this pie makes it universally appealing, but serving suggestions can elevate the experience. Pair each slice with a dollop of whipped cream or a drizzle of chocolate sauce for extra indulgence. For a refreshing contrast, serve it alongside fresh berries or vanilla ice cream, enhancing the flavors and providing a delightful textural balance. These ideas take your dessert from good to unforgettable.
FAQs
What can I do if my pie filling is too thick?
If your pie filling seems too thick, gently fold in a small amount of additional whipped cream to lighten it. This will help achieve an airy and smooth consistency, ensuring your pie is creamy and easy to slice.
Can I use natural peanut butter in the filling?
Yes, you can use natural peanut butter, but be aware it may change the texture slightly. Natural peanut butter tends to be more oily and less sweet than processed varieties, so you might want to adjust the amount of powdered sugar accordingly.
How do I know when the pie is fully chilled?
The pie is fully chilled when the filling is firm to the touch and holds its shape without any wobble. Take it out after 4 hours minimum, but for optimal results, overnight is best.
What can I substitute for heavy cream?
If you prefer a lighter version, you can substitute heavy cream with whipped coconut cream. Just ensure to chill the coconut cream before whipping for the best results.
Why is my crust too crumbly?
A crumbly crust may indicate that you haven't added enough butter to bind the cookie crumbs. Make sure to press it firmly into the dish and consider adding a little more melted butter if needed.
Can I make mini versions of this pie?
Absolutely! You can use a muffin tin to create individual mini pies. Just scale down the crust and filling proportions accordingly, and adjust the chilling time as necessary.
Conclusion
Making this easy chocolate peanut butter pie is a rewarding experience that culminates in a dessert sure to please everyone. Its rich flavor profile combined with a light, fluffy filling makes for a decadent treat that doesn’t require a lot of time or effort in the kitchen.
As you enjoy each slice, remember the endless possibilities for customizations and variations with this recipe. With minimal ingredients and steps, it’s hard to resist making this delightful dessert whenever the craving strikes.
Recipe Card
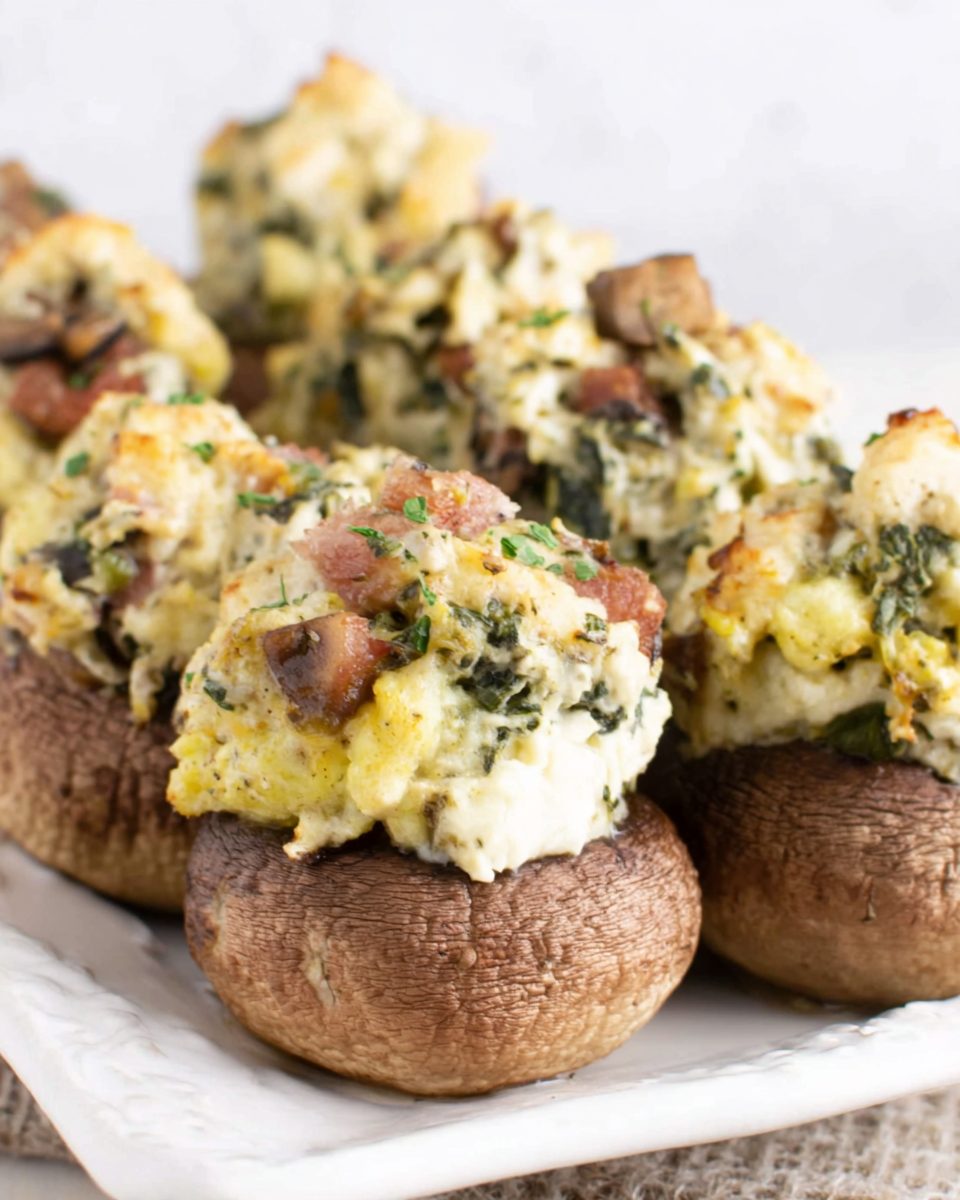
Delicious Cheesy Spinach & Artichoke Stuffed Mushrooms
Ingredients
Method
- Preheat your oven to 375°F (190°C).
- Clean the mushrooms and remove stems. Set aside caps, and finely chop stems.
- In a skillet, heat some olive oil over medium heat and sauté the minced garlic until fragrant.
- Add chopped spinach, artichokes, and chopped mushroom stems to the skillet. Cook until spinach wilts.
- In a bowl, combine the sautéed mixture with cream cheese, Parmesan, mozzarella, red pepper flakes, salt, and pepper.
- Fill each mushroom cap generously with the cheese and spinach mixture.
- Place the stuffed mushrooms on a baking sheet and drizzle with olive oil.
- Bake in the preheated oven for 20-25 minutes until the mushrooms are tender and tops are golden.
- Remove from oven and let cool for a few minutes before serving.
Notes
Additional serving suggestions: pair with a crisp salad, garlic bread, or roasted seasonal vegetables for balance.
For make-ahead, prep components separately and assemble just before heating to preserve texture.
Taste and adjust with acid (lemon/vinegar) and salt right at the end to wake up flavors.


