
Introduction
If you have a sweet tooth and a penchant for chocolate, Butterfinger Caramel Crunch Bars are a must-try. These delightful treats blend creamy peanut butter, crunchy caramel, and luscious chocolate, offering a symphony of textures and flavors in every bite.
Perfect for sharing at parties or indulging yourself on a cozy evening, these bars combine the nostalgic allure of Butterfinger candy with a homemade touch. They're surprisingly easy to prepare and will impress your friends and family alike.
Ingredients
- 1 cup smooth peanut butter
The creamy texture of smooth peanut butter is essential for binding the ingredients together while providing a rich flavor that enhances the overall taste of the bars. - 1/2 cup unsalted butter
Unsalted butter adds a creamy richness that complements the sweetness of the bars, while allowing you to control the saltiness before mixing. - 1 cup granulated sugar
This sweetener is crucial for creating the bar's base, contributing to the texture and ensuring a satisfying sweetness that balances the other flavors. - 1/2 cup light brown sugar
Brown sugar not only provides moisture and a slight chewiness but also adds a hint of caramel flavor that enhances the overall taste of the bars. - 1 1/2 cups crushed Butterfinger candy bars
These crushed candy bars give the bars their signature crunchy texture and distinctive peanut butter flavor, making them instantly recognizable and delicious. - 1 cup crispy rice cereal
Crispy rice cereal adds an airy crunch to the bars, balancing the denser elements and providing a delightful contrast that makes each bite exciting. - 2 cups semi-sweet chocolate chips
Melted chocolate chips are a fundamental topping that creates a smooth, rich layer over the bars, enhancing their presentation and flavor. - 1 tablespoon vegetable oil
Adding vegetable oil helps achieve a smooth consistency when melting the chocolate, ensuring it evenly coats the bars without hardening too quickly.
Directions & Preparation
Step 1: Prepare the baking pan.
Start by lining an 8×8-inch baking pan with parchment paper, leaving some overhang for easy removal later. This step is important to ensure the bars don’t stick to the pan, making it easier to slice and serve them without any mess or frustration.
Step 2: Combine butter, sugars, and peanut butter.
In a saucepan over medium heat, combine the butter, granulated sugar, and brown sugar, stirring until the mixture is smooth and begins to bubble. This melting process activates the sugars, helping create a caramel-like consistency while ensuring the flavors meld beautifully.
Step 3: Add crushed Butterfinger and rice cereal.
Once the butter and sugars are fully melted, remove the mixture from heat and stir in the smooth peanut butter until well combined. Then, fold in the crushed Butterfinger and crispy rice cereal. This step introduces the bar's unique texture, allowing the crunchy elements to be evenly distributed.
Step 4: Spread the mixture into the baking pan.
Transfer the mixture into the prepared baking pan, pressing it down firmly to ensure it adheres properly and creates a solid base. Pressing firmly is vital as it will help the bars maintain their structure once they are cut into squares.
Step 5: Chill to set the mixture.
Refrigerate the pressed mixture for about 30 minutes, or until firm. Cooling is crucial for setting the bars properly; this helps them hold their shape when cut and allows the flavors to deepen.
Step 6: Melt the chocolate and oil.
In a microwave or double boiler, melt the semi-sweet chocolate chips with the vegetable oil until smooth. This step is key to ensuring the chocolate can be easily poured over the bars and maintains a glossy finish.
Step 7: Spread chocolate over the chilled bars.
Once the chocolate is melted, pour it over the chilled mixture, spreading it evenly to cover the entire surface. The chocolate not only adds flavor but also serves as a protective layer, sealing in the delicious ingredients beneath.
Step 8: Chill again and slice.
Return the bars to the refrigerator for an additional 15-20 minutes to allow the chocolate to set completely. Once firm, lift the bars out of the pan using the overhanging parchment paper and slice them into squares. Proper slicing is important to ensure each piece maintains its structure and showcases all the layers.

Peanut Butter's Role in Flavor and Texture
Peanut butter is not just a binding agent in these Butterfinger Caramel Crunch Bars; it plays a pivotal role in flavor enhancement. The creamy, nutty taste adds depth, balancing the sweetness of the sugars and caramel. Additionally, its rich consistency contributes to the bars' chewy texture, making each bite satisfyingly indulgent.
Why Choose Homemade Over Store-Bought
While it’s easy to grab a box of candy bars from the store, making Butterfinger Caramel Crunch Bars at home allows for customization and ingredient control. You can adjust the sweetness, choose high-quality chocolate, and include as much Butterfinger as you like, ensuring the bars cater to your taste preferences while embracing that homemade charm.
Perfect Pairings and Serving Suggestions
These bars can stand alone as a delightful dessert, but they also pair beautifully with a variety of beverages. Consider serving them alongside a glass of cold milk, a rich coffee, or even a vanilla ice cream scoop. Such combinations will elevate the experience and create an irresistible treat for gatherings or family movie nights.
FAQs
What can I do if the mixture is too thick?
If the mixture seems overly thick when combining ingredients, you can gently reheat it over low heat, adding a tablespoon of water or additional melted butter to help loosen the texture, making it easier to mix.
Can I use different types of chocolate for the topping?
Yes, you can use milk chocolate or dark chocolate instead of semi-sweet chocolate chips. Just ensure to adjust the sweetness to your taste as different chocolates contribute varying levels of sweetness.
What if I want a crunchier texture?
To achieve a crunchier texture, you can add more crispy rice cereal or substitute some of the crushed Butterfinger with other crunchy candies like toffee bits or crushed pretzels for added flavor.
How can I avoid overcooking the mixture?
To avoid overcooking the mixture, keep a close eye on the heating process. Stir continuously and remove the pan from heat as soon as the mixture starts to bubble and is well combined, preventing any hardened sugar or burning.
Is there a way to enhance the flavor profile further?
Absolutely! Adding a pinch of sea salt or a splash of vanilla extract can elevate the flavor profile, intensifying both the sweetness and the nutty notes from the peanut butter, making for an even richer experience.
What texture should I expect when cutting into the bars?
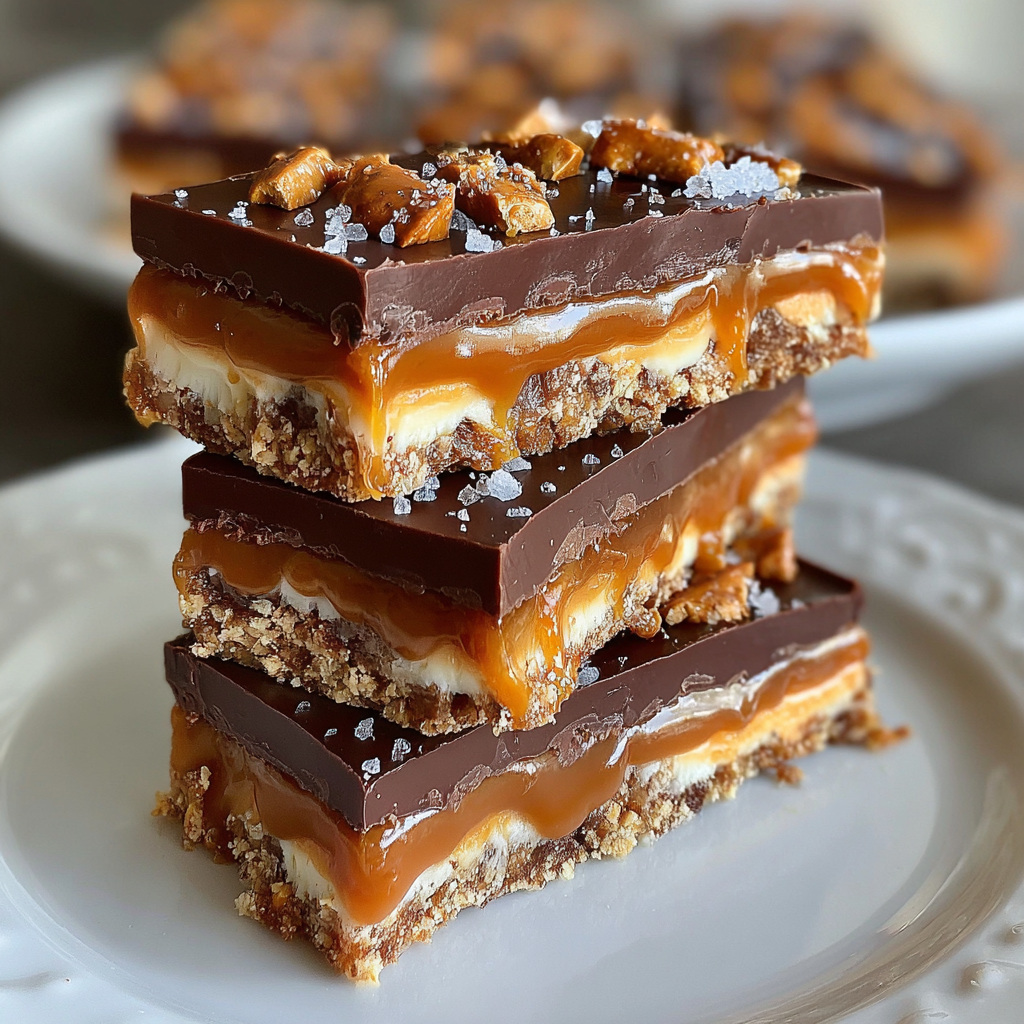
When properly chilled and set, the bars should have a firm yet slightly chewy texture, with a crunchy top layer from the chocolate and a satisfying crunch from the Butterfinger and rice cereal.
Conclusion
Creating Butterfinger Caramel Crunch Bars at home offers an indulgent treat that fills your kitchen with the delicious aromas of melted chocolate and peanut butter. With their perfect balance of crunch and creaminess, these bars are bound to be a favorite among family and friends.
Whether served at gatherings or enjoyed as a satisfying snack, these homemade bars bring a delightful twist to classic confections. So gather your ingredients, dive into the preparation, and enjoy the process of creating a dessert that’s as enjoyable to make as it is to eat.
Recipe Card
Indulgent Butterfinger Caramel Crunch Bars to Delight
Ingredients
Method
- Prepare the baking pan.
- Combine butter, sugars, and peanut butter.
- Add crushed Butterfinger and rice cereal.
- Spread the mixture into the baking pan.
- Chill to set the mixture.
- Melt the chocolate and oil.
- Spread chocolate over the chilled bars.
- Chill again and slice.
Notes
Additional serving suggestions: pair with a crisp salad, garlic bread, or roasted seasonal vegetables for balance.
For make-ahead, prep components separately and assemble just before heating to preserve texture.
Taste and adjust with acid (lemon/vinegar) and salt right at the end to wake up flavors.


