Introduction
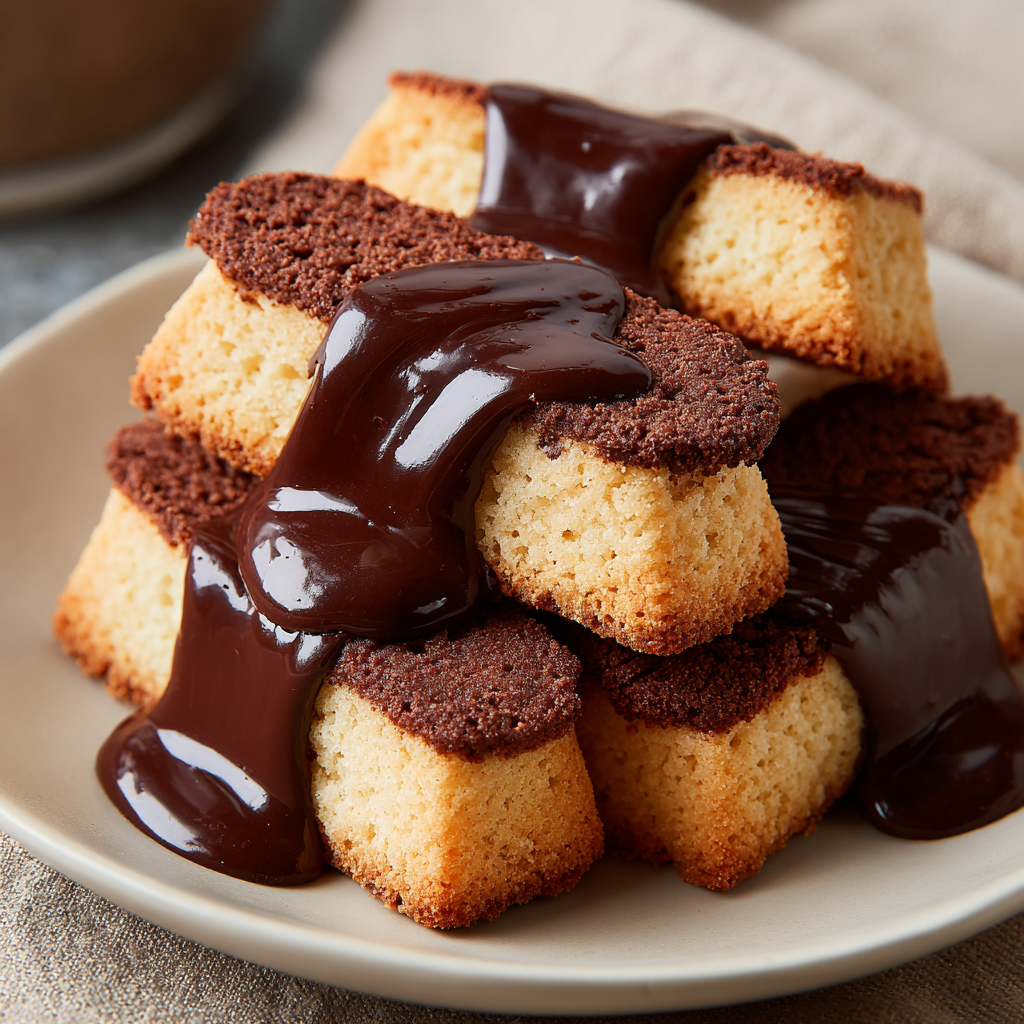
Chocolate-dipped shortbread is a timeless treat that marries the crumbly buttery texture of classic shortbread with a sumptuous layer of rich chocolate. This delightful combination creates a perfect balance of flavors that works well for any occasion, be it a festive gathering or a cozy afternoon snack.
Whether you’re a seasoned baker or just starting out, this recipe will guide you through the process of creating these elegant cookies at home. The simplicity of the ingredients allows each component to shine while ensuring that the final result is irresistibly delicious.
As you embark on this culinary adventure, remember that making chocolate-dipped shortbread is as much about the process as it is about the final product. So let’s dive in and discover how to craft these simply enchanting cookies.
Ingredients
- 1 cup unsalted butter (2 sticks)
The butter is the star of any shortbread recipe, giving the cookies their rich flavor and tender texture. Using unsalted butter allows you to better control the saltiness of the final product. - 1/2 cup granulated sugar
Sugar not only sweetens the shortbread but also contributes to its texture. It helps create that delicate crumb by disrupting the formation of gluten. - 2 cups all-purpose flour
Flour provides the structure for the cookies. Using all-purpose flour strikes a good balance between tenderness and strength, allowing the cookies to hold their shape. - 1/4 teaspoon salt
Salt enhances the flavors of the ingredients, accentuating the sweetness of the cookies while also balancing the richness of the butter. - 1 teaspoon vanilla extract
Vanilla extract adds a warm, aromatic flavor that complements the buttery notes of the shortbread. It makes the cookies more complex and inviting. - 8 ounces dark or semi-sweet chocolate
The chocolate coating is what elevates these cookies from simple to indulgent. Dark or semi-sweet chocolate provides a rich contrast to the buttery cookies.
Directions & Preparation
Step 1: Preheat the oven to 350°F (175°C).
Preheating the oven ensures that your cookies bake evenly and achieve a consistent texture. Place an oven rack in the center of the oven for optimal heat circulation.
Step 2: Cream the butter and sugar together until light and fluffy.
Creaming the butter and sugar is a crucial step that incorporates air into the mixture, resulting in a lighter, more tender cookie. Be sure to scrape the sides of the bowl to ensure even mixing.
Step 3: Add the vanilla extract and salt, and mix until incorporated.
Adding the vanilla and salt at this stage helps to blend the flavors before introducing the flour. Salt, though seemingly minor, can significantly enhance the overall taste.
Step 4: Gradually add the flour, mixing until just combined.
Adding flour gradually prevents overmixing, which can lead to tough cookies. The goal is to combine everything without developing gluten, ensuring a tender texture.
Step 5: Press the dough into a rectangular shape on a parchment-lined baking sheet.
Shaping the dough into a rectangle helps ensure uniform baking and allows for easily slicing into cookies. Use your hands to press it firmly, creating an even thickness.
Step 6: Bake for 20-25 minutes, until lightly golden around the edges.
Baking until the edges are golden gives the cookies a slight crunch while keeping the center tender. Keep an eye on them, as baking time may vary depending on your oven.
Step 7: Let the shortbread cool completely on a wire rack.
Cooling the cookies on a wire rack allows for even air circulation, preventing them from becoming soggy. Wait until they are fully cool before dipping in chocolate.
Step 8: Melt the chocolate in a microwave or double boiler until smooth.
Melting the chocolate gently helps maintain its glossy finish and prevents scorching. Stir frequently and make sure not to overheat; you want it smooth and pourable.
Step 9: Dip half of each cookie into the melted chocolate, allowing excess to drip back.
Dipping the cookies halfway into the chocolate creates a beautiful, appealing look. Letting the excess chocolate drip off prevents pools from forming, keeping the cookies neat.
Step 10: Place the dipped cookies on parchment paper and let the chocolate set.
Setting the cookies on parchment allows for easy removal once the chocolate hardens. You can speed up the setting process by placing them in the refrigerator for a few minutes.

The Art of Shortbread: A Historical Perspective
Shortbread has a long history that dates back to Scotland, where it was traditionally made with just flour, sugar, and butter. The unique texture and flavor developed through centuries of refinement have made it a beloved treat around the world. The simplicity of ingredients is what makes shortbread timeless, allowing every home cook to appreciate both its heritage and versatility.
Choosing the Right Chocolate for Dipping
When selecting chocolate for dipping, opting for the right type can dramatically influence the overall experience. Dark chocolate brings a rich, bold flavor, while semi-sweet chocolate offers a balanced sweetness. Depending on your palate, you can even experiment with white chocolate if you're looking for a sweeter option. The quality of chocolate matters, so choose something you would enjoy on its own.
Elevating Your Shortbread Experience
For those looking to add a unique twist to their chocolate-dipped shortbread, consider incorporating flavors into the dough or coating. Adding citrus zest, espresso powder, or nuts can create a delightful surprise in each bite. You could also sprinkle sea salt on top of the melted chocolate for an exquisite sweet-salty contrast that will impress anyone fortunate enough to enjoy these cookies.
FAQs
Why is my shortbread too crumbly or dry?
If your shortbread is crumbly, it may need a bit more moisture. Adding a teaspoon of cold water or increasing the butter can help bring the dough together.
What should I do if the cookie dough is too sticky?
If your dough seems too sticky, try chilling it for 15-30 minutes. This should make it easier to handle and shape without adding extra flour.
Can I use a different type of chocolate for dipping?
Absolutely! While dark and semi-sweet are popular, you can use milk or white chocolate as well. Just be mindful of the sweetness and adjust the amount of sugar in your dough, if necessary.
What can I do if the chocolate is not setting properly?
If the chocolate isn’t setting, it may be that it was overheated or not tempered properly. Re-melting and allowing it to cool slightly before dipping can help achieve a better set.
How can I ensure a more flavorful shortbread?
For a more robust flavor, consider infusing your butter with additional ingredients like herbs or spices before incorporating it into the dough. It adds depth and a unique twist.
What if I prefer a thicker chocolate coating?
If you would like a thicker chocolate layer, simply dip the cookies twice, allowing it to set between dips. This will create a more luxurious chocolate experience.
Conclusion
Creating chocolate-dipped shortbread at home is not only rewarding but also an opportunity to showcase your baking skills. Each crisp bite, complemented by the rich chocolate, is a delightful experience that you won’t soon forget.
These cookies are perfect for sharing with loved ones or enjoying as a personal treat with a cup of tea or coffee. Remember, the beauty of baking lies in the joy it brings—both in the making and the sharing.
Recipe Card
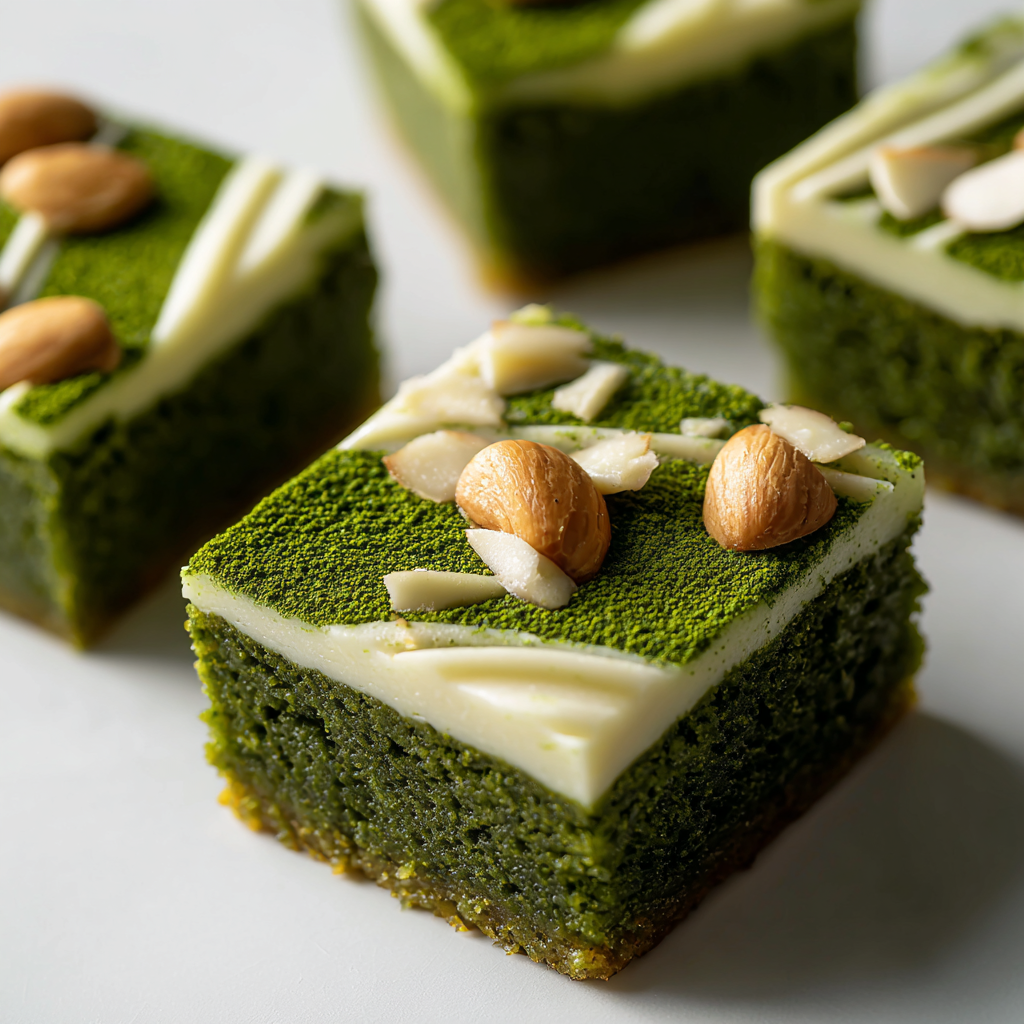
Indulge in Matcha White Chocolate Brownies Tonight
Ingredients
Method
- Preheat your oven to 350°F (175°C) and prepare a baking dish.
- In a mixing bowl, whisk together the flour, cocoa powder, baking powder, and salt.
- Melt the butter in a small saucepan over low heat, then remove from the heat and stir in sugar until well-combined.
- Add eggs, matcha powder, and vanilla extract to the butter and sugar mixture, whisking until smooth.
- Gradually stir the dry ingredients into the wet mixture until just combined, then fold in the white chocolate chips.
- Pour the batter into the prepared baking dish, spreading it evenly with a spatula.
- Bake for 25-30 minutes, or until a toothpick inserted comes out with a few moist crumbs.
- Once baked, let the brownies cool in the pan for about 10 minutes before transferring to a wire rack.
- Cut into squares and serve, optionally dusting with additional matcha powder for presentation.
Notes
Additional serving suggestions: pair with a crisp salad, garlic bread, or roasted seasonal vegetables for balance.
For make-ahead, prep components separately and assemble just before heating to preserve texture.
Taste and adjust with acid (lemon/vinegar) and salt right at the end to wake up flavors.


