Introduction
Bread making can seem daunting, but creating a loaf of Swirled Garlic Herb and Cheese Bread is a rewarding experience that fills your kitchen with an irresistible aroma. This recipe combines the robust flavors of garlic and fresh herbs with creamy cheese, making it a staple for any home cook.
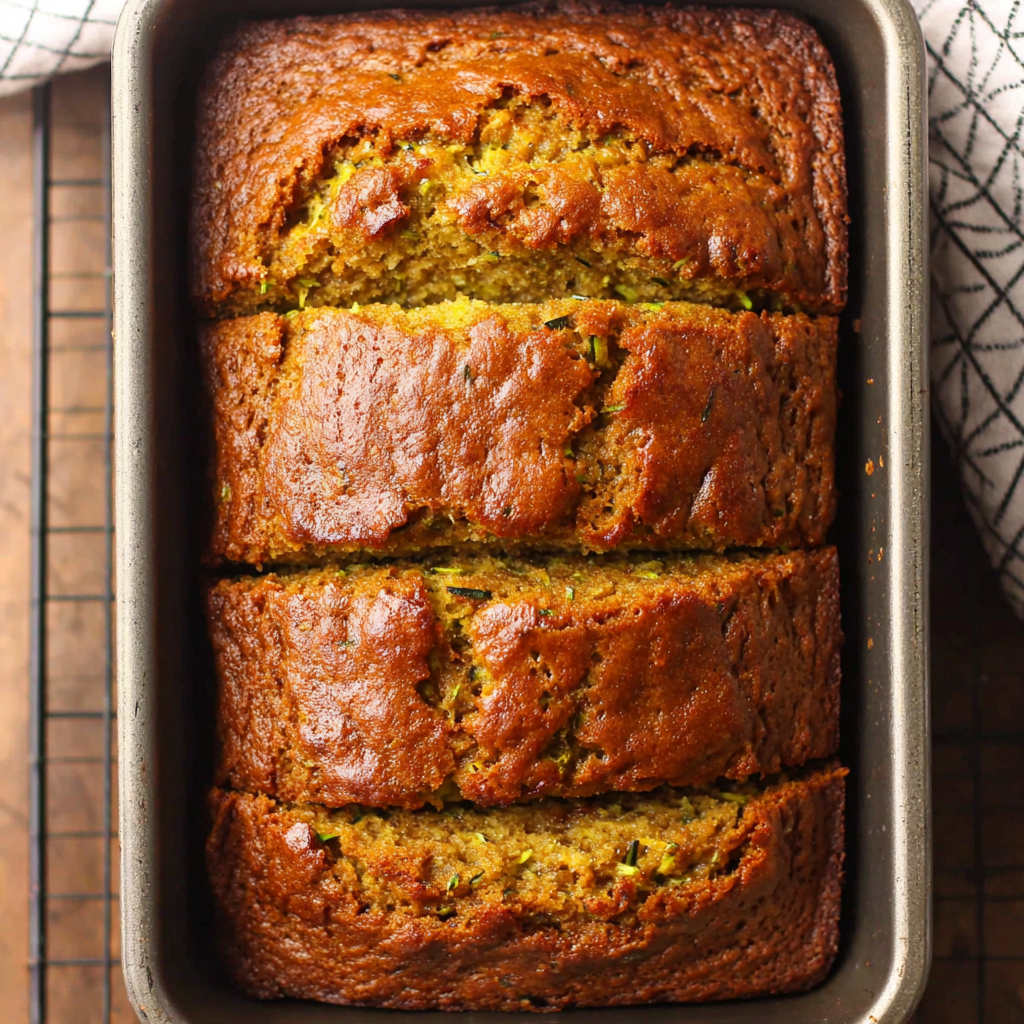
Imagine pulling a fresh, golden-brown loaf from the oven, its crust crackling as you slice into it, revealing a beautiful swirl of melted cheese and fragrant herbs. Not only is this bread a treat for the senses, but it also pairs excellently with soups, salads, or enjoyed on its own for a snack.
Whether you’re an experienced baker or just getting your feet wet, this recipe offers a balance of flavors that elevates any meal. Gather your ingredients and let's dive into the delicious world of homemade bread.
Ingredients
- 4 cups all-purpose flour
- 2 teaspoons salt
- 2 teaspoons sugar
- 2 1/4 teaspoons active dry yeast (1 packet)
- 1 1/2 cups warm water (about 110°F or 43°C)
- 1/4 cup olive oil
- 6 cloves garlic, minced
- 1/4 cup fresh parsley, chopped
- 1/4 cup fresh basil, chopped
- 1 teaspoon dried oregano
- 1 teaspoon dried thyme
- 1 1/2 cups shredded mozzarella cheese
- 1/2 cup grated Parmesan cheese
Directions & Preparation
- In a large mixing bowl, combine warm water, sugar, and yeast. Let it sit for about 5-10 minutes until foamy.
- Add olive oil, flour, and salt to the yeast mixture. Stir until a rough dough forms.
- Knead the dough on a floured surface for about 8-10 minutes until it becomes smooth and elastic.
- Place the dough in a greased bowl, cover it with a damp cloth, and let it rise in a warm area until it doubles in size, about 1 to 1.5 hours.
- In a small bowl, mix minced garlic, chopped parsley, basil, oregano, thyme, mozzarella, and Parmesan cheese. Set aside.
- Once the dough has risen, punch it down and roll it out on a floured surface into a rectangle, about 1/2 inch thick.
- Spread the garlic herb and cheese mixture evenly over the dough, leaving a small border around the edges.
- Starting from one of the long sides, carefully roll the dough into a tight log.
- Pinch the edges to seal, then place the rolled log seam-side down in a greased loaf pan.
- Cover the loaf with a towel and let it rise again for about 30-45 minutes.
- Preheat your oven to 375°F (190°C).
- Bake the bread for 30-35 minutes, or until the top is golden and the bread sounds hollow when tapped.
- Let the bread cool in the pan for 10 minutes before transferring it to a wire rack. Slice and enjoy!

FAQs
What can I do if my bread doesn't rise properly?
Ensure that your yeast is fresh and the water temperature is warm but not too hot, as high temperatures can kill the yeast.
Can I use a different type of cheese?
Yes, feel free to experiment with other cheeses like cheddar or gouda for different flavor profiles.
What if my dough is too sticky?
If your dough is too sticky, you can gradually add a little more flour until it reaches a manageable texture.
How can I tell if the bread is fully baked?
The bread should be golden brown and sound hollow when tapped on the bottom.
Can I add more herbs to the cheese mixture?
Absolutely, feel free to incorporate additional herbs like rosemary or chives for a more personalized flavor.
Is it possible to make this bread with whole wheat flour?
Yes, replacing some or all of the all-purpose flour with whole wheat flour can add a nutty flavor and a healthier twist.
Conclusion
Creating Swirled Garlic Herb and Cheese Bread is a fulfilling journey that culminates in a delectable homemade treat. The fusion of cheese, garlic, and herbs not only enhances your cooking repertoire but also makes for an impressive addition to any meal.
As you slice into this warm loaf, remember that the best part of baking is sharing it. Enjoy it fresh, or toast it for a delightful experience. Happy baking!
Recipe Card

Delicious Cheesy Spinach & Artichoke Stuffed Mushrooms
Ingredients
Method
- Preheat your oven to 375°F (190°C).
- Clean the mushrooms and remove stems. Set aside caps, and finely chop stems.
- In a skillet, heat some olive oil over medium heat and sauté the minced garlic until fragrant.
- Add chopped spinach, artichokes, and chopped mushroom stems to the skillet. Cook until spinach wilts.
- In a bowl, combine the sautéed mixture with cream cheese, Parmesan, mozzarella, red pepper flakes, salt, and pepper.
- Fill each mushroom cap generously with the cheese and spinach mixture.
- Place the stuffed mushrooms on a baking sheet and drizzle with olive oil.
- Bake in the preheated oven for 20-25 minutes until the mushrooms are tender and tops are golden.
- Remove from oven and let cool for a few minutes before serving.
Notes
Additional serving suggestions: pair with a crisp salad, garlic bread, or roasted seasonal vegetables for balance.
For make-ahead, prep components separately and assemble just before heating to preserve texture.
Taste and adjust with acid (lemon/vinegar) and salt right at the end to wake up flavors.


