Introduction
The combination of rich, chocolatey Oreos and soft, fluffy cinnamon rolls creates an irresistible treat that's perfect for any occasion. Whether it's a weekend brunch or a special dessert, these Homemade Oreo Cinnamon Rolls will surely delight your family and friends.
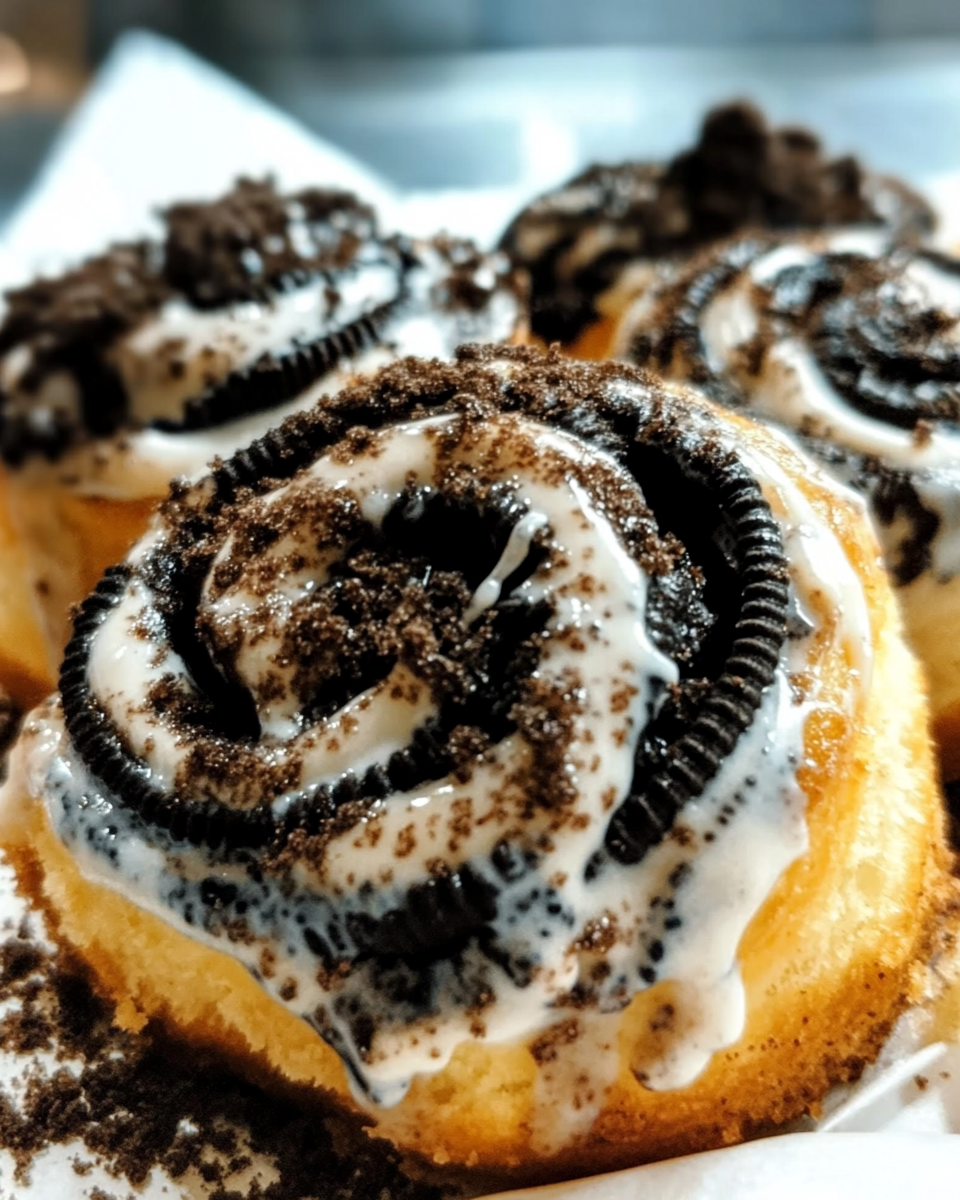
Imagine a warm roll, freshly baked and drizzled with cream cheese frosting, filled with sweet cinnamon and crushed Oreos. Each bite brings a delightful contrast of textures and flavors, making it a unique twist on the classic cinnamon roll. Let’s dive into this luscious recipe that brings together the nostalgia of Oreos with the love of freshly baked bread.
Ingredients
- 4 cups all-purpose flour
The backbone of the cinnamon rolls, all-purpose flour gives structure and strength. It enables the dough to rise properly by providing elasticity, ultimately resulting in soft, fluffy rolls. - 1 packet (2 1/4 tsp) active dry yeast
Active dry yeast is essential for leavening the dough. When activated, it ferments and creates bubbles of carbon dioxide that make the dough rise, creating a light and airy texture. - 1 cup warm milk (about 110°F)
Warm milk acts as a catalyst for the yeast, helping it activate more quickly. It also enriches the dough with moisture and a subtle sweetness. - 1/2 cup granulated sugar
Sugar not only sweetens the rolls but also feeds the yeast, helping it to activate and produce carbon dioxide. This contributes to the dough’s rise. - 1/4 cup unsalted butter, melted
Butter adds richness and flavor to the dough. The fat also keeps the rolls tender and helps create a soft crumb texture. - 1 large egg
Eggs enrich the dough, providing moisture, flavor, and structure. They also help in binding the ingredients together. - 1 tsp vanilla extract
Vanilla enhances the overall flavor of the rolls, adding a warm and sweet note that complements the cinnamon and Oreo filling. - 1 tsp salt
Salt balances sweetness and enhances the flavor profile. It also strengthens gluten, contributing to the dough's overall structure. - 3/4 cup brown sugar
Brown sugar adds both sweetness and a hint of molasses flavor, which pairs beautifully with cinnamon, deepening the overall taste of the rolls. - 2 tbsp ground cinnamon
Cinnamon provides the warm spice that defines traditional cinnamon rolls. Its aromatic qualities enhance each bite and create a comforting sweetness. - 1 cup crushed Oreo cookies
The crushed Oreos bring a delightful chocolate flavor and texture to the filling. They add a crunchy element that contrasts well with the soft dough. - 1 cup cream cheese
Cream cheese serves as the base for the frosting, offering smoothness and tanginess that perfectly complements the sweetness of the rolls. - 2 cups powdered sugar
Powdered sugar sweetens the frosting and helps achieve a smooth consistency that drizzles beautifully over the warm rolls. - 1-2 tbsp milk (for frosting consistency)
Adding milk to the frosting helps adjust the consistency, making it spreadable and drizzlable while enhancing the creaminess.
Directions & Preparation
Step 1: Activate the yeast.
Start by combining the warm milk and yeast in a bowl. Allow the mixture to sit for about 5-10 minutes until it becomes foamy. This is crucial for ensuring that the yeast is active, which leads to a proper rise in your dough. If the mixture doesn't foam, the yeast may be inactive, and it's best to start with fresh yeast.
Step 2: Mix the dough ingredients.
In a large mixing bowl, whisk together flour, sugar, and salt. Then add the frothy yeast mixture, melted butter, egg, and vanilla extract. Combine these ingredients using a wooden spoon or a stand mixer with a dough hook until a shaggy dough forms. This step is vital as it begins to create the base for your rolls; it should be slightly tacky but manageable.
Step 3: Knead the dough.
Turn the dough out onto a floured surface and knead for about 5-7 minutes until smooth and elastic. If using a stand mixer, knead on medium speed. Proper kneading develops gluten, which gives the rolls their structure, ensuring they rise beautifully and maintain their shape.
Step 4: Let the dough rise.
Place the kneaded dough in a greased bowl, cover it with a clean cloth, and let it rise in a warm area for about 1-2 hours, or until it doubles in size. This resting period is critical as the yeast ferments the sugars and produces carbon dioxide, which causes the dough to expand.
Step 5: Prepare the filling.
While the dough is rising, mix the brown sugar, cinnamon, and crushed Oreos in a bowl. This mixture will create a delicious, flavorful filling for your rolls, introducing both sweetness and a delightful crunch that complements the cinnamon roll dough perfectly.
Step 6: Roll out the dough.
Once the dough has risen, punch it down to release the air and turn it out onto a floured surface. Roll it into a rectangle about 12×18 inches. The size is important as it allows for enough surface area to spread the filling evenly, ensuring every bite is packed with flavor.
Step 7: Add the filling.
Spread the filling mixture evenly over the rolled-out dough, leaving a small border around the edges. Gently press the filling into the dough to adhere. This step is crucial for ensuring the filling doesn't fall out when you roll the dough and slice it into rolls.
Step 8: Roll the dough.
Starting from one long edge, tightly roll the dough into a log. Pinch the ends to seal. A tight roll will help maintain the spiral shape when slicing and ensure each roll has a beautiful cinnamon-cream filling. If the edges can be sealed properly, you might want to brush them with a little water to help them stick.
Step 9: Slice the rolls.
Using a sharp knife or dental floss, cut the log into 12 even slices. Place them cut-side up in a greased baking dish. This step is significant as even slices will ensure uniform baking and presentation, allowing all the cinnamon rolls to rise and bake evenly.
Step 10: Second rise.
Cover the sliced rolls with a damp cloth and let them rise again for about 30-45 minutes until puffed. This second rise is essential for achieving those light, airy rolls; it allows the dough to further expand before baking.
Step 11: Preheat the oven.
Preheating your oven to 350°F (175°C) ensures the rolls begin baking immediately upon placement. This step is crucial as it contributes to the oven spring, helping the rolls achieve a nice rise and golden color.
Step 12: Bake the rolls.
Bake the rolls for 25-30 minutes or until golden brown. Keep an eye on them to prevent over-baking, which can lead to dryness. The rolls should be soft to the touch and a deep golden-brown hue, signaling they are ready to come out of the oven.
Step 13: Prepare the frosting.
While the rolls are baking, whip together cream cheese, powdered sugar, and milk until smooth and creamy. Adjust the milk for desired consistency. This frosting will add the perfect sweet and tangy touch to your rolls, making each bite unforgettable.
Step 14: Frost the rolls.
Once the rolls are out of the oven and slightly cooled, drizzle or spread the cream cheese frosting over the top. The warmth of the rolls will help the frosting melt into every crevice, providing a deliciously creamy finish that ties the flavors together beautifully.
Step 15: Serve and enjoy.
Finally, serve your homemade Oreo cinnamon rolls warm. They are best enjoyed fresh but can be kept covered for a day or two. The generosity of chocolate and cinnamon in every bite creates a delightful experience that will leave everyone craving more.

A Celebration of Flavors
These Homemade Oreo Cinnamon Rolls perfectly blend the well-loved flavors of classic cinnamon rolls with the beloved crunch of Oreos. The soft dough acts as a canvas, soaking up the sweet cinnamon sugar, while each swirl hides bits of crushed cookies waiting to surprise you. It's not just a pastry; it's a delightful extravaganza that pays tribute to two desserts in one.
Visual Appeal
Presentation matters, especially when serving your culinary creations to loved ones. By slicing the dough evenly and rolling it tightly, you ensure each roll comes out aesthetically pleasing with a beautiful spiral visible in every slice. This visual appeal enhances the overall enjoyment, making these rolls not only a treat for the taste buds but also a feast for the eyes.
Perfect for Any Occasion
These decadent rolls are versatile enough for brunch, dessert, or even a cozy evening snack. Their rich flavors and textures make them the ideal centerpiece for gatherings, from casual family breakfasts to festive holiday celebrations. With their unique twist on a traditional favorite, they're bound to impress your guests and evoke smiles all around.
FAQs
Why are my cinnamon rolls dense?
Dense rolls may result from not kneading the dough enough, which is crucial for gluten development. Ensure you knead until the dough is elastic and smooth.
Can I use whole wheat flour instead of all-purpose?
Yes, whole wheat flour can be substituted, but it may yield a slightly denser roll. You might want to adjust the liquid slightly to accommodate the different flour absorption.
What can I do if my yeast doesn’t foam?
If your yeast doesn’t activate and foam, it could be expired or your milk might be too hot or cold. Always check the expiration date and ensure your liquid is between 100°F and 110°F.
Is there a way to make the rolls less sweet?
You can reduce the amount of sugar in both the dough and the frosting to achieve a less sweet roll while still preserving the overall flavor.
What if my dough is too sticky?
If the dough is too sticky, gradually add a little more flour until it reaches a manageable consistency while still remaining soft and elastic.
Can I make these rolls overnight?
Absolutely! Prepare the rolls up to the second rise, then cover and refrigerate them overnight. Let them come to room temperature before baking.
Conclusion
Homemade Oreo Cinnamon Rolls are not just a treat but an experience, combining nostalgia with innovative flavor. Each bite offers a delightful contrast, blending soft dough with crunchy cookie bits, sending your taste buds on a lavish journey.
Whether indulging by yourself or sharing with others, these rolls promise a special moment in any setting. So, roll up your sleeves and begin crafting this unique recipe—your homemade bakery experience awaits!
Recipe Card

Hearty Slow Cooker Sausage Lentil Soup Delight
Ingredients
Method
- Brown the sausage in a skillet over medium heat.
- Add the onions, carrots, and celery into the slow cooker.
- Stir in garlic, thyme, and cumin.
- Add lentils and broth.
- Season with salt and pepper.
- Cover and cook on low for 6-8 hours or high for 3-4 hours.
- Taste and adjust seasoning before serving.
Notes
Additional serving suggestions: pair with a crisp salad, garlic bread, or roasted seasonal vegetables for balance.
For make-ahead, prep components separately and assemble just before heating to preserve texture.
Taste and adjust with acid (lemon/vinegar) and salt right at the end to wake up flavors.


