Introduction
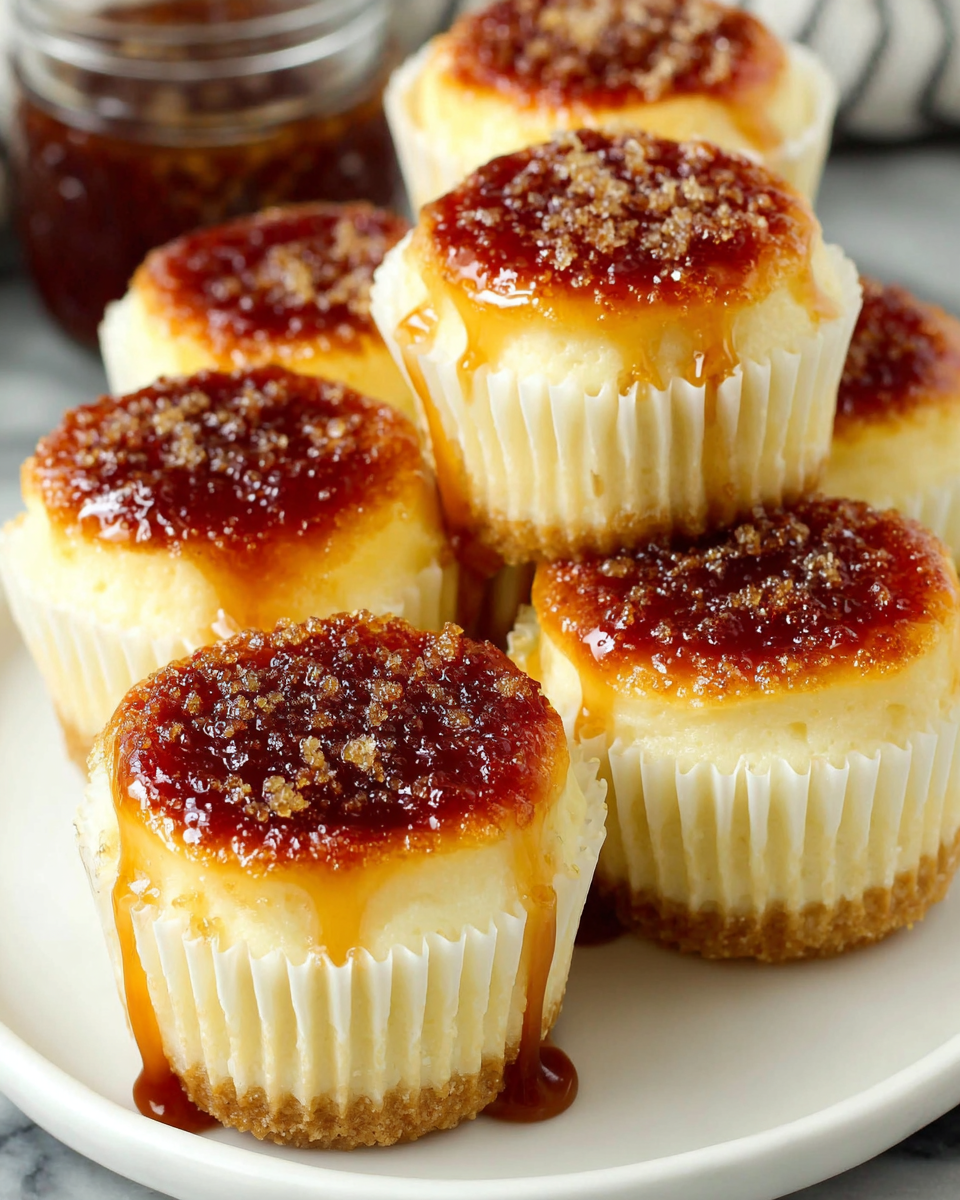
If you're looking for a delightful treat that packs the creamy goodness of cheesecake into a portable form, vanilla bean cheesecake cupcakes are the answer. These mini desserts effortlessly marry the richness of classic cheesecake with the ease of cupcakes, making them perfect for any occasion.
Each bite offers a luscious texture balanced by the fragrant notes of vanilla bean, making them irresistibly delicious. Whether for a special celebration or just a sweet indulgence, these cupcakes are sure to impress friends and family alike.
Ingredients
- 1 cup graham cracker crumbs
Graham cracker crumbs form the base of the cupcake, providing a sweet and slightly crunchy texture that mimics a traditional cheesecake crust. - 1/4 cup granulated sugar
Sugar enhances the sweetness of the crust, balancing the creaminess of the cheesecake filling while also helping the crust hold its shape. - 1/4 cup unsalted butter, melted
Butter adds richness and moisture to the graham cracker crust, helping to bind the crumbs together for a firm base. - 16 oz cream cheese, softened
Cream cheese is the core ingredient for the cheesecake filling, providing a rich and creamy texture essential for that classic cheesecake flavor. - 1/2 cup granulated sugar
Used in the cheesecake batter, sugar sweetens the cream cheese and enhances its flavor, ensuring a beautifully balanced dessert. - 2 large eggs
Eggs act as a binding agent, giving structure to the cheesecake batter while helping it rise and set during baking. - 1 tablespoon vanilla bean paste or seeds from 1 vanilla bean
Vanilla bean paste or seeds infuse the cupcakes with a deep, aromatic vanilla flavor, distinguishing them from other dessert options. - 1/2 teaspoon vanilla extract
Vanilla extract complements the vanilla bean flavor, enhancing the overall taste and aroma of the cheesecake filling. - 1 cup sour cream
Sour cream adds creaminess and a slight tang, balancing the sweetness of the cheesecake filling while contributing to a velvety texture.
Directions & Preparation
Step 1: Prepare the oven and muffin pan.
Start by preheating your oven to 325°F (163°C). Line a 12-cup muffin pan with cupcake liners. Preheating ensures that the cupcakes bake evenly, while the liners will help release the cupcakes easily after baking.
Step 2: Make the graham cracker crust.
In a medium bowl, mix together the graham cracker crumbs, granulated sugar, and melted butter until well combined. This mixture should resemble wet sand. Press about a tablespoon of this mixture into the bottom of each cupcake liner, creating an even layer for a sturdy crust.
Step 3: Bake the crust.
Place the muffin pan in the preheated oven and bake the crusts for about 5-7 minutes, until set but not browned. This step firms up the crust, preventing it from crumbling when you add the filling. Allow it to cool slightly while you prepare the cheesecake batter.
Step 4: Make the cheesecake filling.
In a large mixing bowl, beat the softened cream cheese with 1/2 cup sugar until smooth. Add the eggs one at a time, mixing well after each addition. Then incorporate the vanilla bean paste and sour cream. Properly mixing the ingredients ensures a creamy and lump-free filling.
Step 5: Fill the cupcake liners with batter.
Scoop the cheesecake batter over the cooled crusts, filling each liner about 3/4 full. This gives enough space for the batter to rise without overflowing. The filling should be smooth and creamy as it settles on the crust.
Step 6: Bake the cupcakes.
Place the filled muffin pan back in the oven and bake for 18-22 minutes. The edges should be set, while the center may still slightly jiggle. This is important as overbaking can lead to cracks. Keep an eye on them starting at the 18-minute mark.
Step 7: Cool and chill the cupcakes.
Once baked, turn off the oven and crack the door, allowing the cupcakes to cool gradually in the oven for about 30 minutes. This helps prevent sudden temperature changes that can cause cracking. Afterward, transfer them to the fridge for at least 3 hours to set.
Step 8: Serve and enjoy!
Once chilled, these cupcakes are ready to be served. You can enjoy them as is or top with fresh berries or whipped cream for an extra special touch. Allowing them to sit in the fridge deepens their flavor and gives you the best possible texture.

Tips for Perfect Vanilla Bean Flavor
Using both vanilla bean paste and vanilla extract in this recipe elevates the flavor profile significantly. The tiny specks of genuine vanilla bean not only add an aesthetic appeal but also deliver an intense vanilla taste that enhances the entirety of the cheesecake, making it a standout treat.
Adapting for Mini Cupcakes or Larger Versions
This recipe can easily be adapted for mini or larger versions of the cupcakes. For mini cupcakes, reduce the baking time by about 5-10 minutes, checking for doneness earlier. Alternatively, if choosing to make larger cupcakes, extend the baking time by 5-10 minutes to ensure the filling is fully set.
Serving Suggestions for Special Occasions
These vanilla bean cheesecake cupcakes make for an excellent dessert during special occasions. Consider pairing them with a fruit compote or a drizzle of chocolate ganache to enhance their presentation and flavor. They are also perfect as a delightful addition to a dessert table at parties or weddings.
FAQs
What if the cheesecake filling appears too thick?
If your filling seems too thick, ensure that the cream cheese is fully softened before mixing. You can incorporate a splash of cream or milk to achieve the ideal consistency.
Why are my cupcakes cracking on top?
Cracked tops are often the result of overbaking or rapid cooling. Ensure you remove them from the oven while the center is still slightly jiggly, and allow them to cool gradually.
Can I substitute sour cream with Greek yogurt?
Yes, you can use Greek yogurt as a substitute for sour cream. It will still provide creaminess and a slight tang, but may impart a different flavor profile.
What should I do if my cupcakes are too sweet?
If you find them too sweet, consider reducing the amount of sugar in the cheesecake filling in future batches. Balancing flavors during preparation is key to achieving the desired taste.
How can I add a different flavor to the cheesecake?
You can incorporate other flavors by adding citrus zest or different extracts like almond or lemon to the batter for a unique twist.
Can I bake these at a different temperature?
Baking at a different temperature is possible but may require adjusting the baking time. Lowering the temperature could result in a longer bake time, while increasing it could lead to quicker browning.
Conclusion
Vanilla bean cheesecake cupcakes are a delightful twist on the classic dessert, offering both elegance and simplicity. Their mini size makes them perfect for sharing, while their rich flavor will leave a lasting impression.
With a bit of patience and attention to detail, you can create these exquisite cupcakes in your own kitchen. Enjoy the creativity of baking and the rewarding experience of sharing these treats with loved ones.
Recipe Card
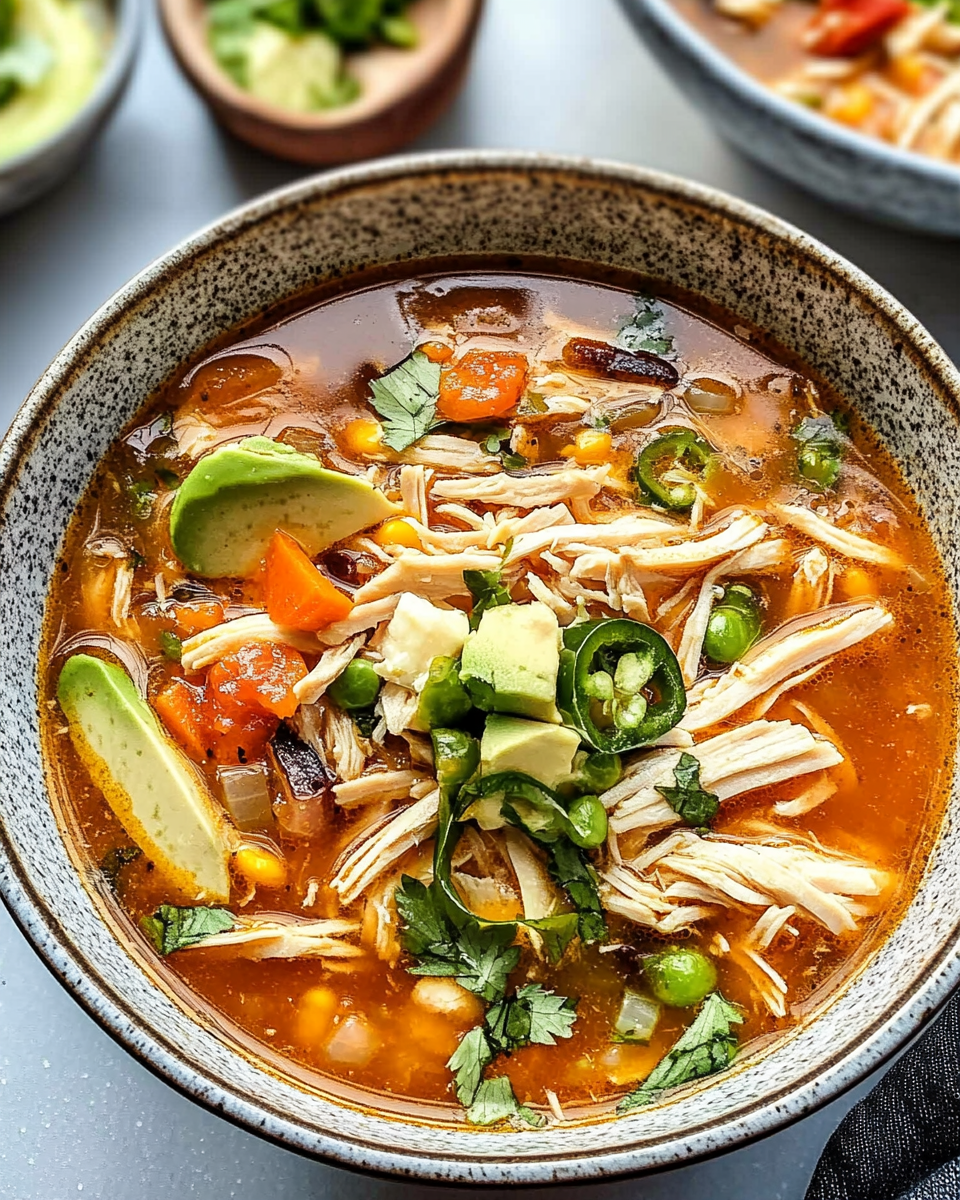
Savor the Flavors of Homemade Chicken Tortilla Soup
Ingredients
Method
- Prepare the chicken by cooking it in the broth.
- Sauté the onions, garlic, and bell peppers.
- Add diced tomatoes, seasonings, and cooked vegetables to the broth.
- Prepare the tortilla strips.
- Adjust seasoning and garnish before serving.
- Serve hot.
Notes
Additional serving suggestions: pair with a crisp salad, garlic bread, or roasted seasonal vegetables for balance.
For make-ahead, prep components separately and assemble just before heating to preserve texture.
Taste and adjust with acid (lemon/vinegar) and salt right at the end to wake up flavors.


