Introduction
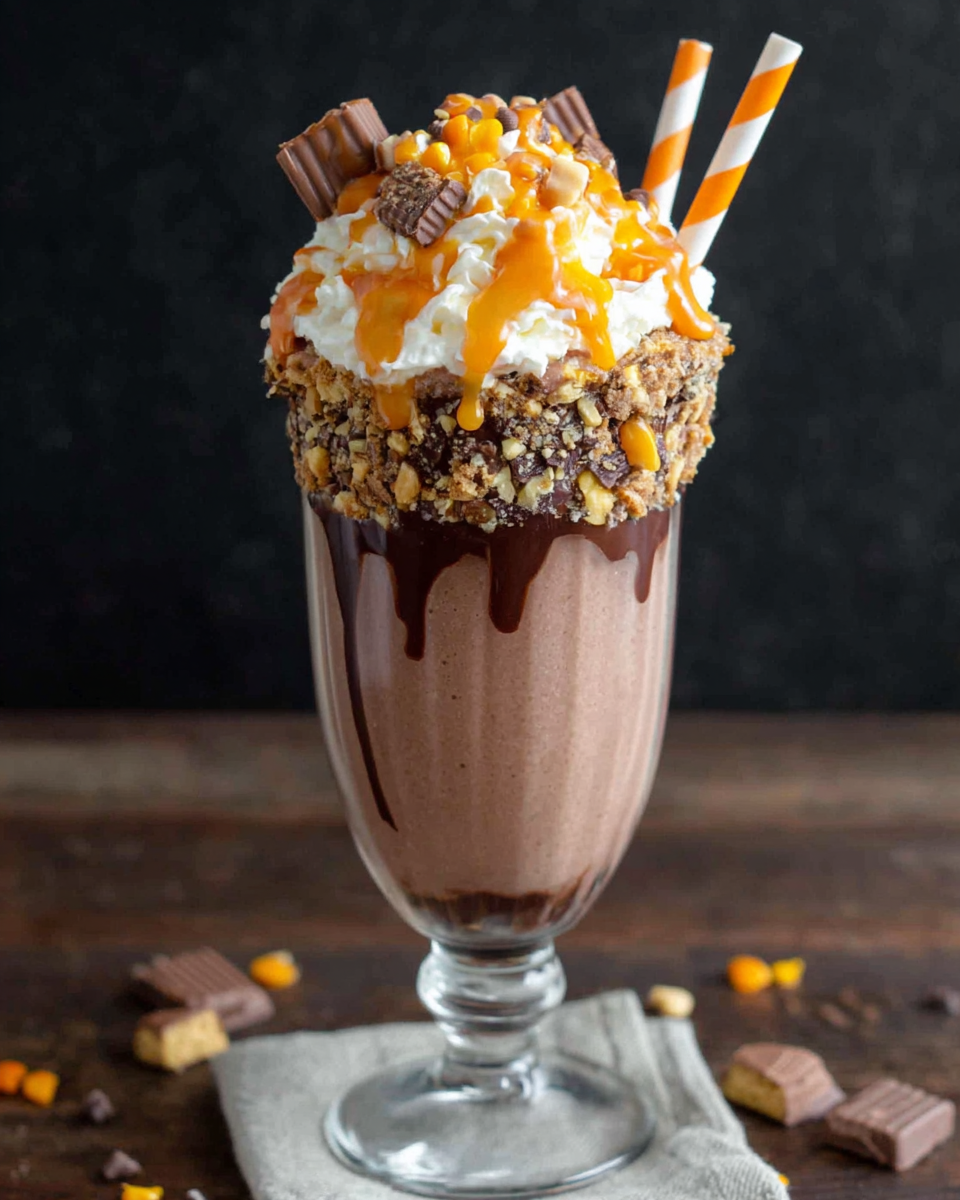
There's something undeniably delightful about a peanut butter chocolate milkshake. The combination of rich chocolate and creamy peanut butter creates a flavor sensation that's hard to resist. Whether you're looking for a satisfying dessert or a quick snack, this milkshake hits the spot with its sweet, nutty goodness.
Blending these ingredients together not only delivers a delicious treat but also provides a boost of energy thanks to the healthy fats in peanut butter. Ideal for any time of the day, this shake can be a quick breakfast or a delightful afternoon pick-me-up. Let’s dive into the process and discover how easily you can whip up this indulgent shake at home.
Ingredients
- 2 cups chocolate ice cream
Chocolate ice cream provides the primary base for the milkshake, delivering rich flavor and a creamy texture. The chocolate flavor is essential for that indulgent experience. - 1 cup milk
Milk is crucial for blending the ingredients smoothly and achieving the desired consistency. It adjusts the thickness of the milkshake and adds a creamy richness. - 1/2 cup peanut butter
Peanut butter adds a nutty flavor and a dose of protein, making the milkshake more filling. Its creamy texture also contributes to the overall mouthfeel. - 1 tablespoon chocolate syrup
Chocolate syrup not only enhances the chocolate flavor but also adds sweetness and a nice glossy finish to the milkshake. - 1/2 teaspoon vanilla extract
Vanilla extract deepens the flavor profile, adding complexity and balancing the sweetness of the other ingredients. - Whipped cream (for topping)
Whipped cream is perfect for garnishing the milkshake, adding an airy lightness and a decorative touch that makes the drink even more appealing. - Chocolate shavings (for garnish)
Chocolate shavings elevate the presentation and provide an extra crunch, enhancing the experience of enjoying your milkshake.
Directions & Preparation
Step 1: Blend ingredients together
Start by placing the chocolate ice cream, milk, peanut butter, chocolate syrup, and vanilla extract into a blender. This step is crucial because it combines all the flavors uniformly, creating a smooth and homogenous mixture. Make sure to start blending on a low setting and gradually increase the speed until the ingredients are fully combined and the mixture is smooth.
Step 2: Adjust consistency
After blending, check the consistency of your milkshake. If it’s too thick for your liking, add a little more milk and blend it again. It’s important to get the right texture, as too thick might be hard to drink through a straw, while too thin can lose the rich creaminess that makes milkshakes special.
Step 3: Pour into glasses
Once you’re satisfied with the consistency, pour the peanut butter chocolate milkshake into your chosen glasses. This stage is important as it allows you to showcase the beautiful swirl of colors and the creamy texture. A tall glass also gives a great visual impact and makes each sip feel luxurious.
Step 4: Garnish with toppings
Finish off your milkshake by adding a generous dollop of whipped cream on top and sprinkle with chocolate shavings. This not only adds visual appeal but also extra texture and flavor, making every sip more delightful. The final touch is essential for transforming a simple drink into a dessert experience.
Step 5: Serve immediately
Serve the milkshake right away for the best flavor and texture. Allowing it to sit too long risks it melting into an undesirable consistency. Enjoying it fresh keeps the creamy richness intact, offering a delightful treat just as intended.

Pairing Flavors for an Enhanced Experience
While this peanut butter chocolate milkshake stands well alone, consider pairing it with a simple chocolate cookie or a slice of peanut butter pie. The combined flavors enrich each other, elevating your dessert experience. The cookie adds a varied texture, while the pie reinforces those beloved peanut butter and chocolate notes, making for a deliciously cohesive tasting adventure.
Variations to Try
Feel free to get creative with your milkshake by incorporating different ingredients. For a healthier twist, use Greek yogurt instead of ice cream. You can also toss in a banana for natural sweetness and creaminess or add a scoop of protein powder for an energy boost. Experimenting with flavors like cinnamon or nutmeg can also bring a unique warmth to your shake, making it distinctly yours.
The Perfect Blend Technique
Achieving the ideal milkshake texture relies on how you blend your ingredients. Start slow to combine them, then increase the speed. A common pitfall is over-blending, which can aerate the mixture too much and create an undesirable texture. A pulse feature on your blender can help control this, ensuring you retain that thick, creamy essence that a good milkshake should have.
FAQs
What if my milkshake is too thick?
If your milkshake is too thick, simply add a little more milk and blend again until you reach your desired consistency.
How can I make this shake more chocolatey?
To enhance the chocolate flavor, consider adding extra chocolate syrup or using chocolate milk instead of regular milk.
Can I make a vegan version of this milkshake?
Absolutely! Use dairy-free ice cream and plant-based milk to create a delicious vegan version.
What can I do if my shake tastes bland?
If your milkshake lacks flavor, consider increasing the amounts of peanut butter or chocolate syrup to enhance the richness.
How can I adjust the sweetness of my milkshake?
To modify the sweetness, add more chocolate syrup or a bit of sugar or honey. Taste as you go to find your ideal balance.
Can I use crunchy peanut butter instead of smooth?
Yes, using crunchy peanut butter adds an interesting texture and will give your milkshake a delightful crunch.
Conclusion
Creating a peanut butter chocolate milkshake is not only simple but also immensely satisfying. With a few quality ingredients and a little bit of blending, you can transform your cravings into a delicious reality.
Whether enjoyed on a hot summer day or as a cozy treat during the winter, this shake captures the essence of classic flavors that many adore. Don’t hesitate to experiment with variations of this recipe, making it your own every time.
Recipe Card

Honey Roasted Beets and Carrots for Vibrant Flavors
Ingredients
Method
- Preheat the oven to 425°F (220°C).
- Prepare the beets and carrots by cutting them into uniform sizes.
- In a large bowl, combine the beets and carrots with olive oil, honey, salt, and pepper.
- Spread the vegetables on a baking sheet lined with parchment paper.
- Roast in the oven for about 25-30 minutes, stirring halfway through.
- Remove from the oven and let cool slightly before garnishing with herbs.
Notes
Additional serving suggestions: pair with a crisp salad, garlic bread, or roasted seasonal vegetables for balance.
For make-ahead, prep components separately and assemble just before heating to preserve texture.
Taste and adjust with acid (lemon/vinegar) and salt right at the end to wake up flavors.


